4K Converter
Upscale Portraits: A Larger Photo Should Still Look Like the Person
Prepare a larger portrait for a profile, presentation, or print while reviewing likeness, skin texture, hair, glasses, and the final crop.
A portrait that works as a tiny avatar may be too small for a speaker slide or a larger profile page. Adobe's image-size documentation explains that resampling changes pixel dimensions by adding or removing pixels. More output pixels, however, do not by themselves prove that additional facial detail was captured.
Treat AI enlargement as a candidate to review. The practical goal is a useful larger image that still represents the person faithfully, with a crop and format suited to its destination.
Set a useful goal for the portrait
Identify the final use before processing: a team profile, a conference slide, or a print. Note how much of the photo will actually be visible. A square avatar can crop away hair or shoulders even when the underlying image is large enough.
Separate size from other problems. Soft focus, motion blur, heavy compression, and a very small face in a group photo are not identical limitations. Upscaling cannot guarantee a faithful reconstruction when the source never resolved the relevant feature.
If the original is already suitable at the required display size, test whether an enlargement adds anything useful. A larger file with less natural skin is not an improvement simply because it has more pixels.
Start with the least altered source
Look for the original camera export or the approved photographer's delivery. A downloaded social avatar may have been cropped and compressed before you receive it. A screenshot of that avatar adds another step without restoring the original information.
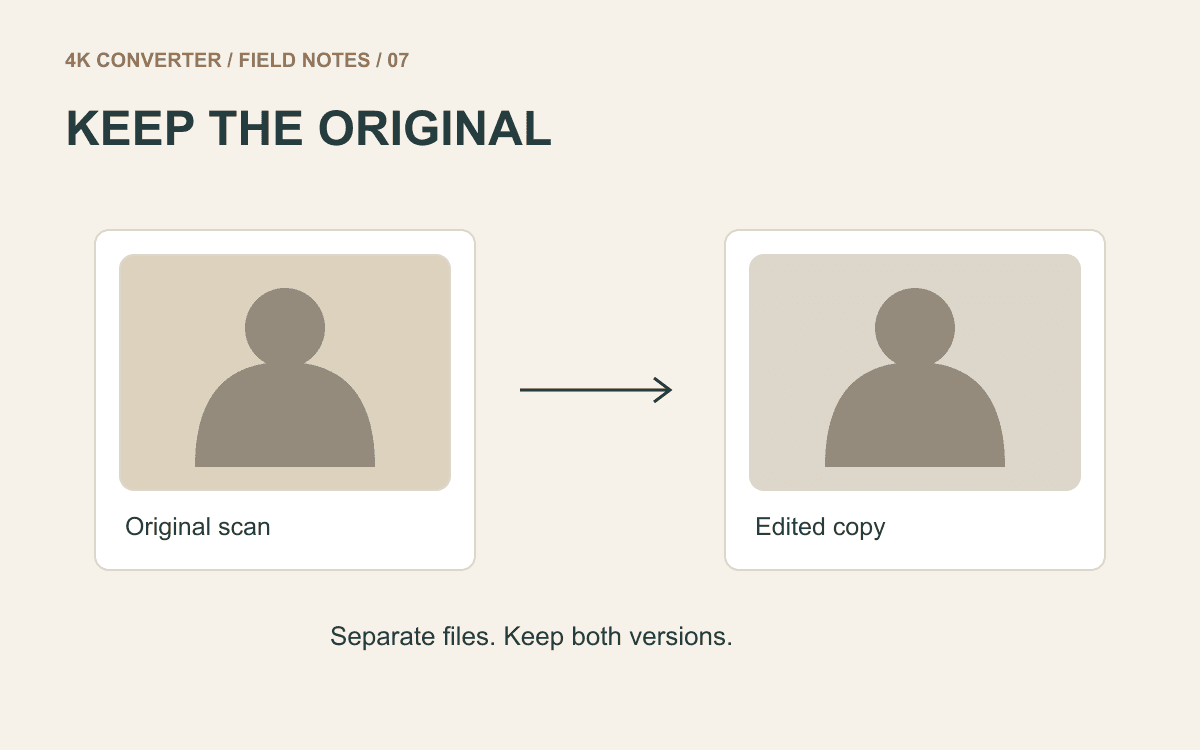
Keep an unchanged reference. If several edits exist, choose the version with the expression, colors, and composition you intend to preserve. Do not compare candidates made from different source edits as if only their resolution differed.
For a group photo, inspect the person at the source's actual pixel size. A tiny face may not contain enough information for a convincing close-up. A tighter crop removes surrounding content; it does not record more of the face.
Create a separate enlarged candidate
- Save the approved source and decide the intended placement size.
- Open the image upscaler and upload a supported JPG, PNG, or WebP.
- Select an available output resolution and format.
- Run processing and download the result under a new filename.
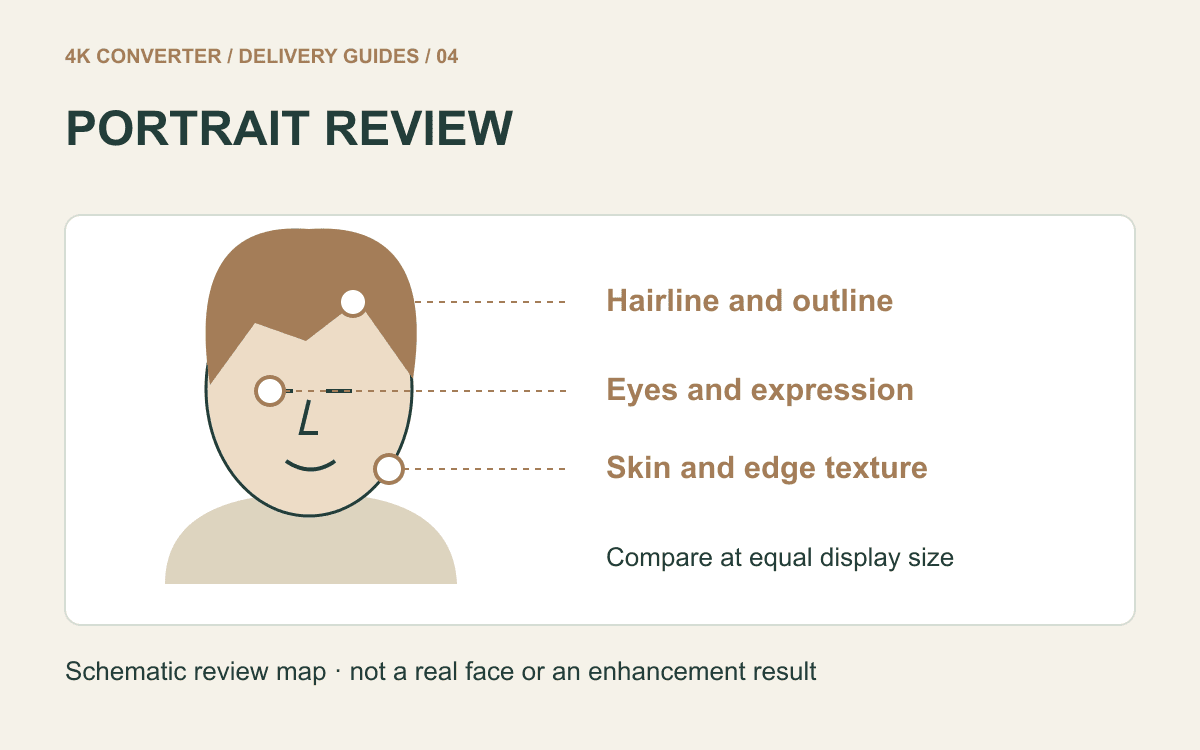
- Compare the same facial region at equal display size before approval.
The tool is a general image upscaler. Its current interface does not provide an identity lock, a skin-retouching strength slider, or a guarantee that every facial feature stays unchanged. Review the actual candidate rather than assuming a dedicated portrait workflow.
Keep the natural aspect ratio during placement. Stretching a portrait in the final layout can distort the face even if the downloaded image itself has the right proportions.
Check likeness before texture
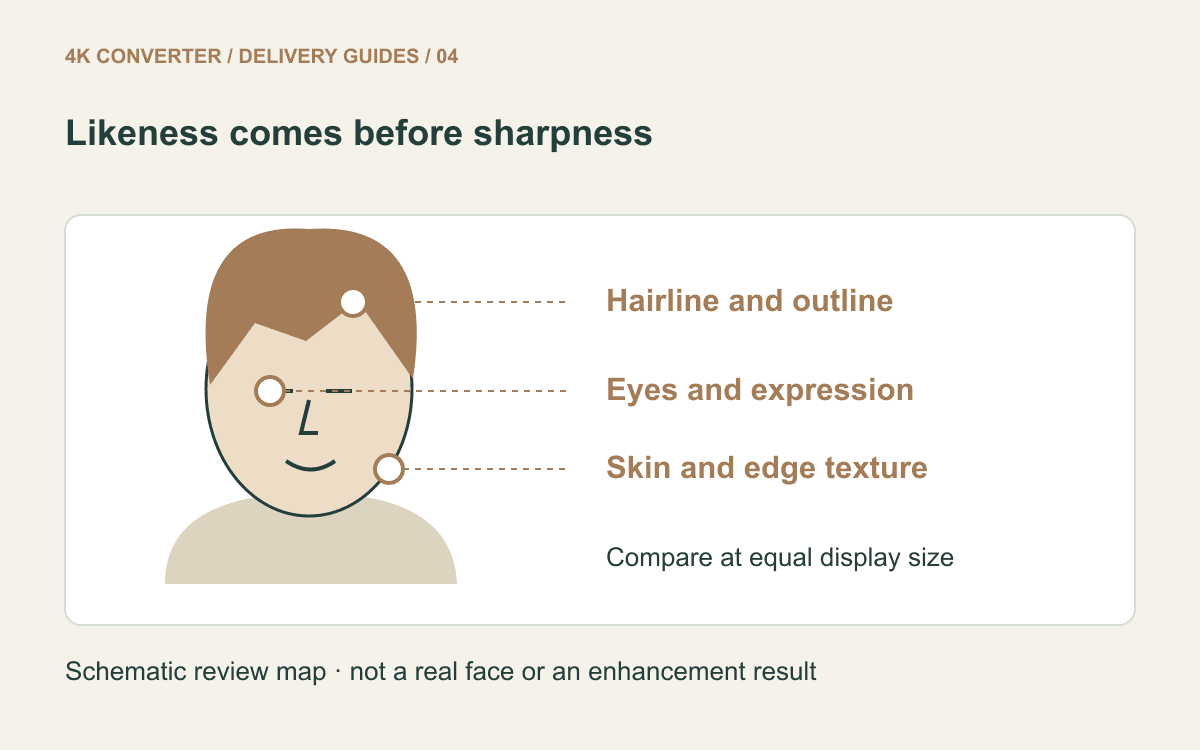
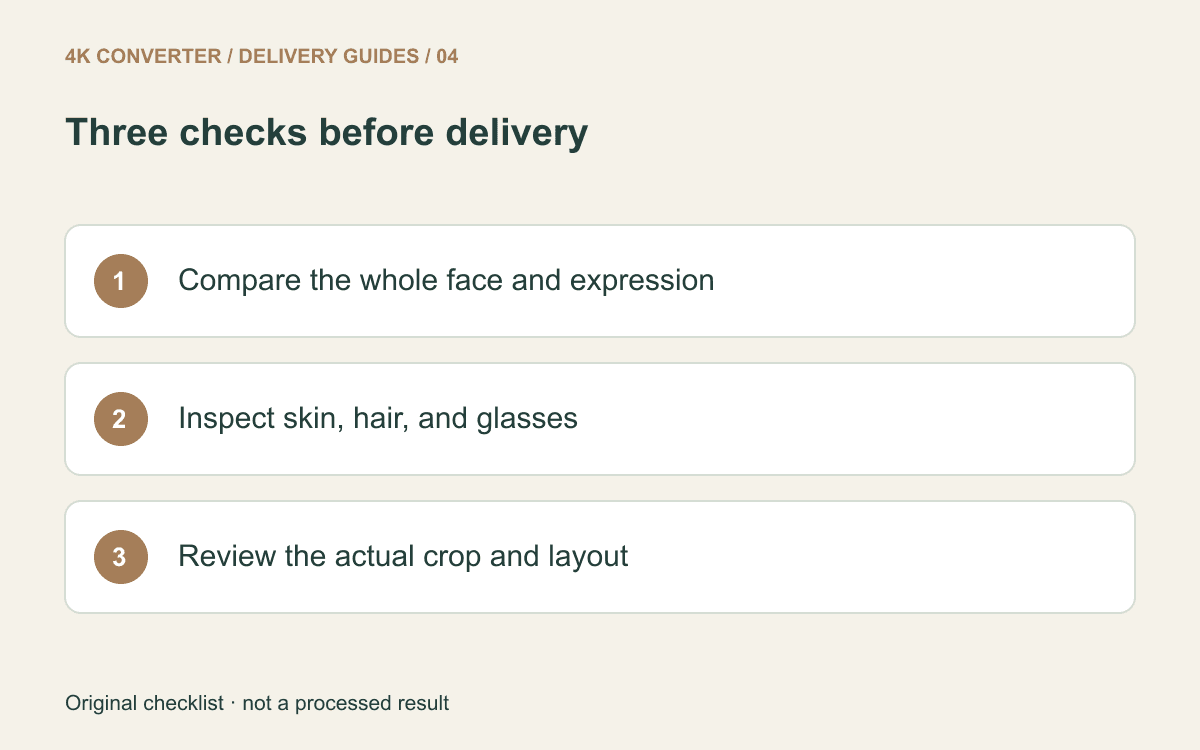
Start with the whole face at normal viewing size. Check the expression and relative positions of the eyes, brows, nose, and mouth. Then examine specific details: the shape of glasses, teeth that are visible, the hairline, and distinctive features already visible in the source.
Do not interpret a newly crisp feature as proof of its original appearance. If a detail is unclear in the reference, the enlarged result may be suggesting an interpretation. Reject changes that make the person look different, even when they appear polished.
Next inspect skin and edges. Look for waxy patches, repeated artificial texture, halos around hair, or glasses that blend into the face. A few sharp eyelashes cannot compensate for an altered expression or an unnatural skin surface.
Judge the crop and delivery format
Place the candidate in its actual profile card or slide. Compare at that size and inspect the mobile crop if applicable. Check that hair, chin, and any important context are still visible. Upscaling is not a substitute for choosing an appropriate crop.
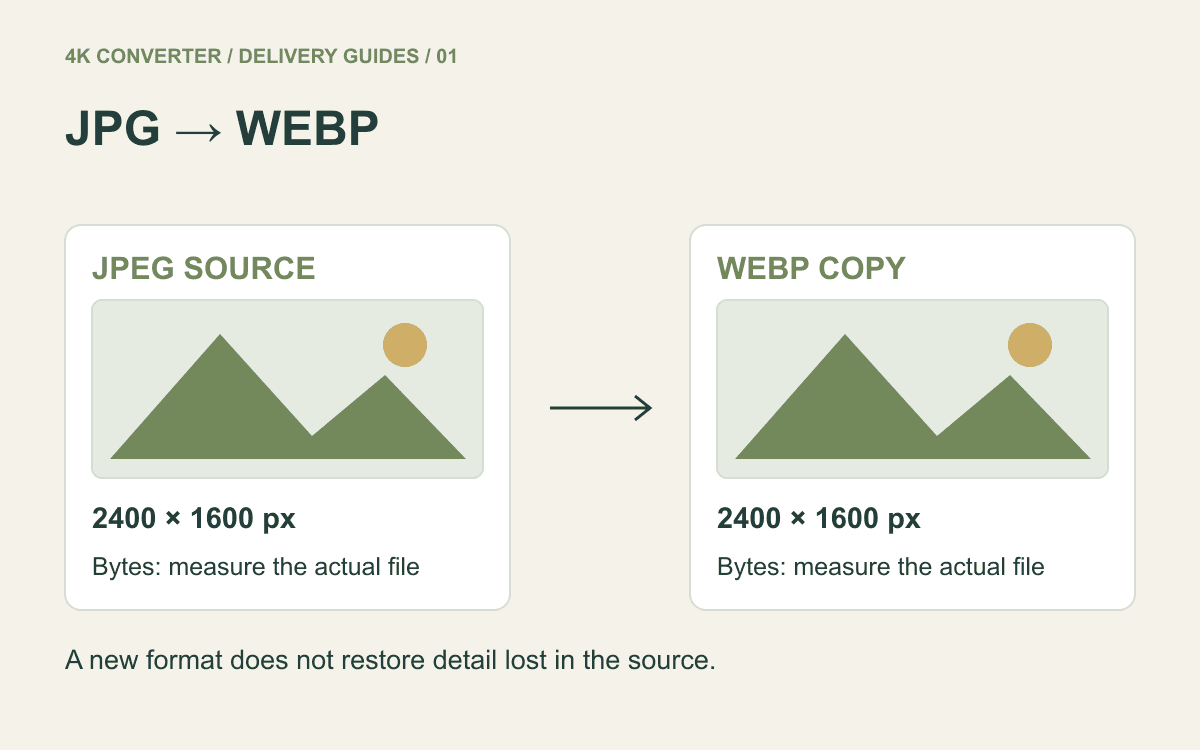
For a website, keep a reviewed master and make a separate delivery copy. The JPG to WebP guide explains how to evaluate file size without assuming the format change improves the photograph.
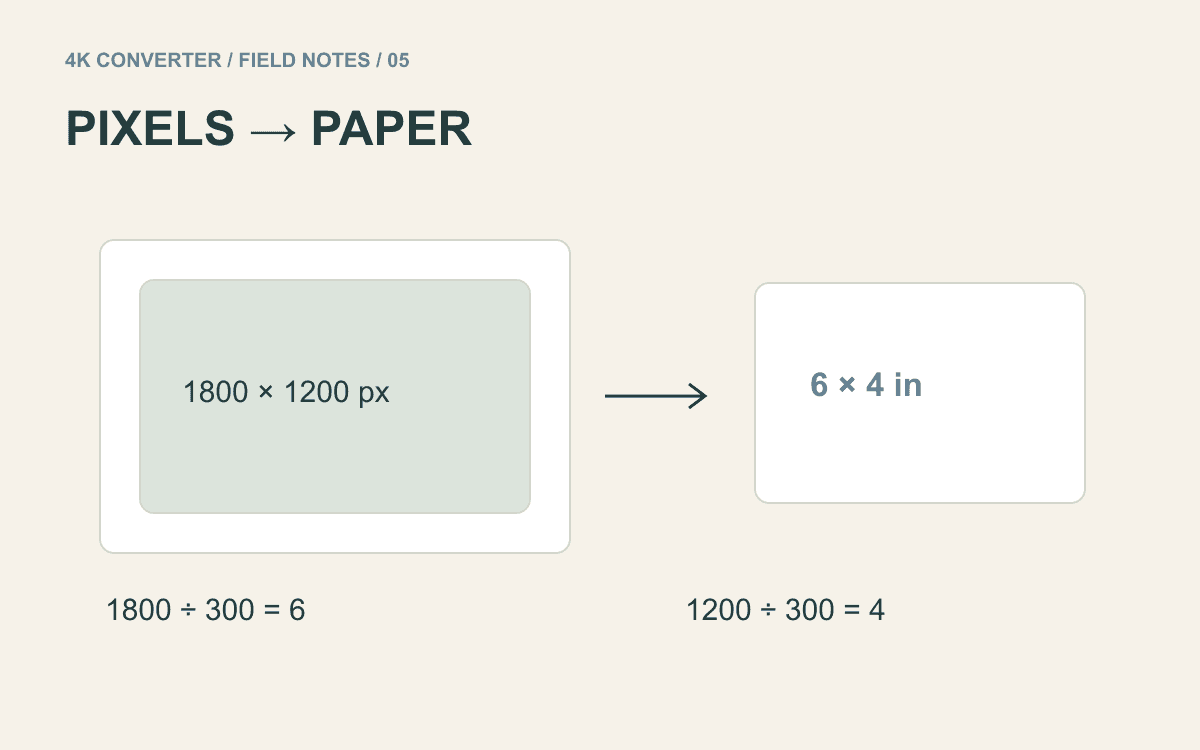
For print, calculate the needed pixel dimensions from the physical layout and inspect a sample. See upscaling for printing. For damaged or scanned family portraits, the old-photo guide adds source-preparation checks.
Common questions
Can the tool fix every blurry face?
No. Blur and limited source detail constrain what a faithful result can show. Use a better source when one exists, and judge the candidate against it.
Does selecting 4K guarantee a realistic portrait?
No. Output dimensions describe size, not likeness or natural texture. Those require visual review.
Should I keep the original after approving a result?
Yes. The original remains the reference for future crops and exports, and for checking whether a detail was present before enhancement.