4K Converter
Upscale Old Photos While Keeping the Original Story
Start with a clean scan, preserve the original file, and compare faces carefully before sharing an enlarged family photograph.
In Bill Watterson’s Calvin and Hobbes strip from October 29, 1989, Calvin’s dad explains old photographs by claiming that the world itself used to be black and white.
It is a wonderfully unreliable family history lesson. Editing an old photograph calls for the opposite habit: keep track of what came from the original and what changed later.
This Pixels Where They Matter guide is about making a larger display copy while keeping the source intact.
Start with the best copy you can find
If the physical photograph is available, make a clean scan. Handle it carefully, avoid unnecessary rubbing, and follow the scanner’s instructions. A fragile or valuable original may need professional handling.
If you must photograph it, use even lighting and keep the camera parallel to the print. Check for reflected windows, curved paper, and a darker side caused by your own shadow. Increasing the pixel count will not remove those problems reliably.
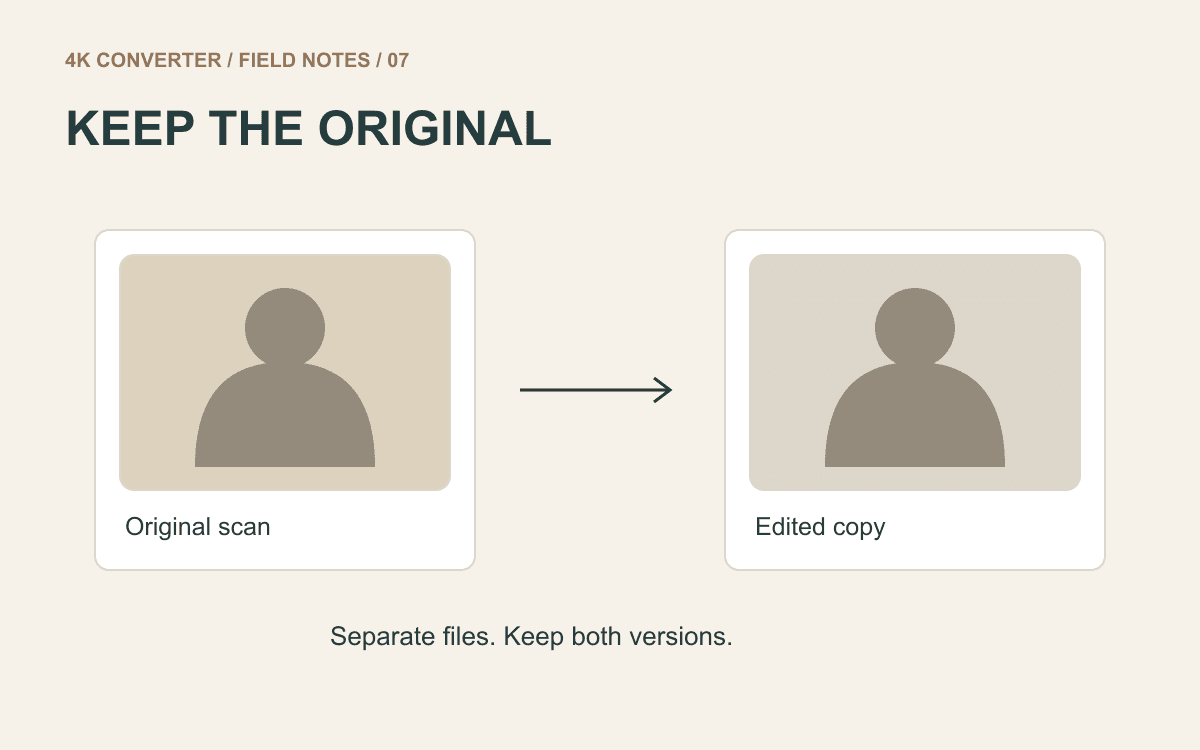
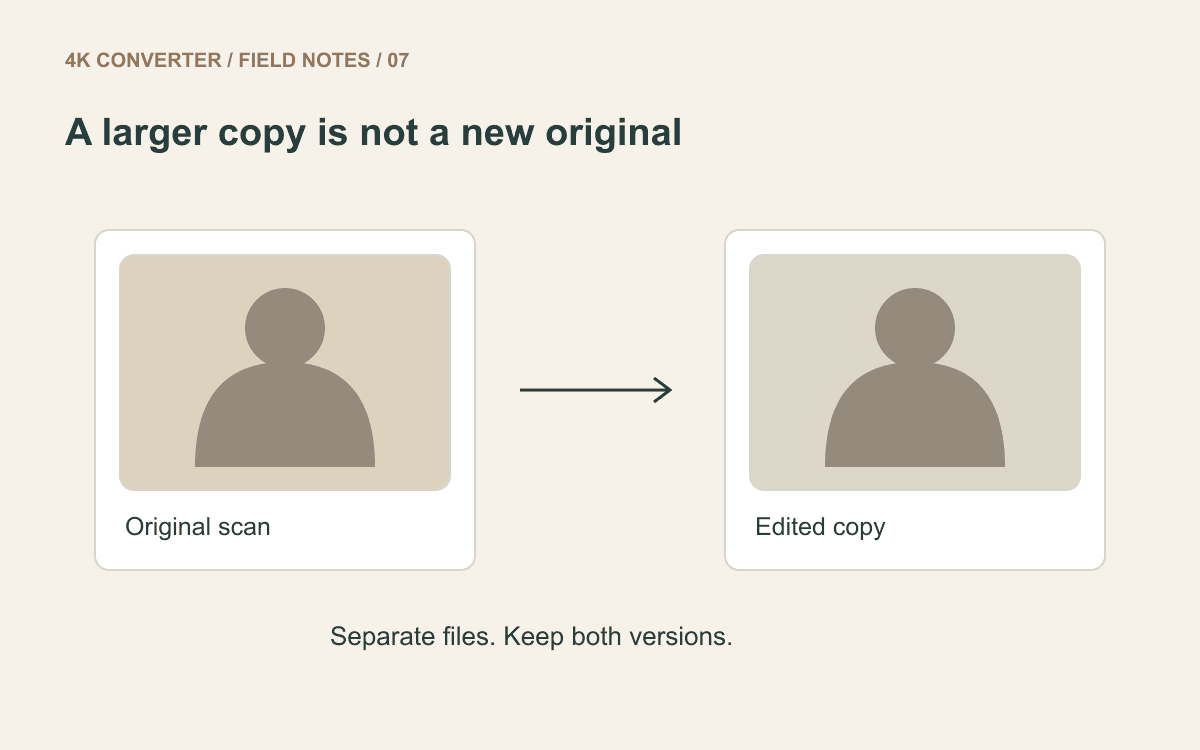
If you already have a digital file, look for an earlier scan before using a copy passed through several messaging apps. Keep the unedited scan in a separate folder so it is not overwritten during experiments.
Enlargement, repair, and colorization are different jobs
Upscaling produces a larger image. Scratch repair attempts to reconstruct damaged areas. Colorization adds an interpretation of colors that a monochrome source did not record.
The image upscaler is an enlargement workflow. Do not expect dedicated scratch removal or historical color reconstruction from it. A scratch can become larger along with the photograph.
That boundary is useful when choosing the next step. If the main problem is a fold across someone’s face, enlarging the scan alone does not address the missing information. If the scan is clean but too small for a display, enlargement may be the relevant task.
Make one version with a clear purpose
Decide whether the result is for a family message, a slide, a framed print, or a larger display. There is little value in choosing the largest output merely because it exists.
Open the old-photo enlargement tool, select the cleanest source, and inspect the proposed dimensions and credit quote. Keep the aspect ratio unless you intentionally prepare a separate crop in an editor.
Download the result with a descriptive filename such as family-1968-enlarged.jpg. Keep any known date, names, and location in a separate note or archive record. Do not rely on a conversion to preserve every piece of embedded metadata.
Compare faces at matching sizes
Put the source and result side by side at the same display size. Look at the shape of the eyes, mouth, teeth, ears, and hairline. A smooth, confident-looking feature may still be a change from the person in the original.
For group photographs, check more than the largest face. Small background faces can contain too little source information for dependable detail.
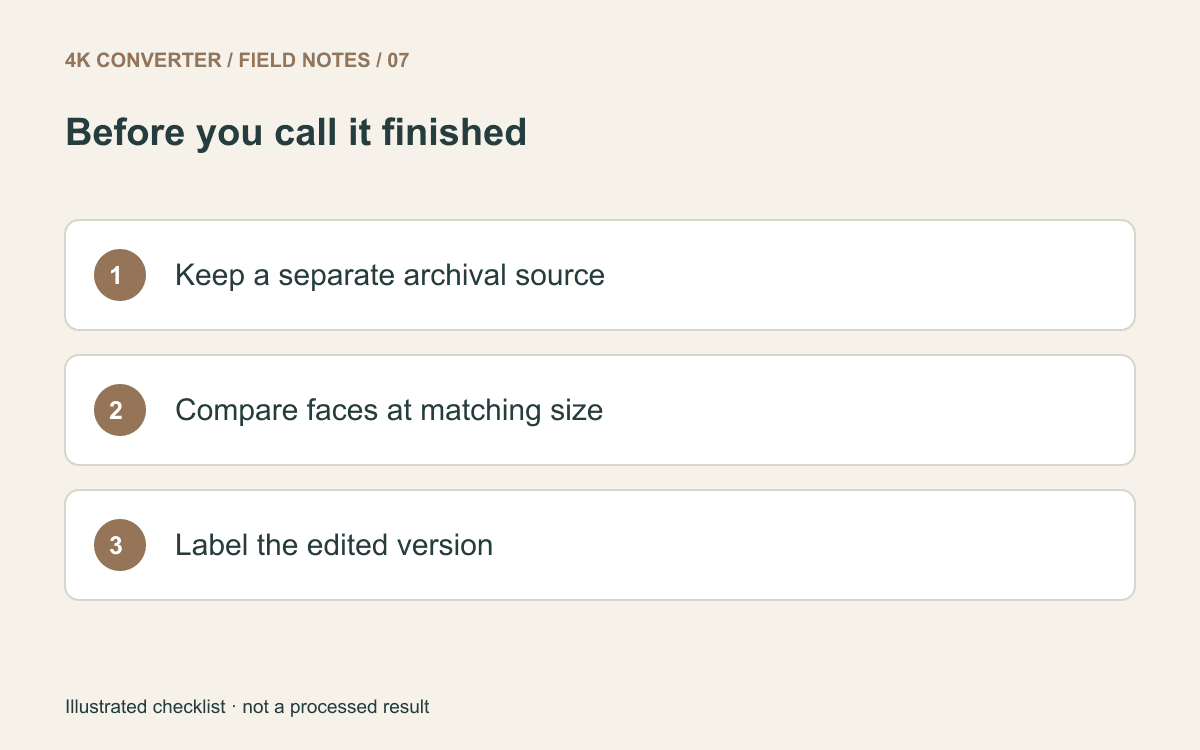
Also inspect clothing patterns, medals, signs, and handwritten notes. If a tiny character was unreadable in the scan, a readable-looking output is not proof of what it originally said. Refer back to the physical photograph or other records.
Share it with enough context
A short caption such as “enlarged from the original scan” is usually enough to distinguish a display copy from an untouched source. If you later repair damage or add color, record that too.
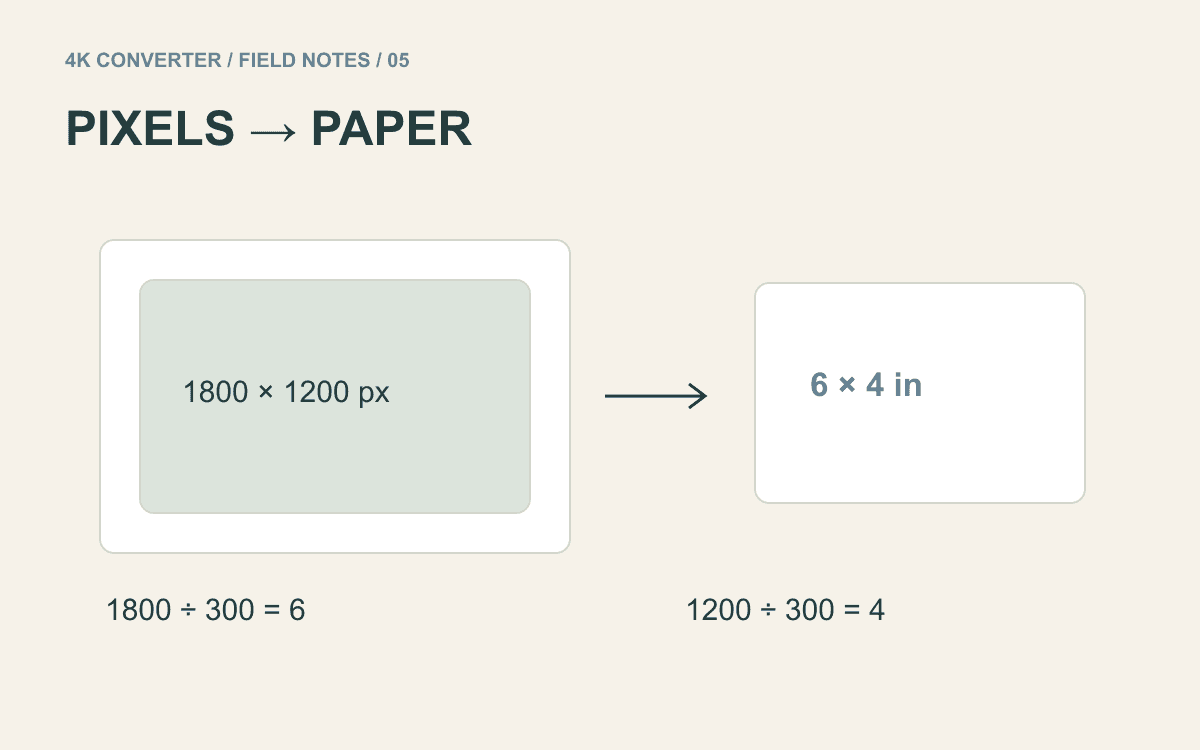
For printing, work from the final pixel dimensions and the printer’s requirements. The pixels-to-print-size guide shows the calculation and explains why a small proof is useful.
Sometimes the best result retains grain, softness, and a little age. The photograph does not have to resemble a modern studio portrait to be worth keeping. A useful enlargement helps people see the picture while leaving the original available for anyone who wants to look more closely.