4K Converter
JPG to WebP: Make a Web Copy Without Guessing the Savings
Convert a JPEG photo to WebP, compare the real download size, and check skin, foliage, and gradients before replacing a website image.
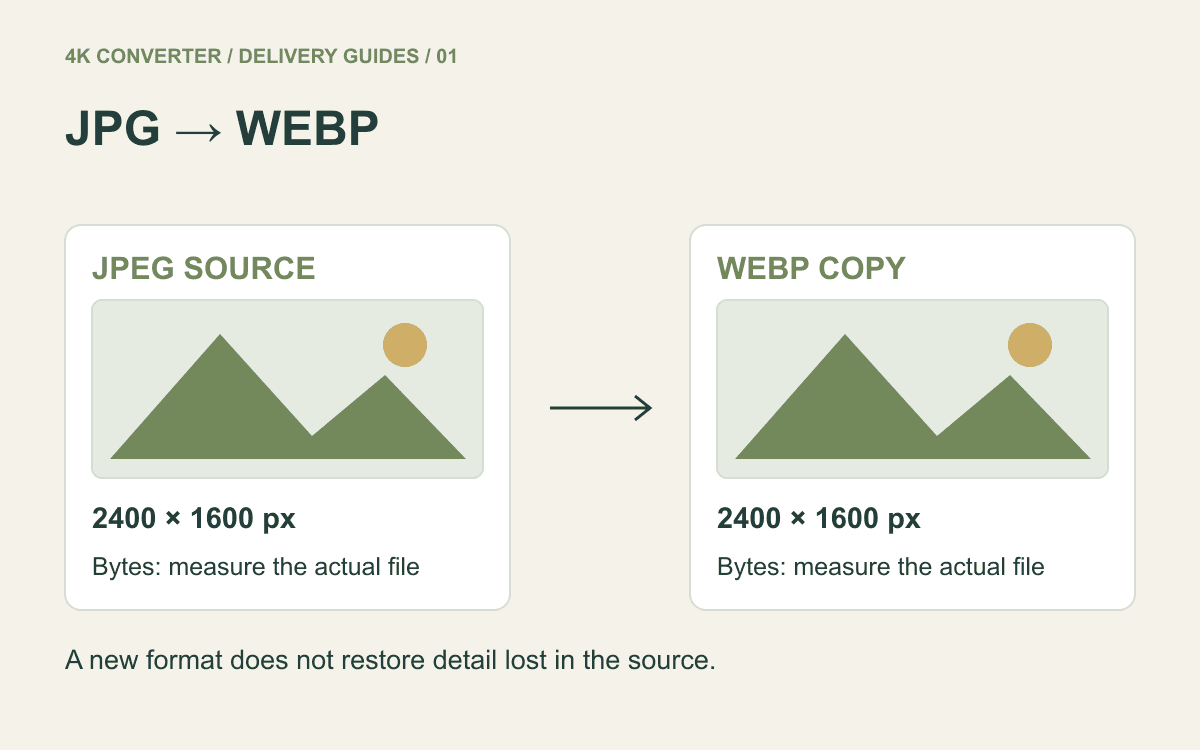
A product photo or article hero looks fine as a JPG, but you want to test a WebP delivery version. Google's WebP FAQ explains that output size depends on the source and encoding choices, and a WebP can sometimes be larger. A useful decision starts with your own pair of files rather than an assumed saving.
This guide focuses on photographic JPEGs. If you are working with a transparent graphic instead, use the separate PNG to WebP guide.
Define the job of the delivery copy
First confirm that your website or receiving application accepts WebP. A smaller file is not useful when an upload form rejects it. Keep the JPG as a reference and create a separate WebP for the intended page or component.
Write down two requirements: the display size and an acceptable appearance. A large hero photo and a small card thumbnail do not need to be judged at the same layout size. Format, pixel dimensions, and how large an image appears on screen are separate decisions.
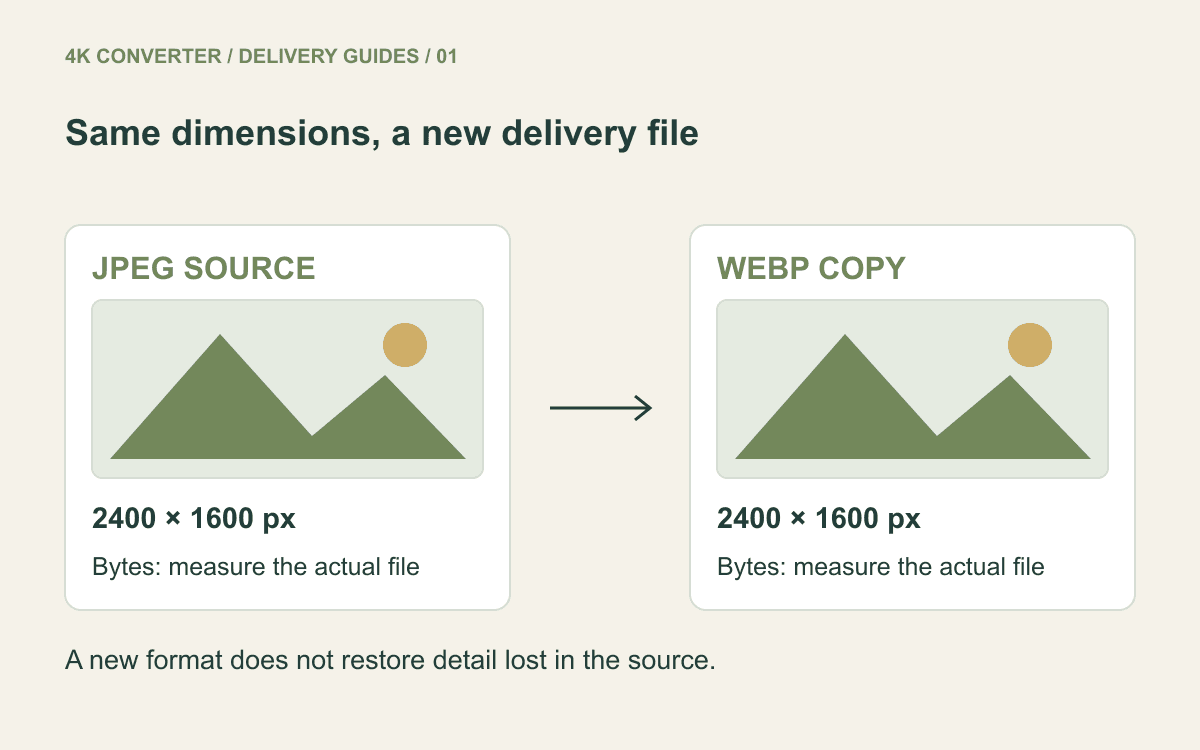
The image converter changes the file format while keeping the decoded pixel dimensions. A 2400 × 1600 JPG remains 2400 × 1600 after conversion. It will not automatically crop the photo or select a thumbnail width for your page.
Choose the best JPEG you already have
Use an original export rather than a copy repeatedly saved by a messaging app or editor. Examine the JPG first for blocky patches, halos, and banding. A format change will not establish that these existing defects have been repaired.
If you have several crops, choose the approved composition before testing compression. Comparing a tightly cropped WebP with a full-size JPG mixes two changes and makes the size comparison harder to interpret.
Avoid a JPG → WebP → JPG loop while making decisions. Keep returning to the same reference export. When a better source is available, prepare a fresh candidate from that source instead of adding another encoding step to a rejected result.
Convert JPG to WebP
- Save the reference JPG and note its dimensions and file size.
- Open the image converter and select the photo.
- Choose WebP as the output format.
- Run conversion and download the new file with a distinct name.
- Compare the two files in the application where the WebP will be used.
The current tool uses the browser's WebP encoder with a preset quality value. It does not expose a quality slider, a target file size, or a guaranteed lossless mode. If you need an exact byte budget, use a workflow with those controls and validate the result there.
This is a format-conversion step, not AI enhancement. It neither adds captured detail nor makes an existing white background transparent. For a small portrait that needs a larger display copy, assess portrait upscaling as a separate task.
Compare bytes and photographic detail
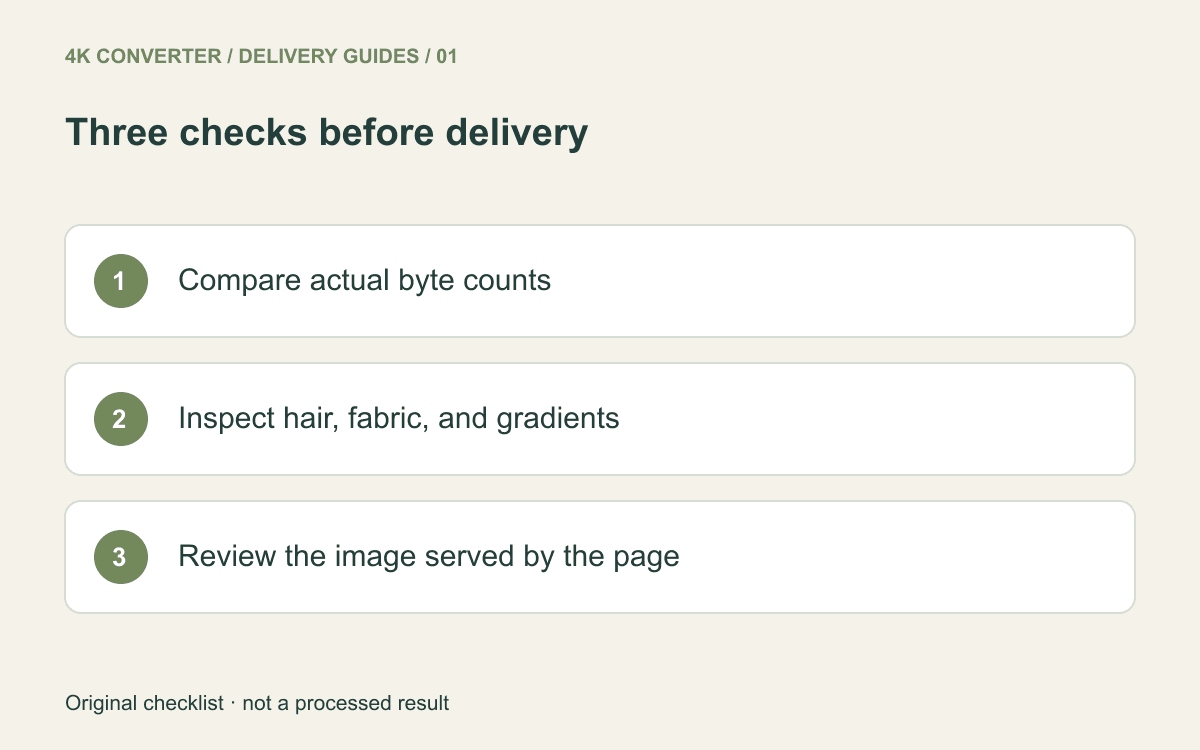
Read the actual byte count for both files. Calculate the reduction as the difference divided by the original size. Use the same units, and do not compare a rounded “MB” label with an exact byte count as if they were equally precise.
Then inspect the photo at its intended display size. Look at hair and foliage, fabric patterns, skin transitions, and skies or studio backdrops. These reveal different changes: fine detail can soften while a smooth gradient develops visible steps.
Zoom in only after the normal-size review. A change visible at extreme magnification may be irrelevant to a small card, while an altered face or product label can matter even at normal size. Record why you accepted or rejected the candidate rather than judging the extension alone.
Check what the page actually serves
After replacing the asset in your content system, open the real page. Check the crop, orientation, color, and responsive presentation. A content system may create its own image variants, so the uploaded file and the delivered file are not always the same object.
Keep useful alternative text focused on what the photograph conveys. Changing an extension does not make a generic filename or inaccurate description helpful. Also confirm that an old cached image has not obscured your review of the replacement.
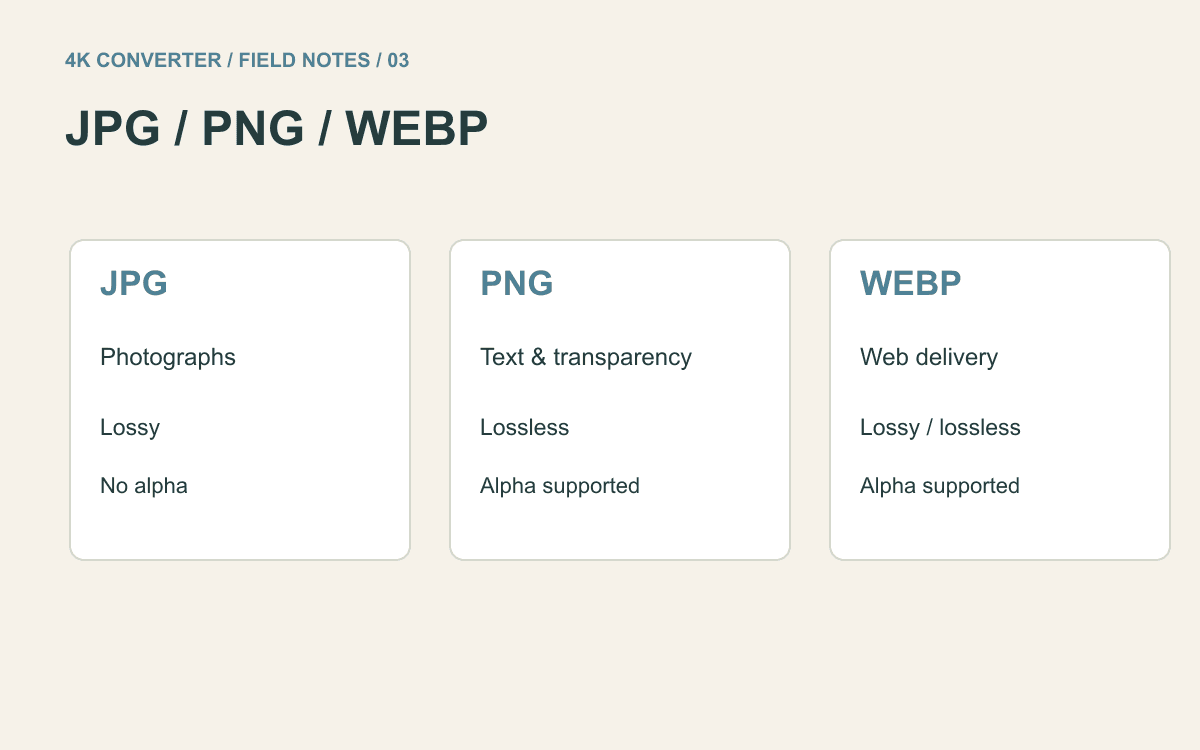
Retain the JPG if the WebP does not offer a worthwhile result for this particular placement. The JPG, PNG, and WebP comparison can help when the asset's purpose changes.
Common questions
Are JPG and JPEG different inputs?
They are common filename extensions for the same image format. Choose the actual file rather than changing its extension to force acceptance.
Is a smaller WebP guaranteed?
No. Compare the measured output from this image. The tool does not promise a particular reduction percentage.
Can converting back to JPG recover lost detail?
No. Keep the original source for future exports. WebP to JPG conversion is useful for a recipient that needs JPG, but it cannot reconstruct discarded information.