4K Converter
Upscale an Image for Printing: Count Pixels Before You Print
Work backward from the paper size, understand PPI, and proof an enlarged photo before committing to the final print.
Mitch Hedberg’s Bigfoot joke blames the blurry creature, rather than the photographer, for the fuzzy photographs.
A large print makes that distinction hard to ignore. Enlarging a file can give you more pixels, but the number alone cannot tell you whether a face, tree, or distant animal will look convincing on paper.
This first Pixels Where They Matter guide begins with a ruler and a little arithmetic.
Start with the paper size
Ask the printer for the required dimensions, bleed, and file specifications. A small photograph viewed in your hand and a poster viewed across a room do not have identical needs.
For raster images, the basic relationship is:
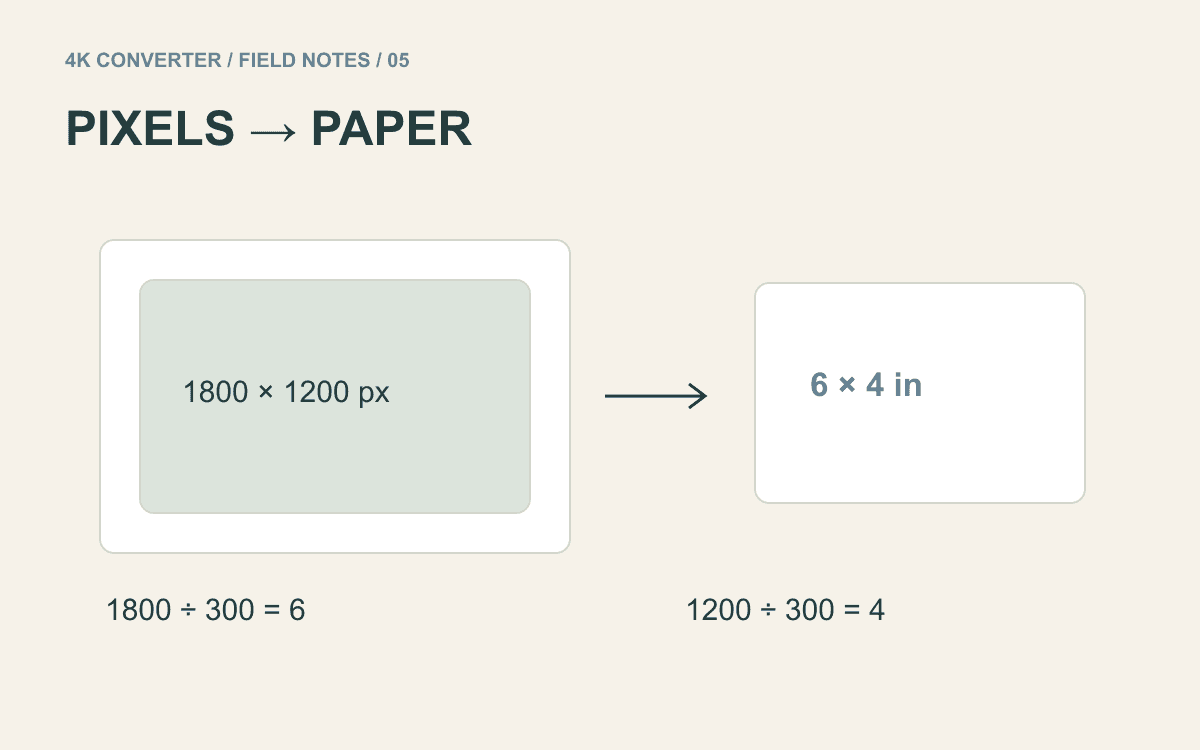
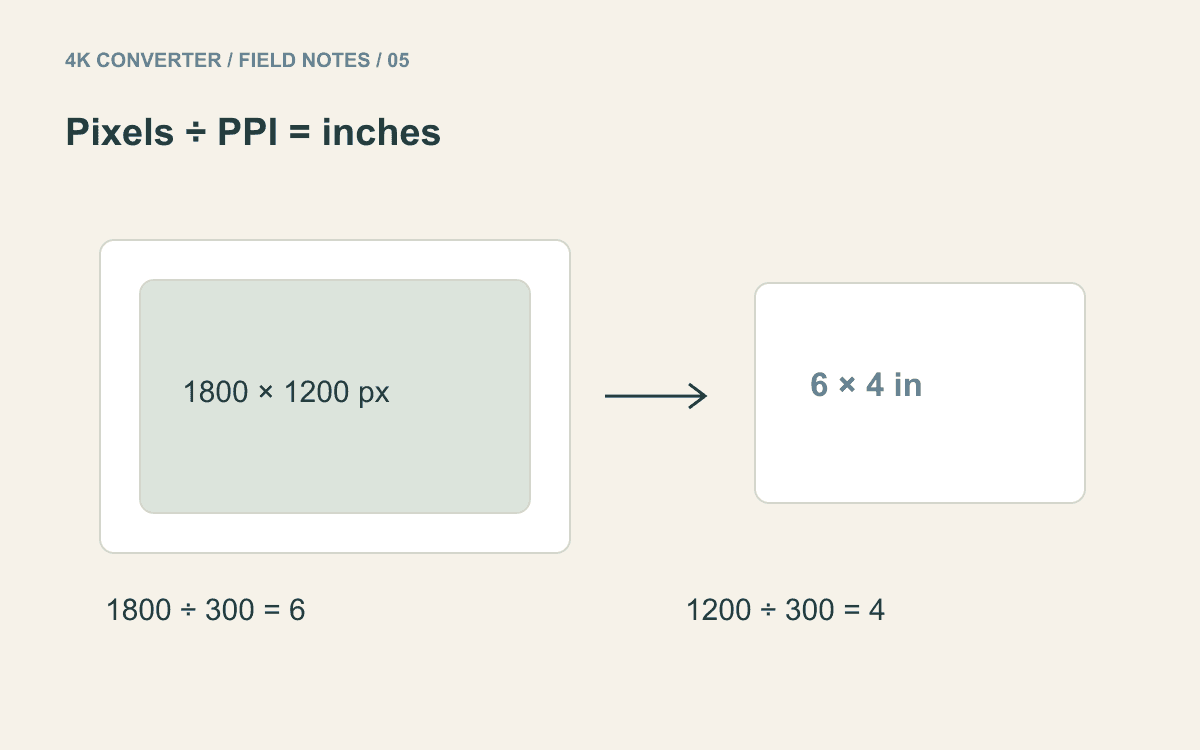
Pixels ÷ pixels per inch (PPI) = printed inches.
An image that is 1800 × 1200 pixels produces a 6 × 4 inch print at 300 PPI. The same pixels spread over 12 × 8 inches give 150 PPI. Nothing new appears in the image simply because you change the number in a resolution field.
300 PPI is a useful example for a close-viewed photo, not a law for every printer or viewing distance. Follow the provider’s requirements.
Changing PPI and adding pixels are different
Changing a resolution value without resampling changes the relationship between pixels and physical size. Resampling changes the pixel count. Adobe’s image-size guide explains those controls.
Printer dots per inch, or DPI, describes another part of the printing process. For preparing the image, concentrate first on the required pixel dimensions at the intended print size.
Suppose the printer asks for 300 PPI at 12 × 8 inches. You need 3600 × 2400 pixels before allowing for any additional crop or bleed. If your source is 1800 × 1200, you now know the actual enlargement required.
Look for a better source before enlarging
Check the camera original, a full-resolution download, or a clean scan. A picture copied out of a messaging app may be much smaller than the version the sender still has.
Crop planning matters too. A 3:2 photograph cannot fill every paper shape without either cropping or leaving borders. Decide what must remain in the frame before counting the pixels available for the final crop.
If important lettering is already unreadable or a face is badly motion-blurred, enlargement may produce a more polished interpretation without recovering the true detail. For evidence, identification, or exact historical features, that distinction matters.
Make one enlarged copy
Open the image upscaler, select the cleanest source, and choose a target suitable for your intended use. Review the proposed output dimensions and credit quote before running it.
On this site, the 4K target uses a 2160-pixel short edge while preserving the aspect ratio. A 3:2 landscape at that target can be 3240 × 2160, rather than 3840 × 2160. At 300 PPI, 3240 × 2160 corresponds to 10.8 × 7.2 inches.
That example is why the actual width and height matter more than the “4K” label. Do not assume one target satisfies every print size. If the source already exceeds a selected target, inspect the proposed dimensions rather than expecting automatic enlargement.
Proof the picture on paper
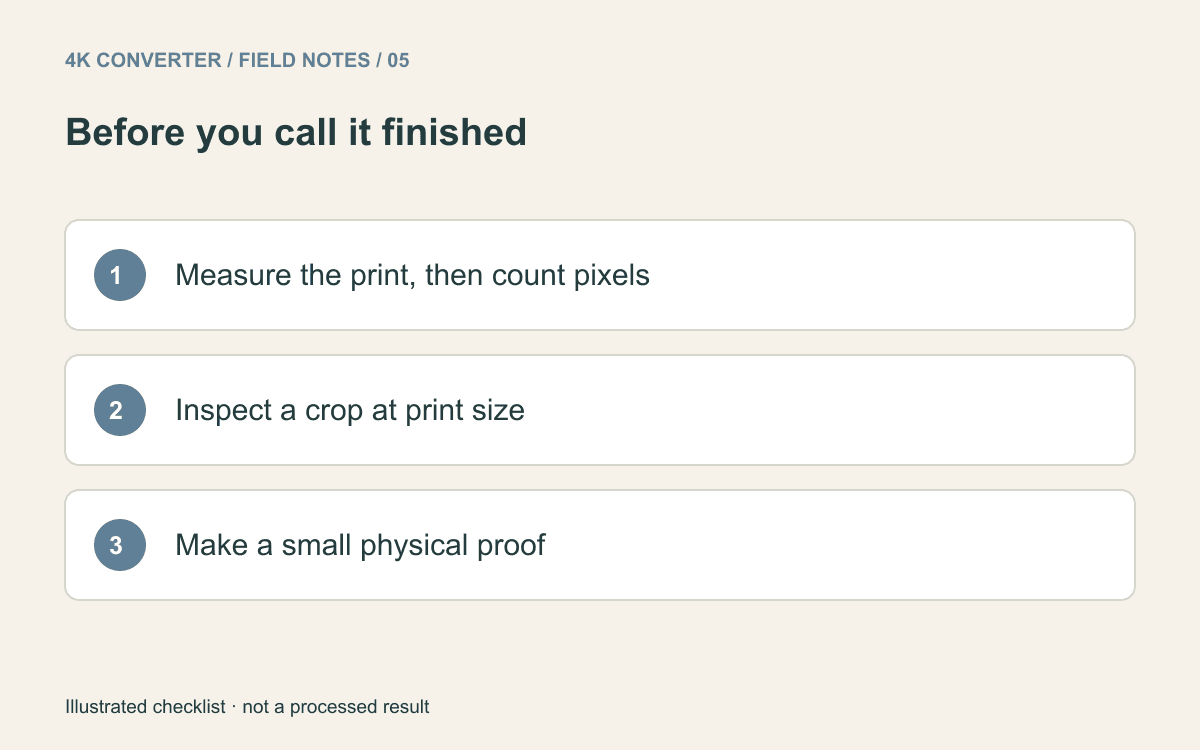
Compare the original and enlarged version at a matching display size. Examine faces, lettering, repeated patterns, and edges. Then print a representative crop at the intended final scale, without fitting that crop to fill the whole sheet.
A physical proof also shows whether the paper and printing process suit the picture. Screen brightness is not a reliable preview of a print.
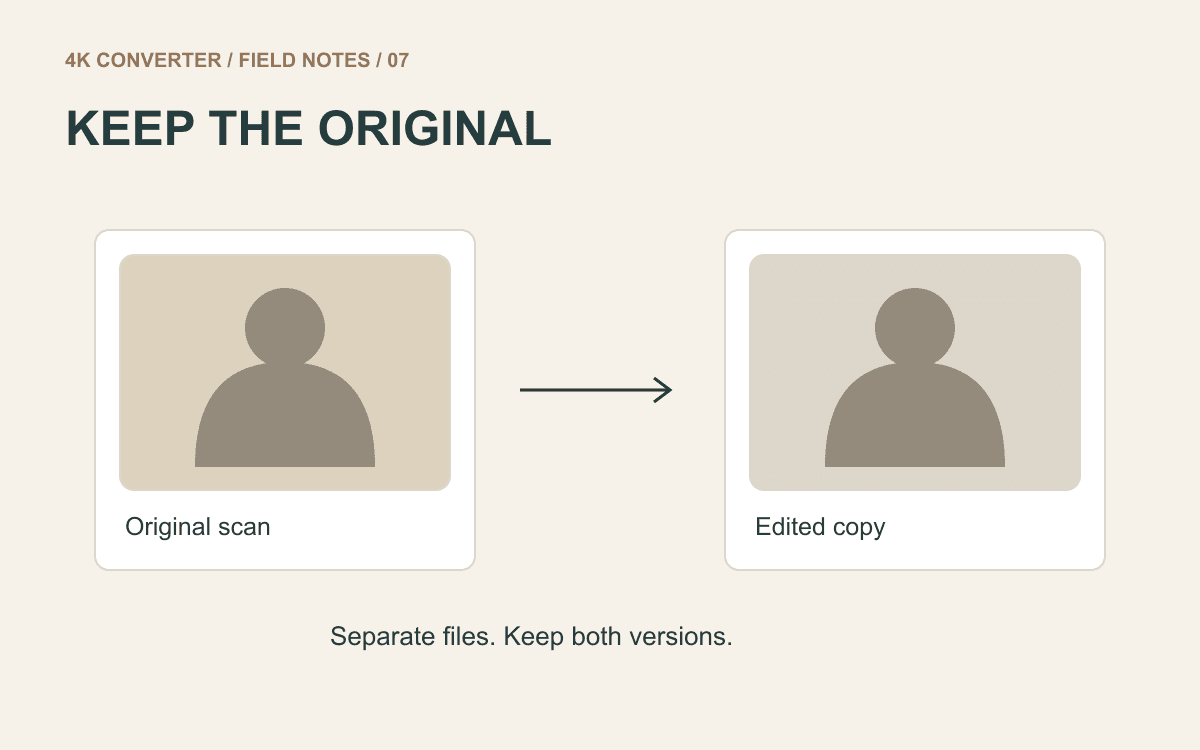
Keep the original file, the enlarged copy, and the approved print export separately. If the source is a family photograph, the old-photo guide explains how to preserve its original appearance while making a useful display copy.