4K Converter
Upscale Gameplay to 4K: Check Motion and HUD Text Together
Test a short gameplay highlight at 4K, with clear checks for frame rate, camera movement, score text, minimaps, and audio timing.
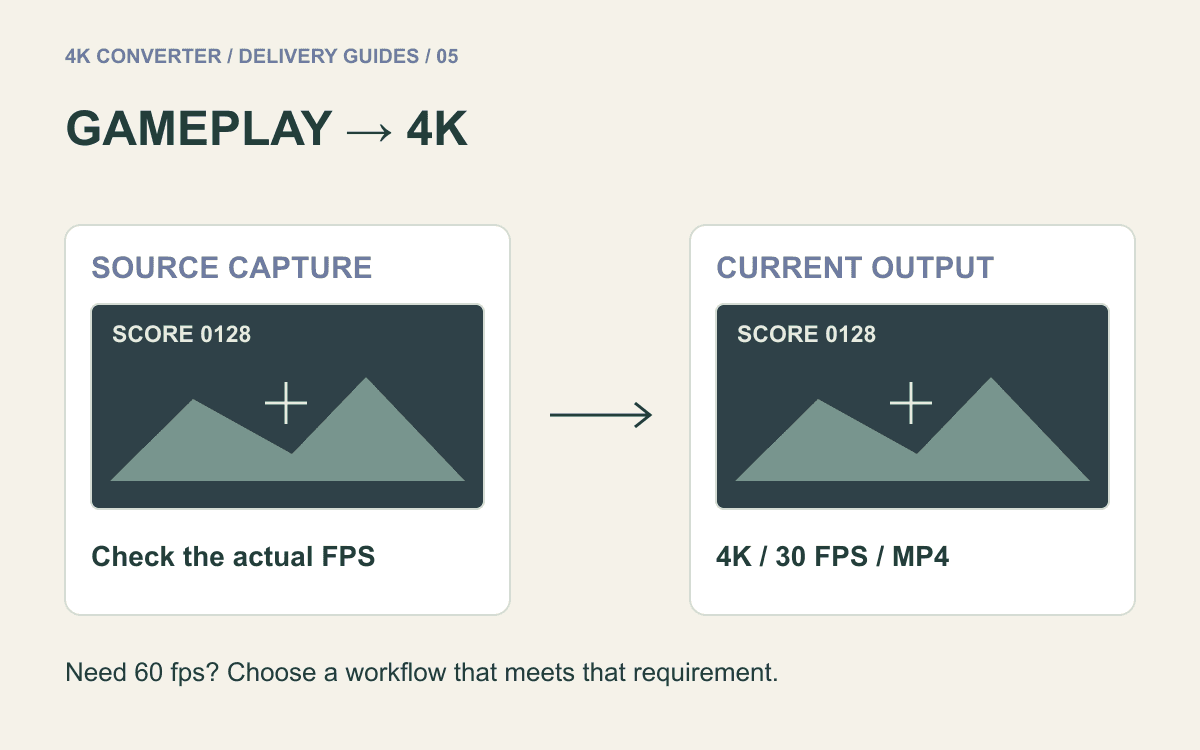
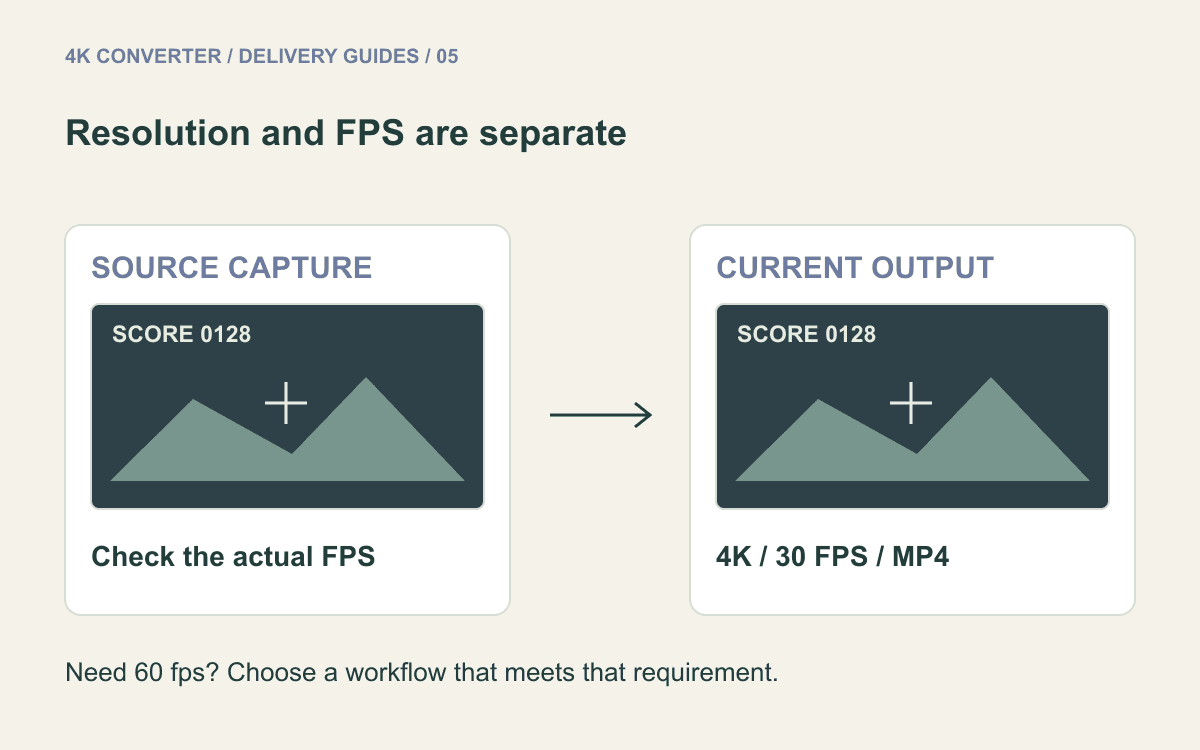
A gameplay recording has at least two separate delivery choices: pixel dimensions and frame rate. The OBS Studio overview lists output resolution and FPS as separate recording settings. A larger exported frame therefore should not be confused with a smoother recording or a higher game frame rate.
This guide is for a short highlight, not a full match. The current video upscaler outputs a 4K MP4 at 30 fps, so begin by deciding whether that combination fits your intended edit.
Decide whether 4K at 30 fps fits the clip
If your delivery needs 60 fps motion, this tool's current 30 fps output does not meet that requirement. Keep the original or choose a workflow that supports the required frame rate. The 4K label is not a reason to abandon a motion requirement you already established.
If 30 fps is acceptable for a brief demonstration or highlight, compare the result before using it. Fast turns, scrolling scenery, and small moving targets can reveal differences that a stationary menu will not.
Upscaling is also separate from improving the performance of the game itself. Processing a saved clip does not raise the game's live FPS, remove input latency, or repair the original recording's missing moments.
Inspect the recording before enhancement
Use the original capture when possible. A social-platform download or heavily compressed shared clip may have already lost information. Watch the local source before assuming enhancement will fix a defect introduced during recording.
Check for frozen moments, repeated frames, unreadable interface text, and missing sound. If you can record the demonstration again, a clean capture may be more useful than processing a flawed copy. Check the capture's output settings rather than assuming the monitor's resolution is the recording's resolution.
For pixel-art games, consider whether the visible pixel grid is intentional. A smoother inferred edge is not necessarily faithful to the game's artwork. Establish whether you want a larger presentation or an altered visual style before choosing the result.
Choose a demanding short sample
Prepare a segment of no more than ten seconds and 200 MB in MP4, MOV, or WebM. These are the current video-upscaler input limits. Trim the excerpt separately; the tool is not a full-length match editor.
Include a camera movement, a moment with interface text, and a clear audio cue when possible. A score change or menu selection gives you something concrete to verify. Avoid choosing only the quietest part of a clip if the final edit includes rapid movement.
Preserve the original aspect ratio. An ultrawide recording should not be stretched to a different shape merely to fill a 16:9 layout. Check actual output dimensions and framing instead of treating every 4K file as the same composition.
Run the gameplay upscaling test
- Keep the original recording and prepare a supported short excerpt.
- Open the video upscaler and upload that excerpt.
- Review the available job information and start processing.
- Download the 4K, 30 fps MP4 as a separate candidate.
- Compare source and output over the same time range at the same display size.
The current public workflow does not expose a gameplay-specific model selector, a HUD protection option, or a 60 fps output setting. If one of those is essential, do not assume it is enabled behind the scenes.
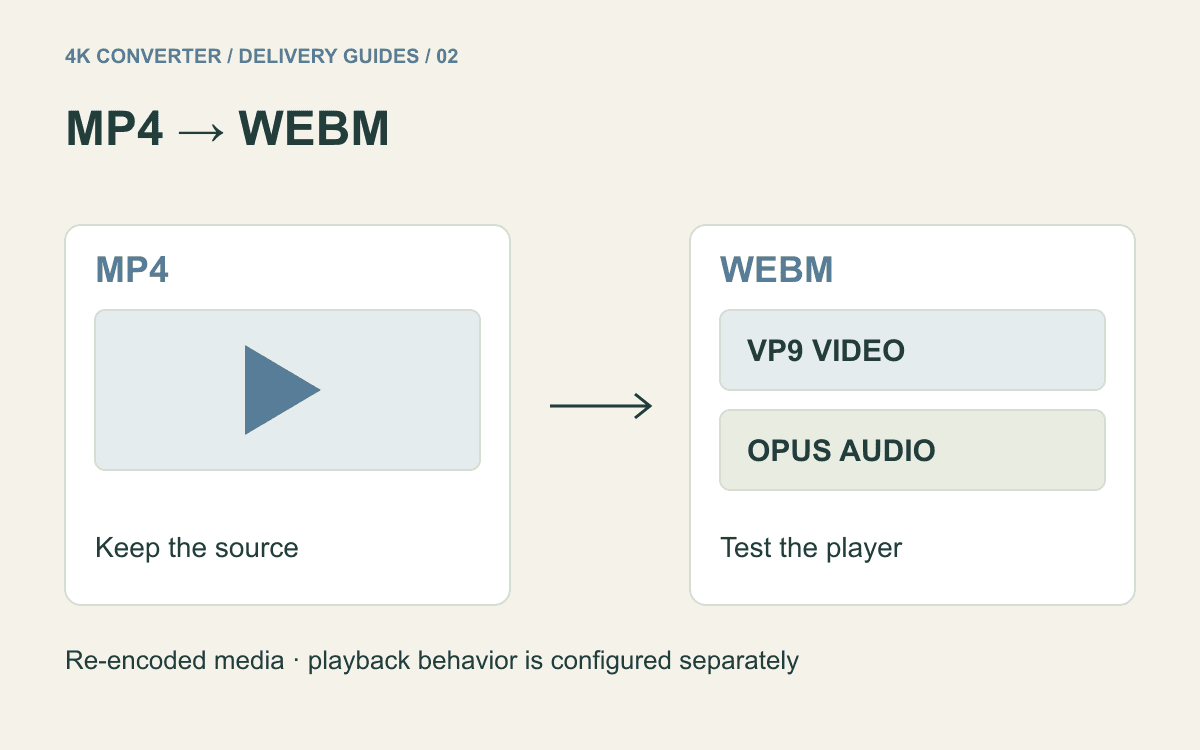
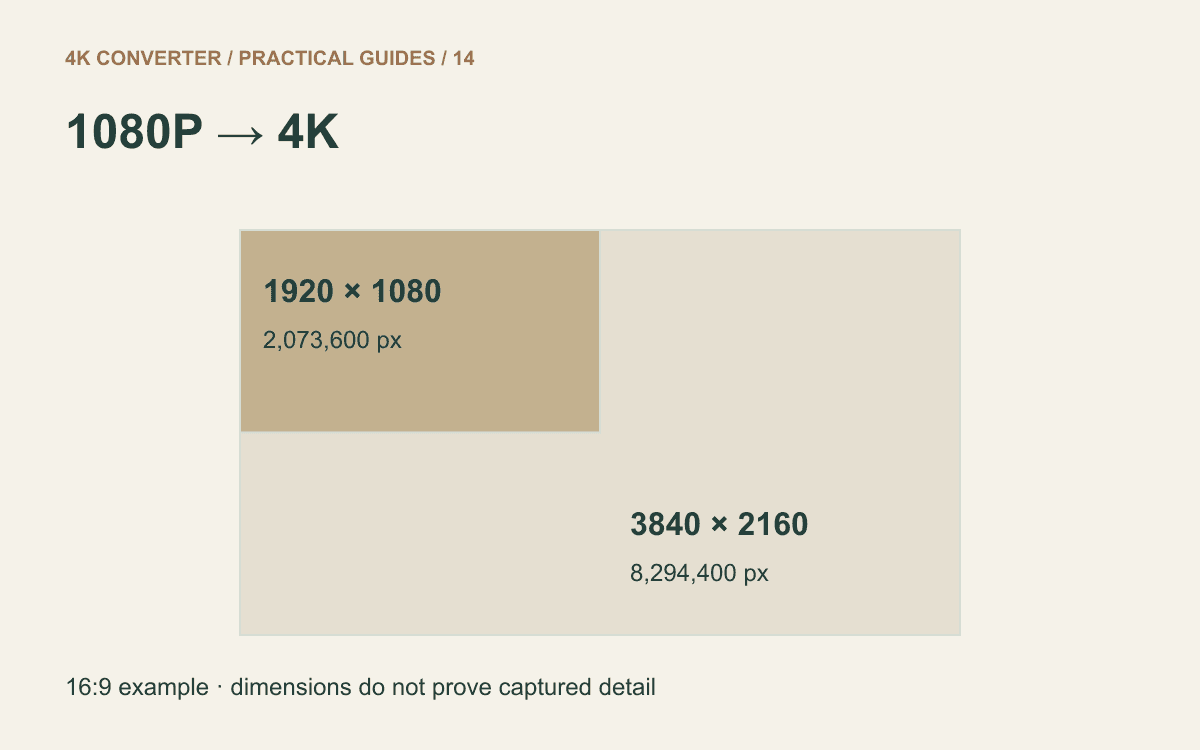
For a general explanation of the size change, see 1080p to 4K. If you only need a WebM delivery format, evaluate MP4 to WebM conversion separately from enhancement.
Watch motion and verify the HUD
Watch the entire sample at normal speed first. Look for edge shimmer, unstable fine textures, or a moving object that changes shape across adjacent frames. A crisp paused frame does not establish that the full sequence is comfortable to watch.
Then inspect the heads-up display, or HUD: scores, timers, health bars, crosshairs, and minimap labels. Compare important numbers with the same source moment. A more legible but altered digit is an error, not recovered information.
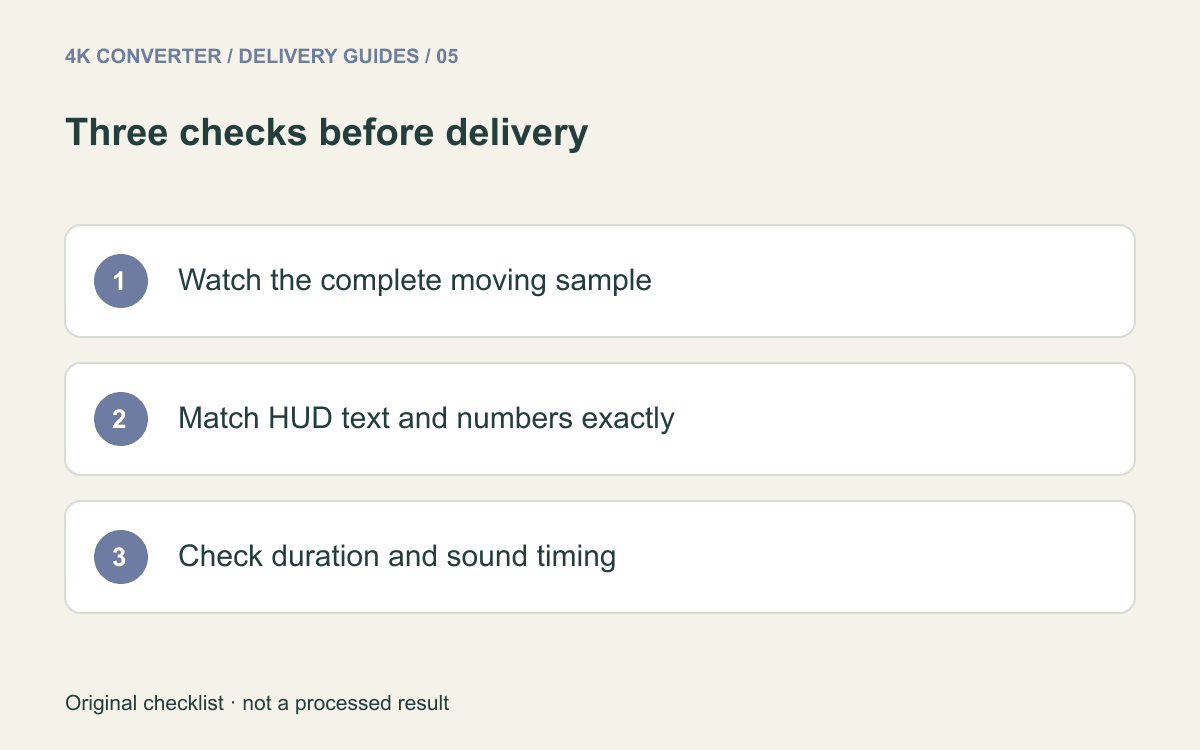
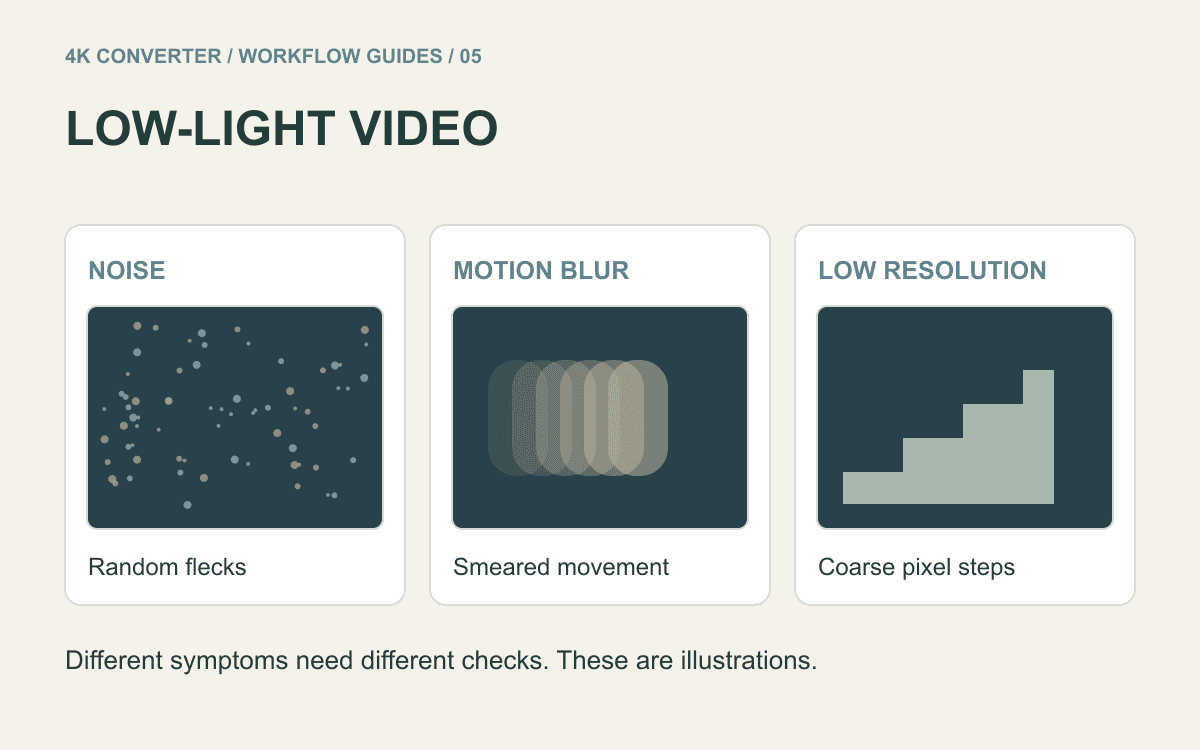
Check audio timing against the chosen cue, verify the duration, and review the candidate inside the final edit. If dark scenes are the difficult part, the low-light video guide helps distinguish noise from blur and low resolution.
Keep the source when the candidate sacrifices motion or changes meaningful details. An enhancement is useful only when it serves the purpose of the finished clip.
Common questions
Will this turn a 30 fps clip into 60 fps?
No. The current output is 30 fps. More pixels and more frames per second are different properties.
Can I upload a whole gameplay session?
Not to this short-clip workflow. Prepare an excerpt within ten seconds and 200 MB, or use a workflow suited to the full recording.
Is the result equivalent to recording the game at native 4K?
Do not treat it as equivalent. The output is derived from the recorded source; it is not a new capture of the game's original rendered scene.