4K Converter
Upscale Low-Light Video: Separate Noise, Blur, and Resolution
Review a short night scene before choosing an enhancement workflow. Identify noise, motion blur, and low resolution, then judge detail across moving frames.
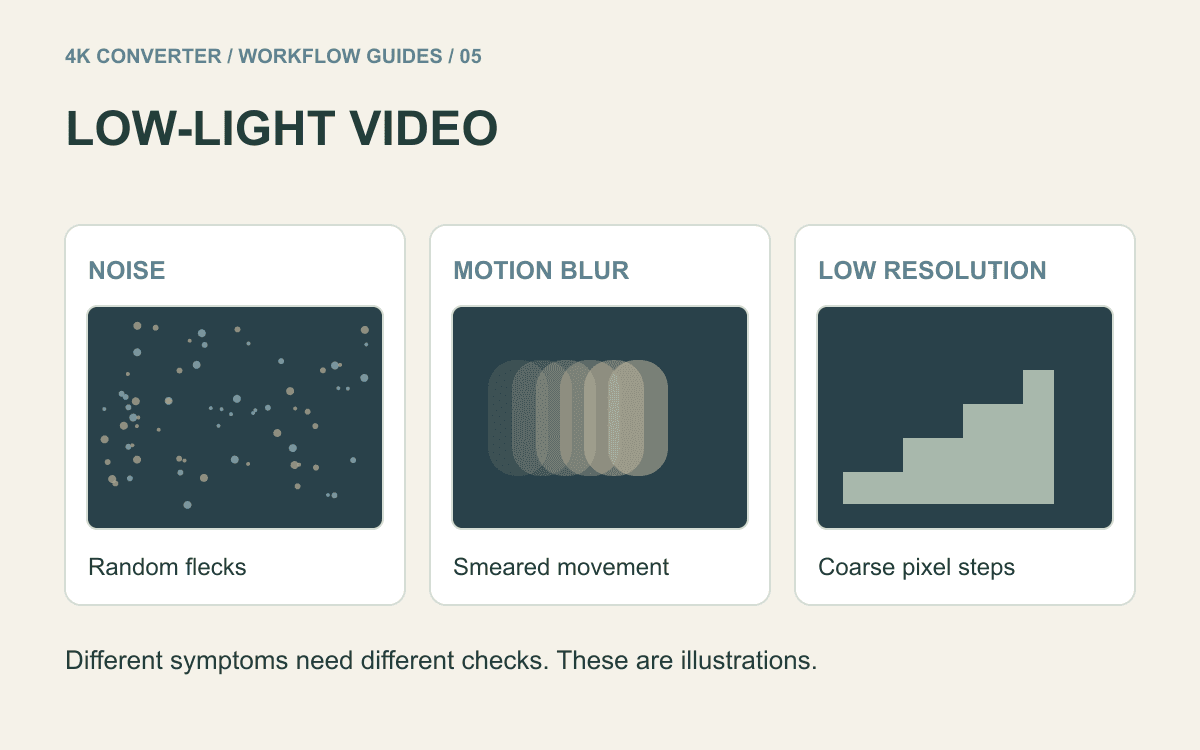
A night scene can be both small and noisy, but those are different problems. Canon's movie ISO guidance notes that higher ISO settings can increase image noise. Enlarging a dark recording does not, by itself, establish that its noise, exposure, or lost detail has been corrected.
Before using a 4K workflow, decide what is wrong with the source and what would count as a useful improvement. A stable, natural-looking short clip is a better target than a single dramatic preview frame.
Name the problem before changing the size
Look at a stationary area and a moving subject, first at normal speed and then paused. Random speckles or changing colored flecks can be noise. A moving hand or face with a smeared edge may show motion blur. Stair-stepped edges and a visibly coarse pixel structure can point to limited resolution.
Several problems can exist at once. Dark areas may also contain very little recorded information. Raising their brightness can make the absence of detail more visible; it does not prove that the missing texture is now available.
Avoid judging the whole clip from a bright sign or lamp. Include skin, fabric, shadow boundaries, and a moving object in your inspection. These regions reveal different weaknesses.
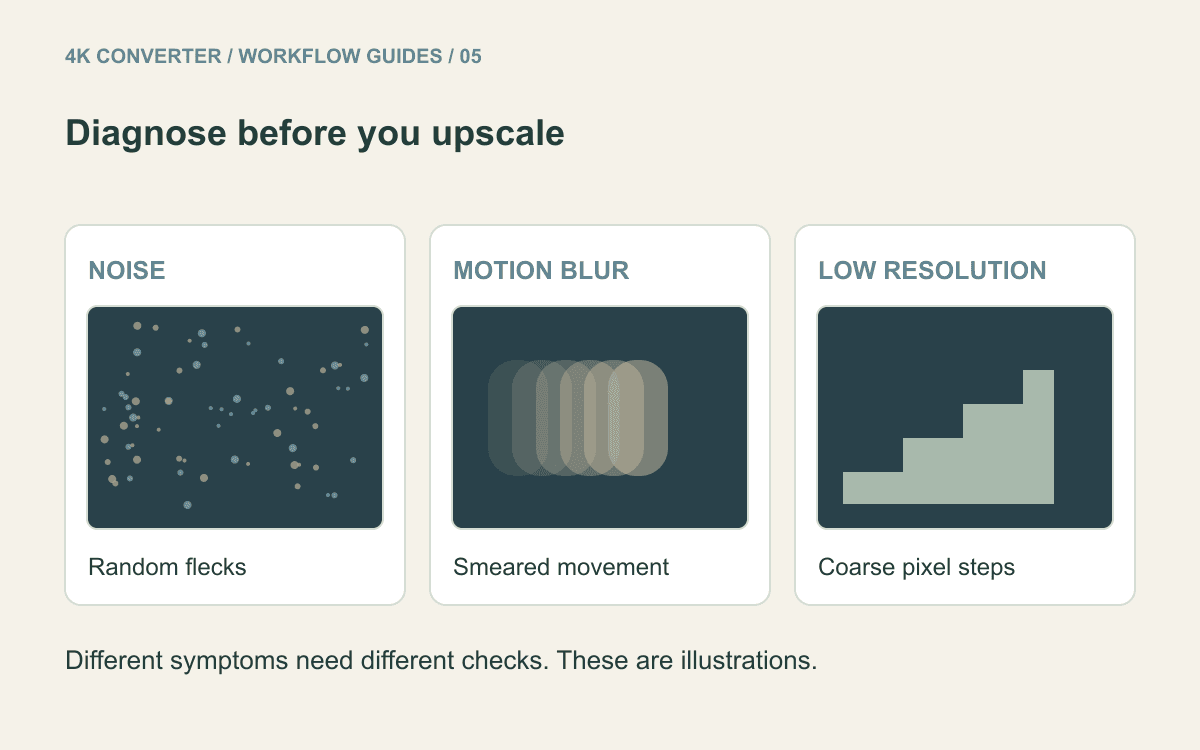
Choose a useful source and test segment
Use the original camera file or the least compressed available copy. A clip downloaded after a messaging app or social platform processed it may already contain extra artifacts. Keep the original and avoid repeated export cycles before the test.
Select a segment that represents the difficulty: a person moving through shadow, a camera pan, or a transition between a lit and dark area. A completely static frame may be easier to process but will not tell you whether the result stays consistent during movement.
The current video upscaler accepts MP4, MOV, and WebM, with limits of 200 MB and ten seconds. It is a short-clip workflow. Prepare an excerpt separately if the original is longer; do not expect the tool to accept a full night-time event recording.
Keep exposure and upscaling decisions separate
If the main issue is brightness or noise, consider a dedicated editing step with controls for that problem. This site's interface does not expose an exposure adjustment or a noise-reduction strength control. Do not assume that choosing 4K selects a particular denoising treatment.
There is no single processing order that this article can certify for every source. If you try an exposure or noise adjustment in an editor, preserve the unedited version and compare representative exports. Excessive smoothing can remove real texture along with noise; extra sharpening can make artifacts more conspicuous.
Treat any newly suggested fine detail cautiously. A sharpened sign or face is not evidence that the original recording contained exactly that lettering or feature. For identity-critical or factual use, retain the source and avoid presenting inferred detail as a recovered fact.
Run a short 4K test
- Keep the original and prepare a representative segment within the input limits.
- Open the video upscaler and upload the supported file.
- Run the available enhancement workflow and download the result.
- Compare the same time range at the same viewing size.
- Test the output in its final destination before processing more material.
The current output is a 4K MP4 at 30 fps. That output specification is not a promise of recovered shadow texture or sharper motion. If the source uses a different frame rate, pay particular attention to movement and pacing in the result.
Judge moving detail, not one attractive frame
Watch at normal speed before pausing. Check whether texture flickers, edges shimmer, or a face changes appearance across neighboring frames. A frame that looks crisp in isolation may belong to a distracting sequence.
Then inspect a few matching stills at equal display size. Look for waxy skin, disappearing fabric texture, halos around lamps, and dark regions that have become flat or blotchy. Compare to the source to distinguish existing defects from new ones.
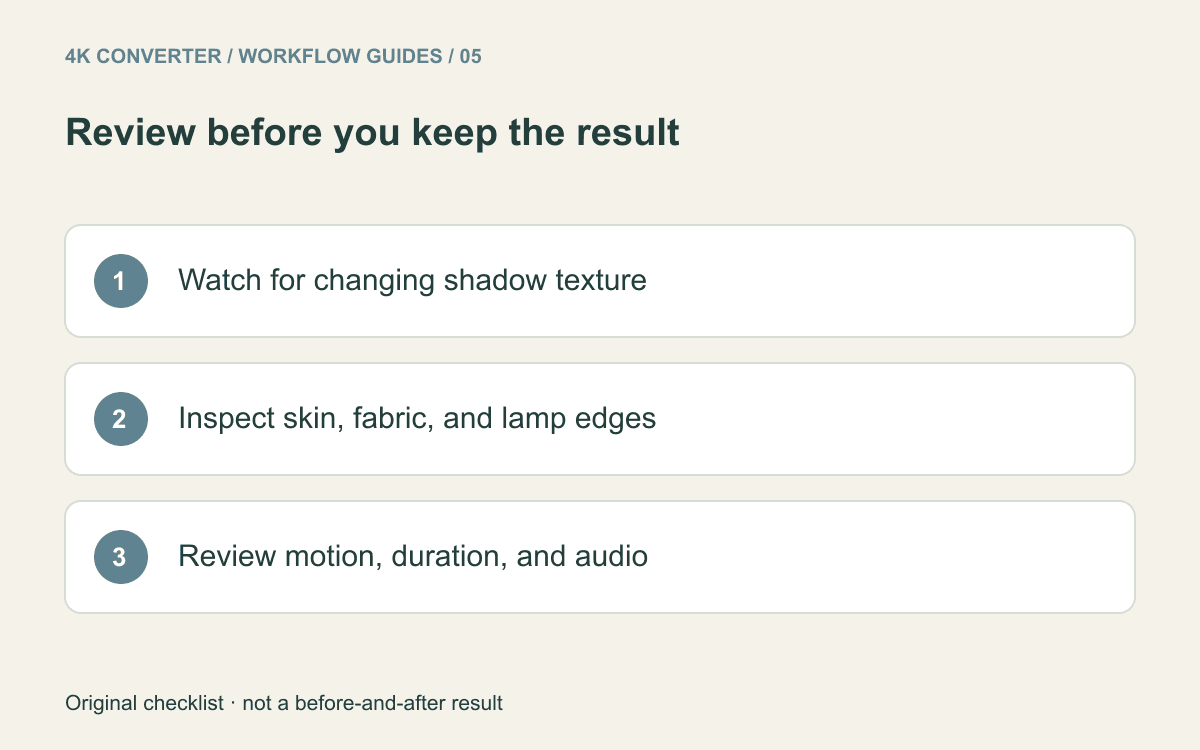
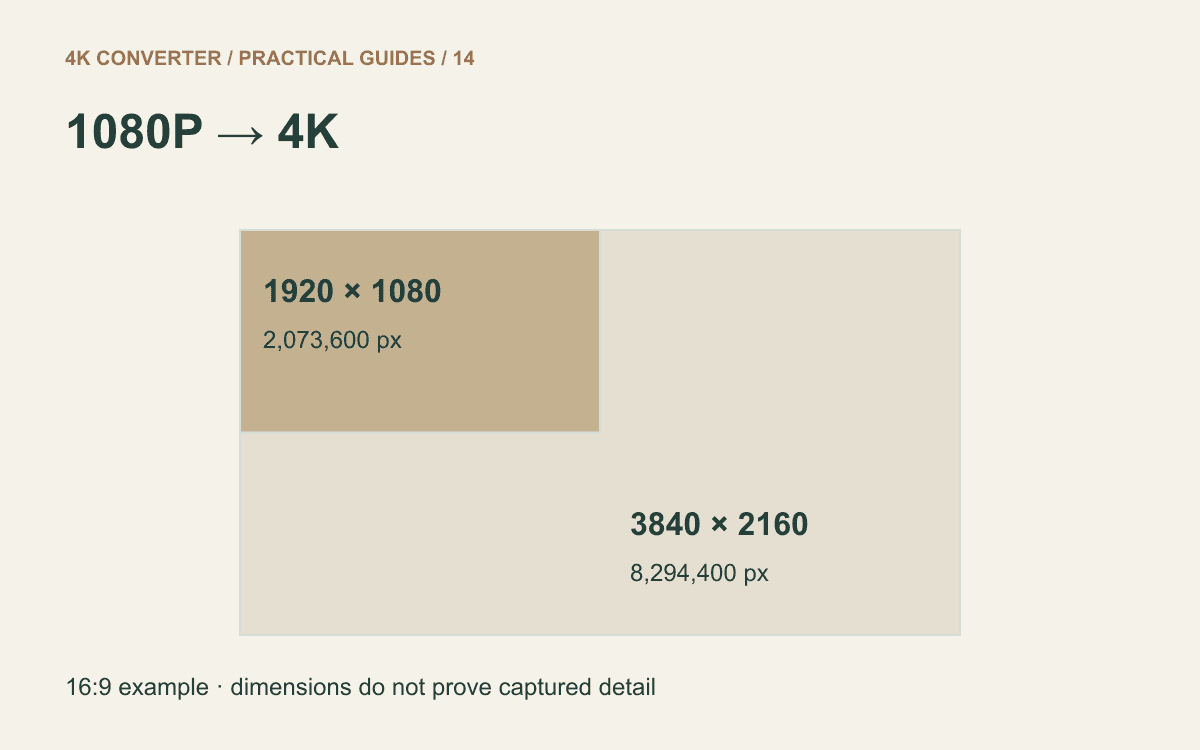
Finally, verify duration, orientation, and audio against the source. Keep the original when a result is less natural or less useful, even if the exported dimensions are larger. For a broader resolution checklist, see 1080p to 4K upscaling.
Common questions
Will 4K upscaling brighten a dark video?
Do not rely on it as an exposure control. Evaluate brightness separately and use an editing workflow when you need a deliberate adjustment.
Can it remove all noise and motion blur?
No such result is guaranteed. Noise, blur, compression artifacts, and missing detail have different causes. Test a representative clip and judge the actual output.
Can I use a vertical night clip?
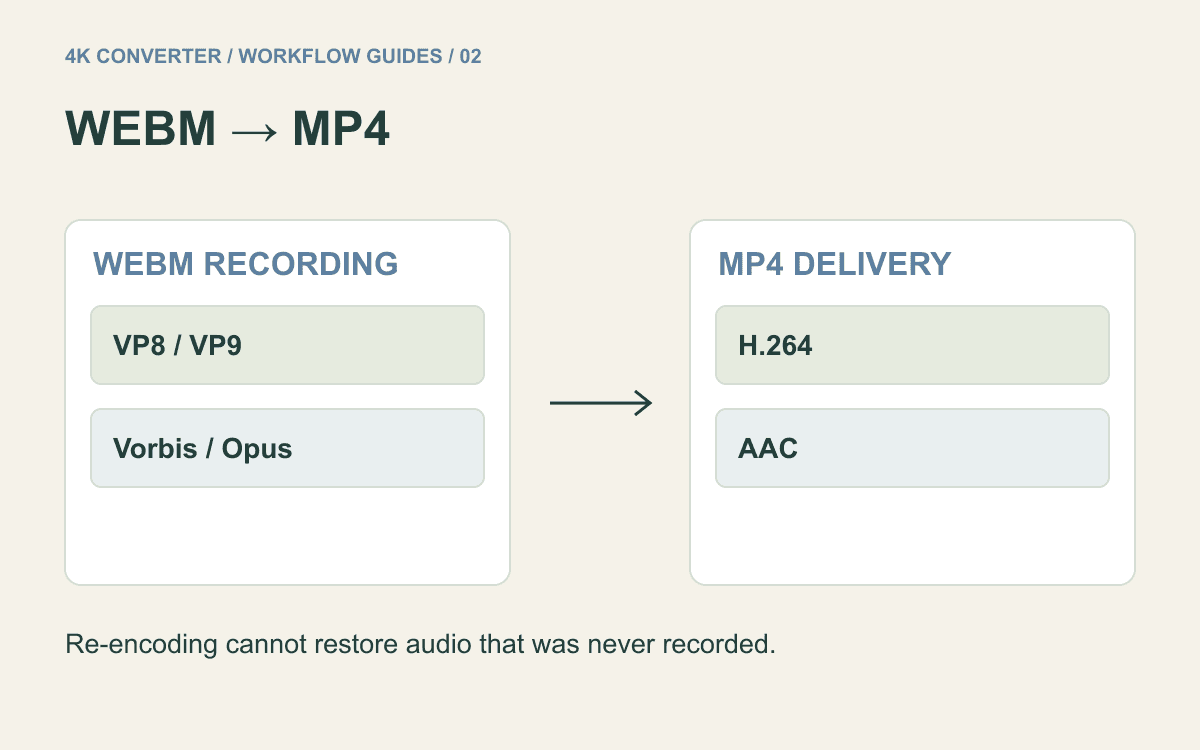
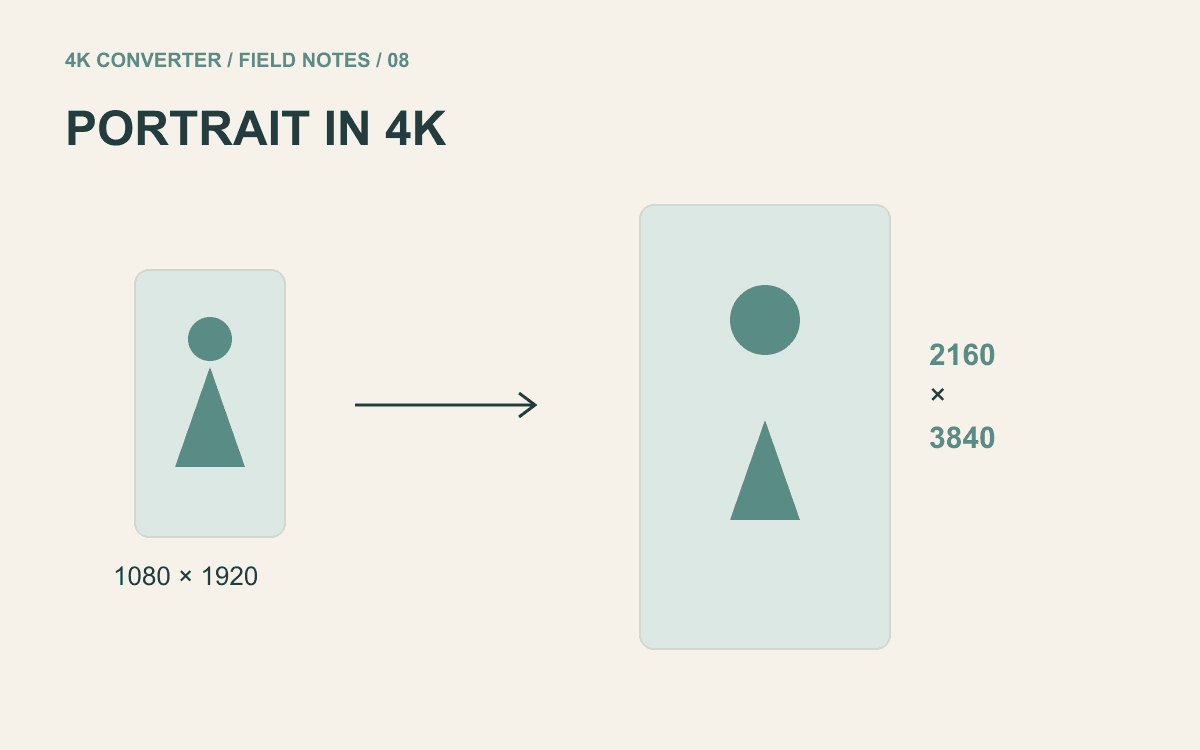
Use a supported file within the limits and check its orientation and framing after processing. The vertical-video guide covers additional delivery checks. If you only need a compatible container, consider WebM to MP4 instead of assuming an upscale is necessary.