4K Converter
PNG to WebP: A Smaller Web Image Still Needs a Quality Check
Prepare a WebP delivery copy of a static PNG, compare its real file size, and check transparency and fine edges before using it on a page.
A transparent PNG looks right on your page, but you want a lighter delivery asset. WebP is a reasonable format to test: Google's WebP FAQ describes support for transparency and both lossy and lossless compression. The result still depends on the particular image and encoder.
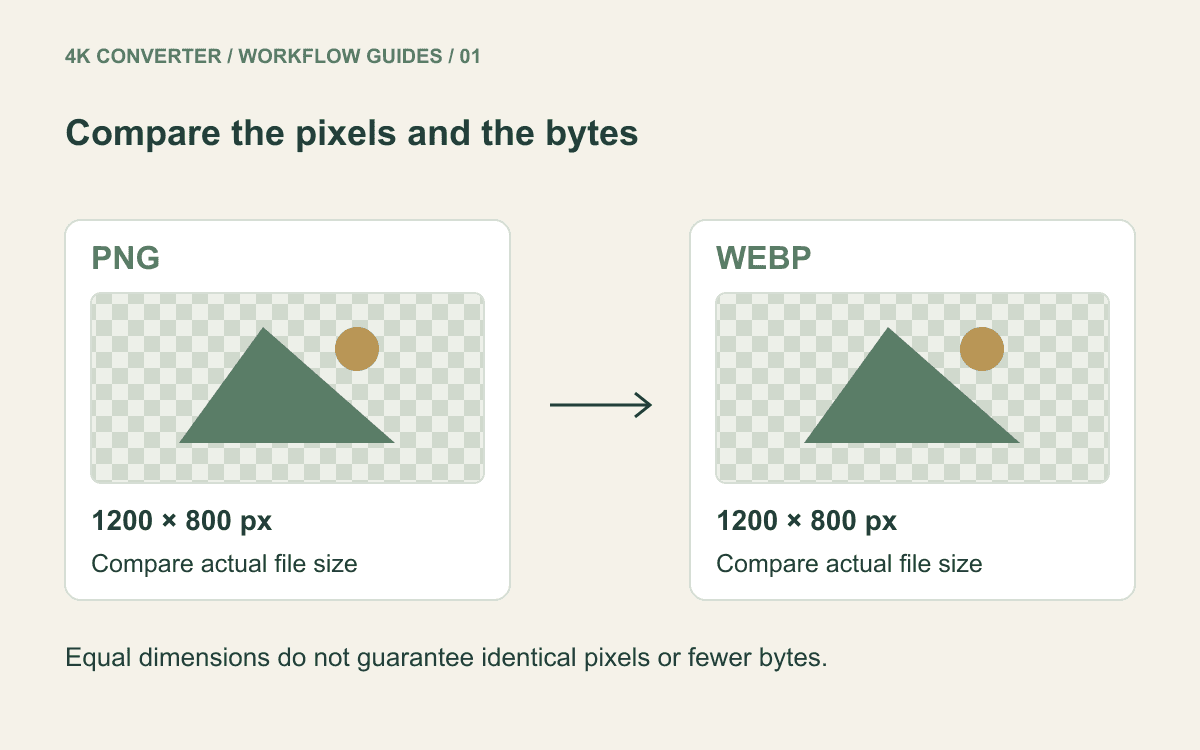
Treat conversion as a comparison, not a promised percentage reduction. The useful file is the one that fits the destination, looks correct there, and uses an appropriate number of bytes.
Decide what the WebP copy is for
A website illustration, product cutout, or interface graphic can be a good test case if the receiving application accepts WebP. Check the destination first: an upload form that requires PNG will not become compatible merely because the alternative file is smaller.
Keep your PNG as the source or editing copy. A separate WebP can serve as the delivery version. This makes it easier to change export choices later without converting a previously compressed result again.
Choose a representative sample before processing a whole collection. A photograph with a transparent edge, a flat icon, and a screenshot with tiny text place different demands on an encoder. One successful conversion does not establish a size or quality result for every asset.
Transparency does not mean lossless color
A format can support transparent pixels while using lossy compression for visible image content. Preserving an empty background therefore does not prove that every color value or fine edge is unchanged.
This site's image converter uses the browser's WebP encoder with a preset quality setting. It does not expose a lossless switch or a file-size target. Do not describe its output as a guaranteed lossless copy of your PNG.
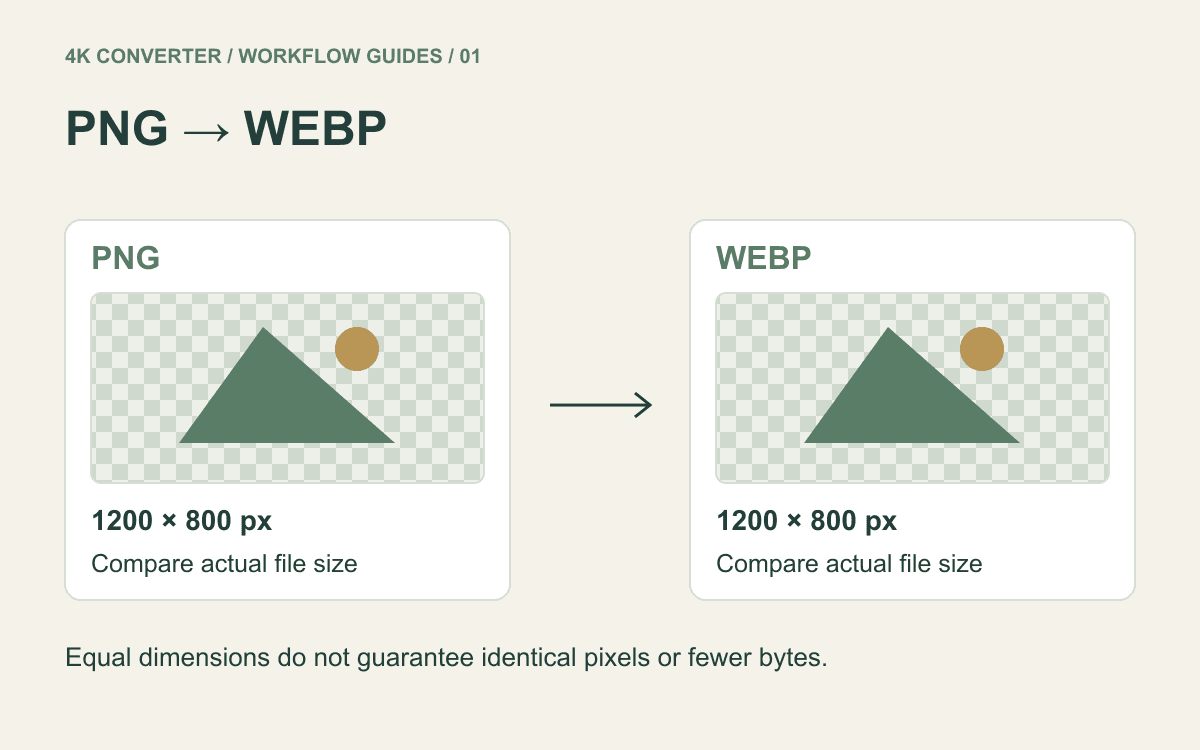
The converter keeps the decoded source dimensions. A 1200 × 800 PNG produces a 1200 × 800 WebP; this workflow is not a resize or an AI enlargement. If the source dimensions are excessive for the destination, address that separately rather than expecting a format change to choose the right width.
Convert PNG to WebP in five steps
- Find the original static PNG. A screenshot of a transparent preview may include its background and is a different source.
- Open the PNG to WebP converter and select the file.
- Choose WebP as the output format and confirm the detected dimensions.
- Start conversion, download the result, and keep it beside the PNG.
- Open the WebP in its intended application and compare its actual size and appearance with the source.
This is a still-image workflow. It does not preserve an animated PNG's complete frame sequence as animated WebP. Keep animation projects in a workflow that explicitly supports frames, timing, and looping.
Changing .png to .webp in a filename is not conversion. The bytes must be encoded in the new format, which is what the tool does.
Inspect the difficult pixels
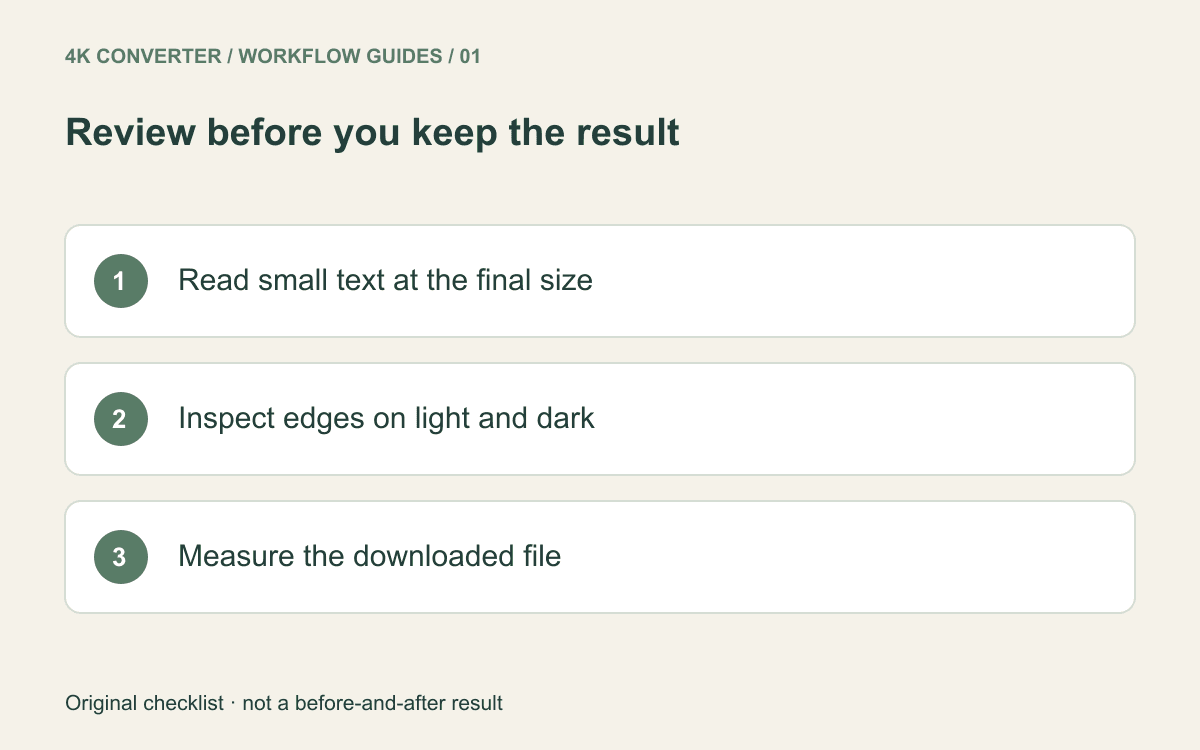
View the result at the size it will occupy in the page. Then inspect small text, narrow borders, gradients, and the boundary between an opaque subject and transparent space. Look for softened lettering, color bleed, or bands that were not visible in the source.
Place a transparent cutout over both a light and a dark background. A bright outline may be hidden on white and become obvious on a dark card. Also check soft shadows; their gradual transparency is part of the asset, not an empty region to discard.
For brand artwork, compare letter shapes and spacing against the approved source. The logo enlargement guide explains why image processing deserves extra scrutiny when those shapes define the design.
Measure the delivered result
Compare actual byte sizes rather than a claim about average savings. For example, if one file were 800,000 bytes and its replacement 500,000 bytes, the reduction would be 37.5%. That is arithmetic for a hypothetical pair, not a benchmark of this tool.
After placing the image on the page, check what visitors actually receive. A content system may create its own derivatives, retain an older asset, or serve a different size. A smaller local file helps only when the intended version is delivered and still looks appropriate.
Retain PNG if your particular WebP introduces visible damage or does not meet the receiving application's requirements. If a recipient later needs PNG again, return to your source instead of treating WebP to PNG conversion as a way to recover discarded detail.
Common questions
Will PNG to WebP keep a transparent background?
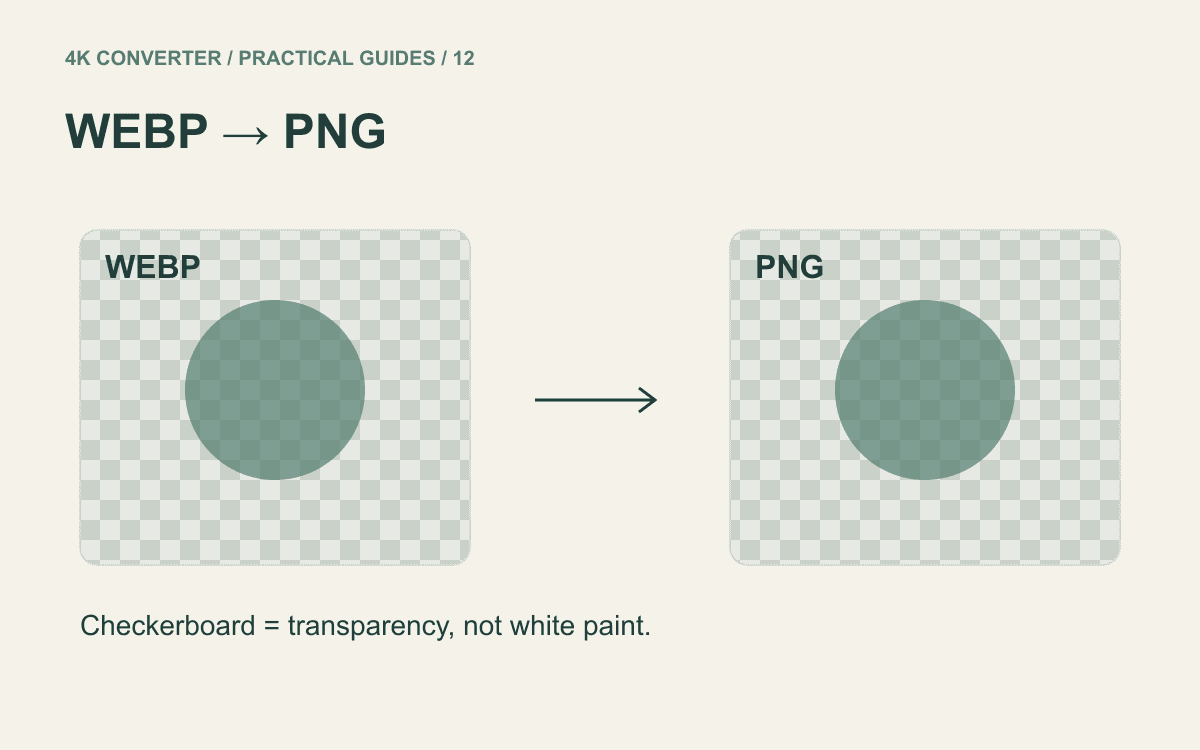
The converter uses a canvas that supports transparency for WebP. Check the downloaded result over contrasting backgrounds. Existing white pixels will remain image content; this does not remove a background.
Is WebP always smaller than PNG?
No fixed saving is guaranteed. Image content and the encoder affect the result, so compare the two actual files.
Does the conversion improve SEO by itself?
No ranking result follows from an extension alone. A useful image, appropriate dimensions, descriptive alternative text, and correct delivery still matter. Use the format comparison guide when deciding which file belongs in your workflow.