4K Converter
Upscaler Video Guide: Make a Small Video Ready for 4K
Learn what the phrase upscaler video means, how to choose a short source clip, and what to check after enhancement.

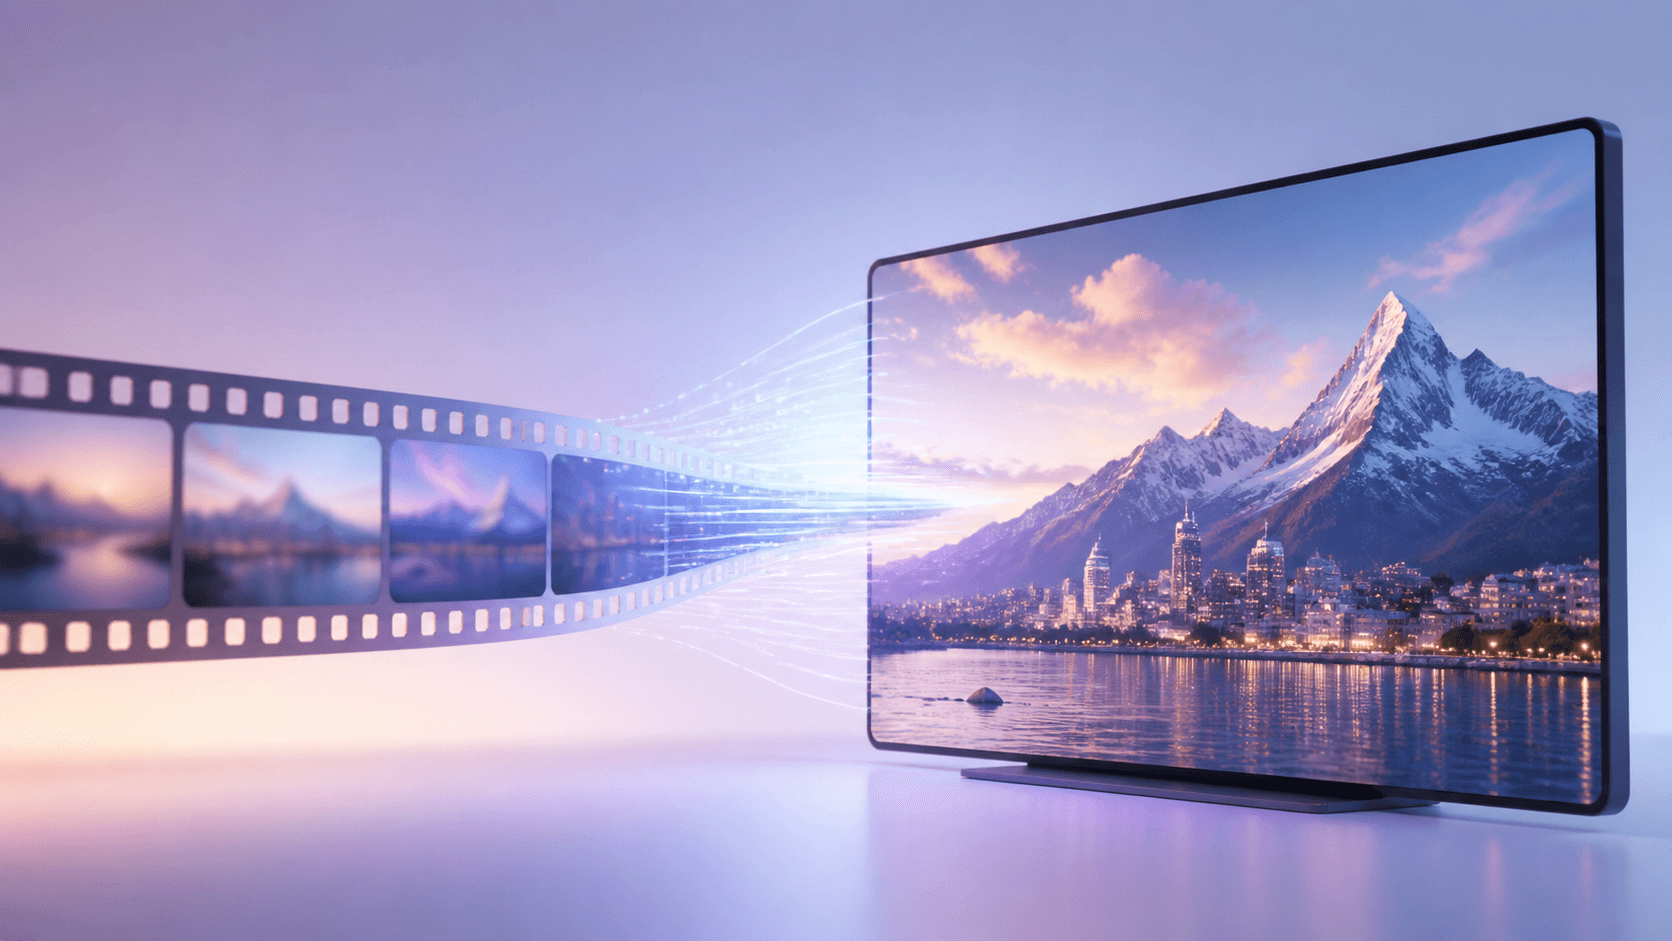
The phrase upscaler video usually describes a tool that turns a lower-resolution clip into a larger version for modern screens. Video enhancement is more than enlarging one picture: every frame must stay visually consistent while movement and sound remain useful.
You can open the online video upscaler, add a short supported clip, review the source details and quote, and inspect the private result before download.
What “upscaler video” means
When people search upscaler video, they often want to prepare an older, smaller, or softer clip for a large display. The tool increases resolution toward a 4K target and creates a new MP4 result. It does not change the story, add missing scenes, or turn a badly framed recording into a different production.
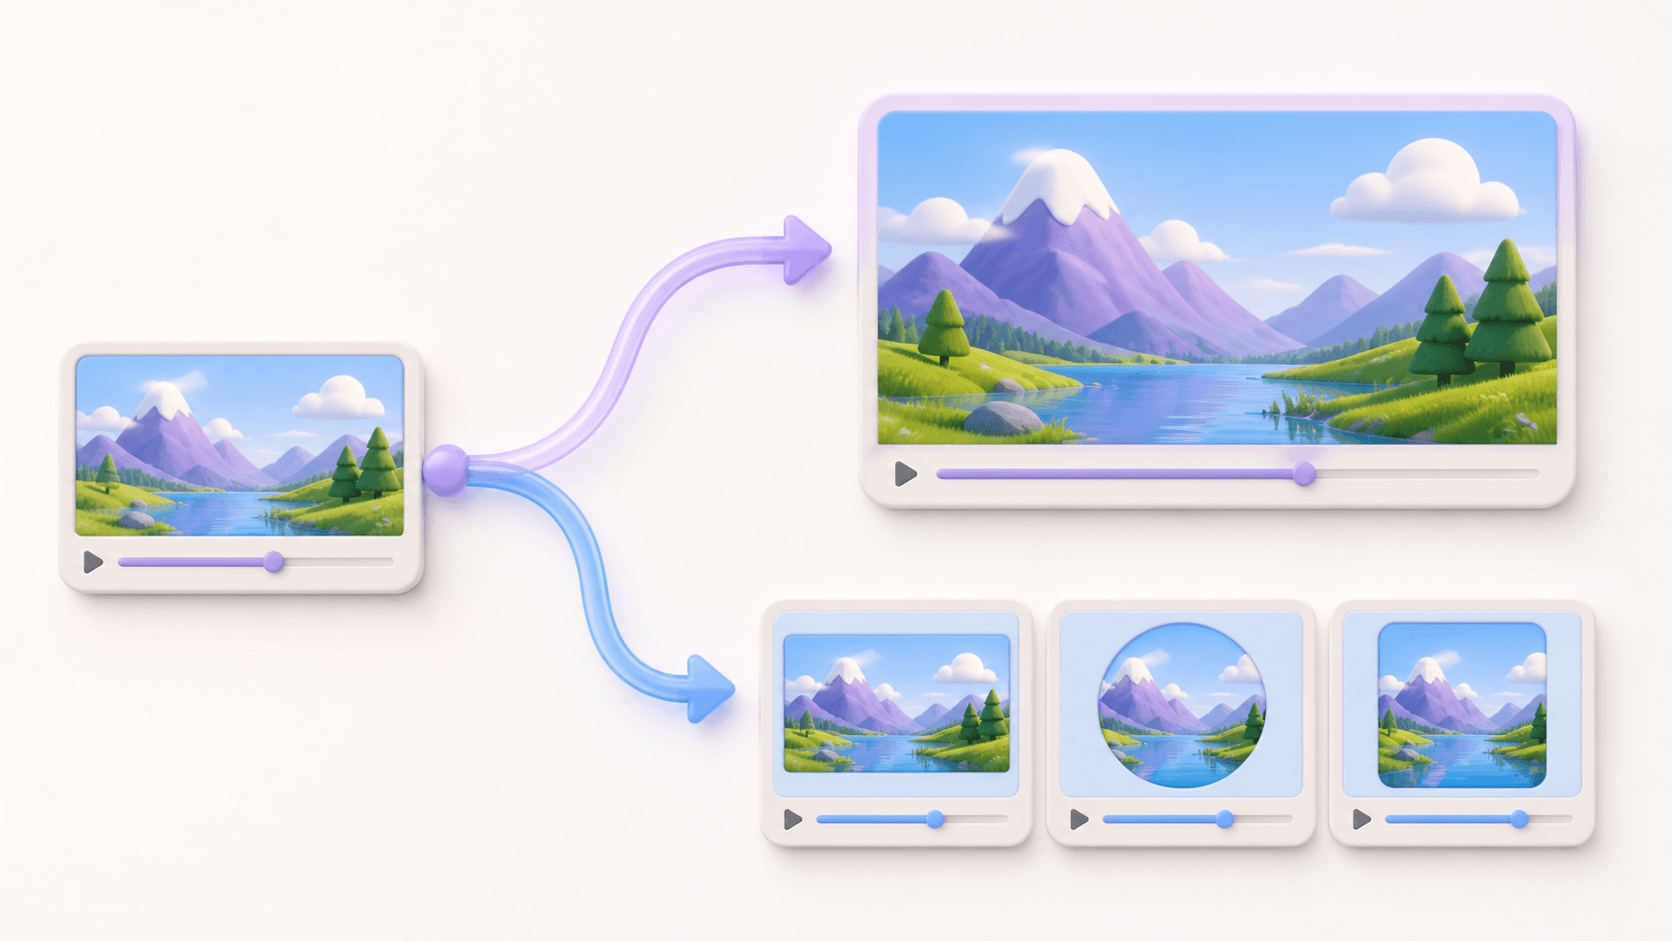
Video upscaling and video format conversion solve different problems. Upscaling increases pixel dimensions and may improve visible detail. Format conversion changes the container or compatibility. If the resolution is already enough and you only need MP4, MOV, WebM, or another supported format, use the video converter.
Choose a useful source clip
An upscaler video workflow begins with the best available file. Use the original camera export or the highest-quality copy. Videos downloaded from social platforms or sent through chat apps may have lower resolution and stronger compression.
Watch the clip before uploading. Check whether faces are recognizable, text is readable, and motion blur is reasonable. A stable shot with clear subjects usually provides more useful information than a heavily compressed clip with fast camera movement.
On this site, the enhancement workflow is designed for short videos. Choose a segment that represents the important content. If the full project is long, use the upscaler video result from a sample to decide whether the approach fits your needs.
Also confirm that you own the footage or have permission to process it. Keep the original file safe because the enhanced version is an additional copy.
A simple video workflow
Use these upscaler video steps:
- Open the video to 4K tool.
- Upload a supported short video or import a direct video URL.
- Let the tool inspect resolution, duration, frame rate, and audio.
- Choose the available 4K and frame-rate options.
- Review the exact credit quote before starting.
- Run the private task and wait for the result.
- Watch the complete output and download it while available.
Do not judge only from a still thumbnail. Video quality depends on how details behave from frame to frame. A result can look sharp when paused but show flicker or unstable texture during motion, so full playback is necessary.
Review motion and detail
After the upscaler video task finishes, watch the source and result on the same screen. Start at normal playback speed. Look at faces, hair, signs, clothing patterns, straight building edges, and areas with fine texture.
Pay attention to movement. Check camera pans, walking people, moving vehicles, water, smoke, and flashing lights. Detail should not jump or crawl between frames. Listen to the audio from beginning to end and confirm that it remains present and correctly timed.
Then test the destination where the clip will appear. A social post, large television, presentation projector, and website player can reveal different issues. The upscaler video result is useful when it looks stable at the real size and distance, not merely when one paused frame is enlarged.
Resolution and format
A common mistake is asking an upscaler video to solve a compatibility problem. If a device cannot open a file, changing its format may be enough. If the video plays correctly but looks too small on a large screen, enhancement is the relevant workflow.
File size can increase after enhancement because the result has more pixels. Keep the high-resolution master, but prepare a smaller delivery copy when a platform has strict limits. Store the original, master, and delivery file with clear names.
Remember that 4K does not guarantee perfect footage. Strong motion blur, clipped highlights, missing focus, and unreadable signs can remain. A better source is always the most reliable improvement when one exists.
Common questions
Does an upscaler video make every clip sharp?
No. It can create a larger and often clearer version, but severe blur, compression, and missing detail may remain.
Does an upscaler video remove the audio?
The workflow is intended to preserve supported audio, but you should always play the complete result and check timing before use.
Is upscaling the same as converting to MP4?
No. Upscaling changes resolution. Format conversion changes how the video is stored and played.
What should I try first?
Choose a short representative clip and try the upscaler video workflow. Review motion, faces, text, and audio before processing more footage.