4K Converter
Upscale Product Images Without Changing the Product
Review labels, seams, hardware, and material before approving an enlarged product image. A sharper picture still has to describe the real item.
A long-circulating photography joke credits a photographer’s pictures to the camera, then credits a cook’s dinner to the pots. It has several tellings; there is no need to assign this version to a particular famous photographer.
The joke is about confusing equipment with judgment. That is a useful opening for product-image enlargement, where approving the output matters as much as producing it.
In Pixels Where They Matter, the goal is a more useful photograph of the same product.
Decide which details must remain exact
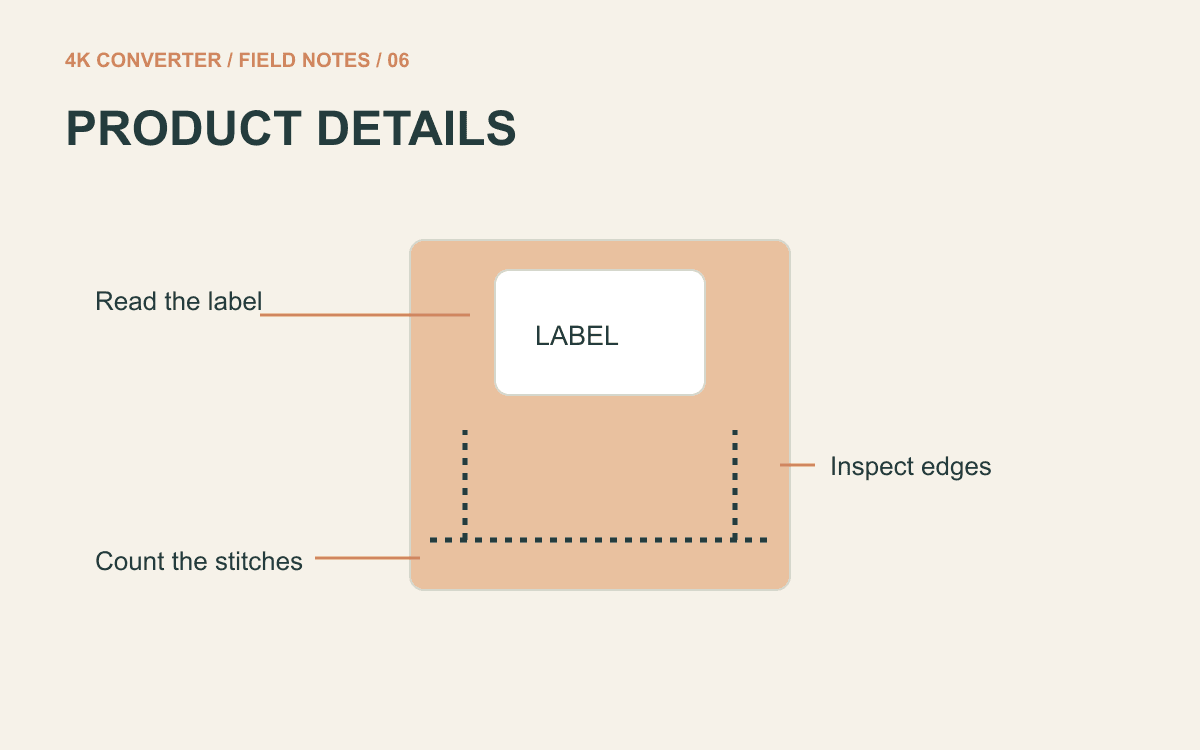
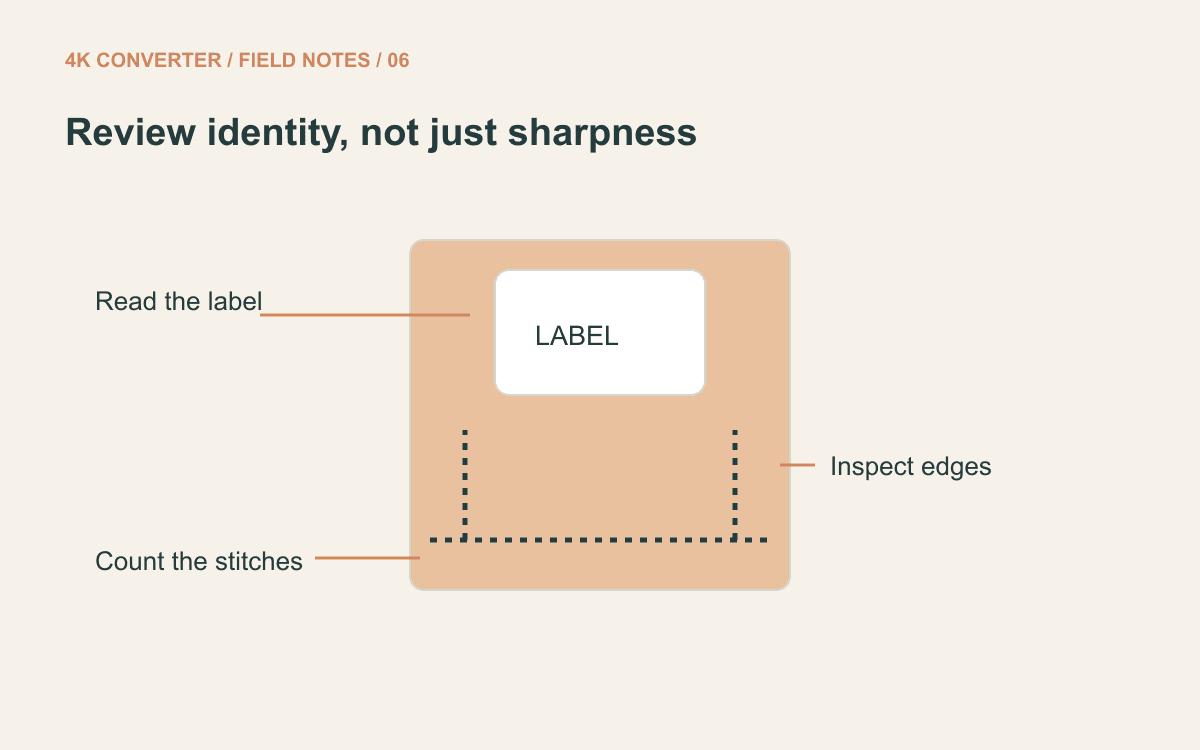
Make a short list before opening the tool. For a packaged item, it may include the product name, size, and label artwork. For a jacket, it may include the weave, stitching, zipper, and number of fasteners.
A result can look sharper while changing one of those details. That makes it a poor product photograph, however attractive the thumbnail looks.
If a label is unreadable in the source, enlargement cannot be trusted to recover its exact wording. Get a better source photograph or a separate accurate label image. Do not approve generated-looking lettering because it resembles a plausible brand name.
Choose the source with the best evidence
Use the camera original or the largest clean export you have. Avoid screenshots of a listing page: they may contain compression, badges, interface elements, or sharpening added by the platform.
Check focus and lighting before pixel dimensions. A slightly smaller photograph with readable labels can be a better candidate than a larger file with motion blur.
If several views exist, use the others as references. A rear view can confirm a seam; a close-up can confirm the shape of a buckle. You are checking whether the enlarged picture still describes the item accurately.
Process one representative image
Start with a photograph that includes the difficult features, not only the easiest plain surface.
Open the product image upscaler, choose the source and target, and inspect the proposed dimensions and credit quote. The tool preserves aspect ratio; selecting 4K does not force every picture into a widescreen rectangle.
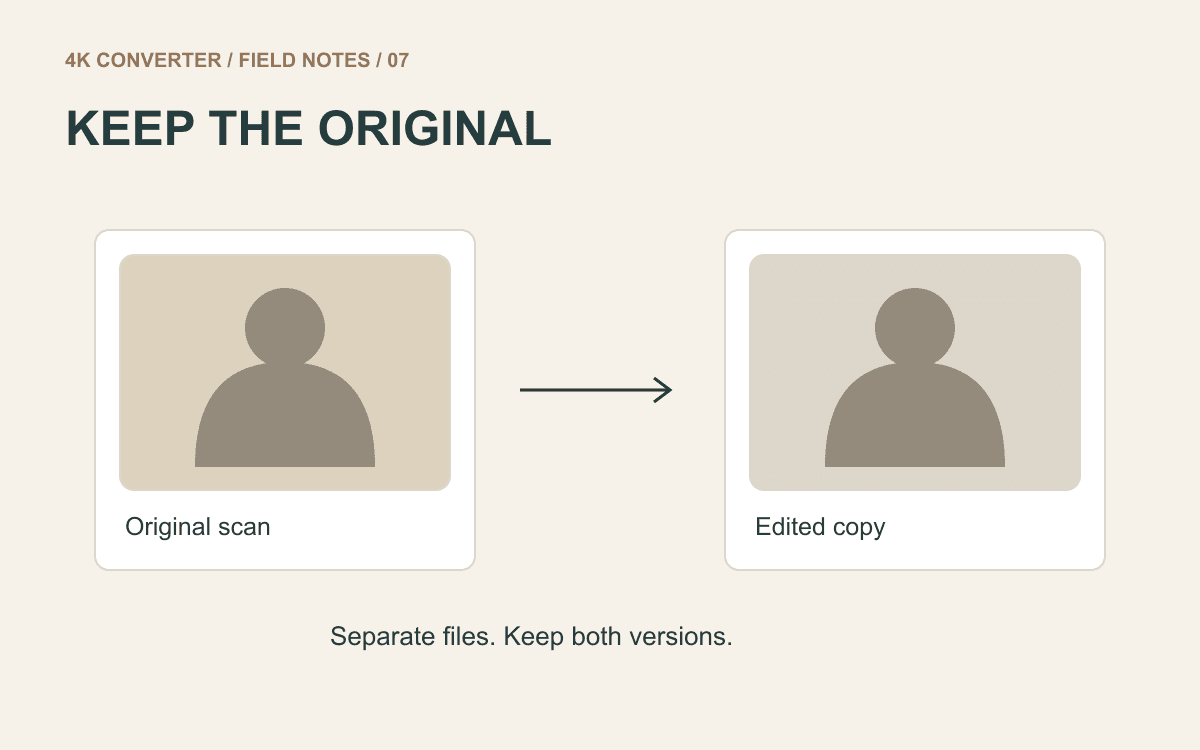
Save the output separately. Put it beside the original and compare both at a matching display size. Otherwise, you may mistake the larger display for an improvement in faithful detail.
If the output is already sufficient for the listing, stop there. Repeatedly enhancing the enhanced copy can move it further from the evidence in the source.
Review like someone buying the item
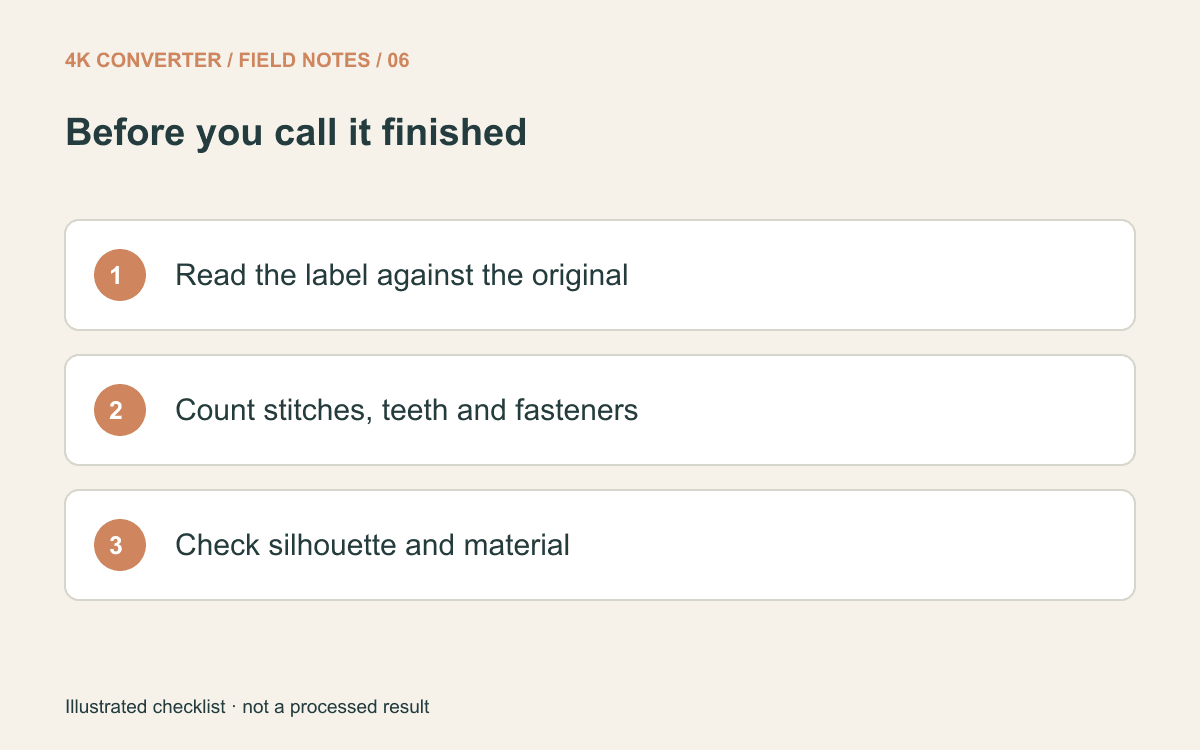
Read every visible label character you can verify. Count distinctive features such as buttons, eyelets, zipper teeth where discernible, or rows of stitching. Look for merged edges around handles and straps.
Compare material as well as outline. Leather should not acquire a different grain pattern that changes the impression of the product. Woven fabric should not turn into a regular invented grid. Reflective metal should not gain an extra seam.
Check color against the source in the same viewing setup. A visual comparison is useful, but it is not a substitute for a controlled photography and color-management workflow when precise color matching is required.
Make the delivery version last
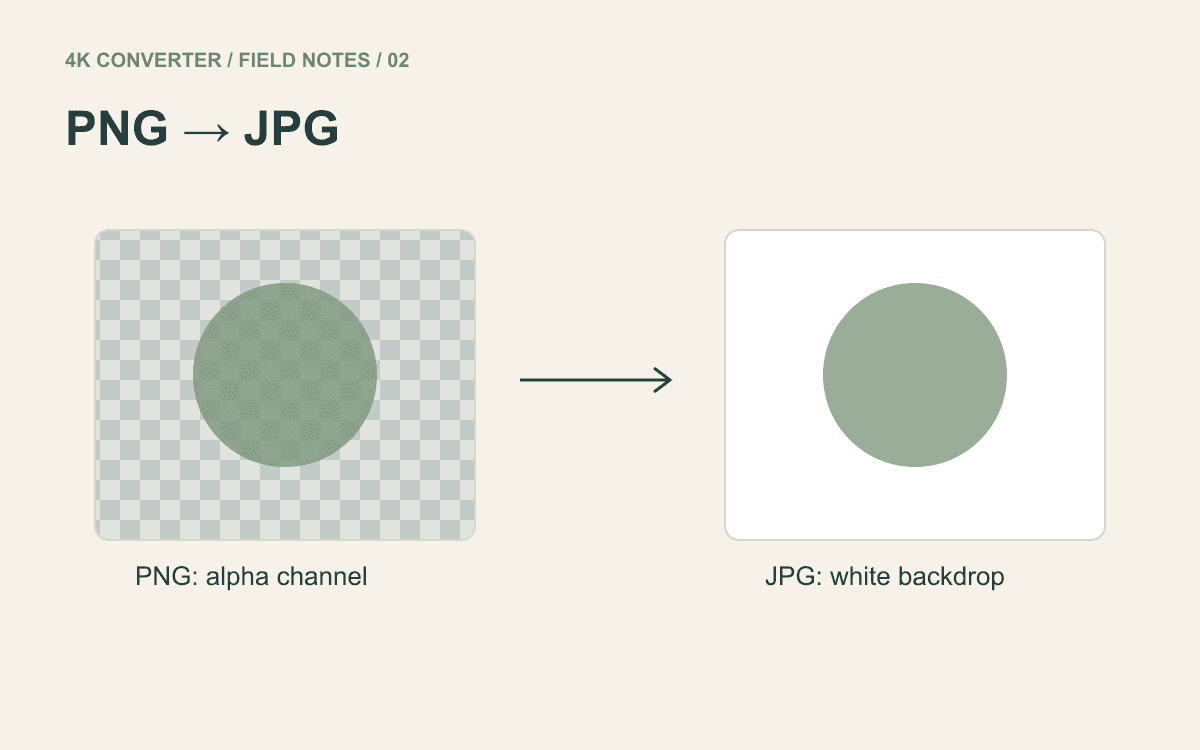
Once the image is approved, prepare the format the marketplace or client requests. For a white-background JPG copy, use the image format converter. Transparent pixels become white in that export; the converter does not cut out a photographed background.
Read the platform’s current size and format requirements directly instead of assuming that every store uses the same dimensions. The largest available file is not automatically the most convenient upload.
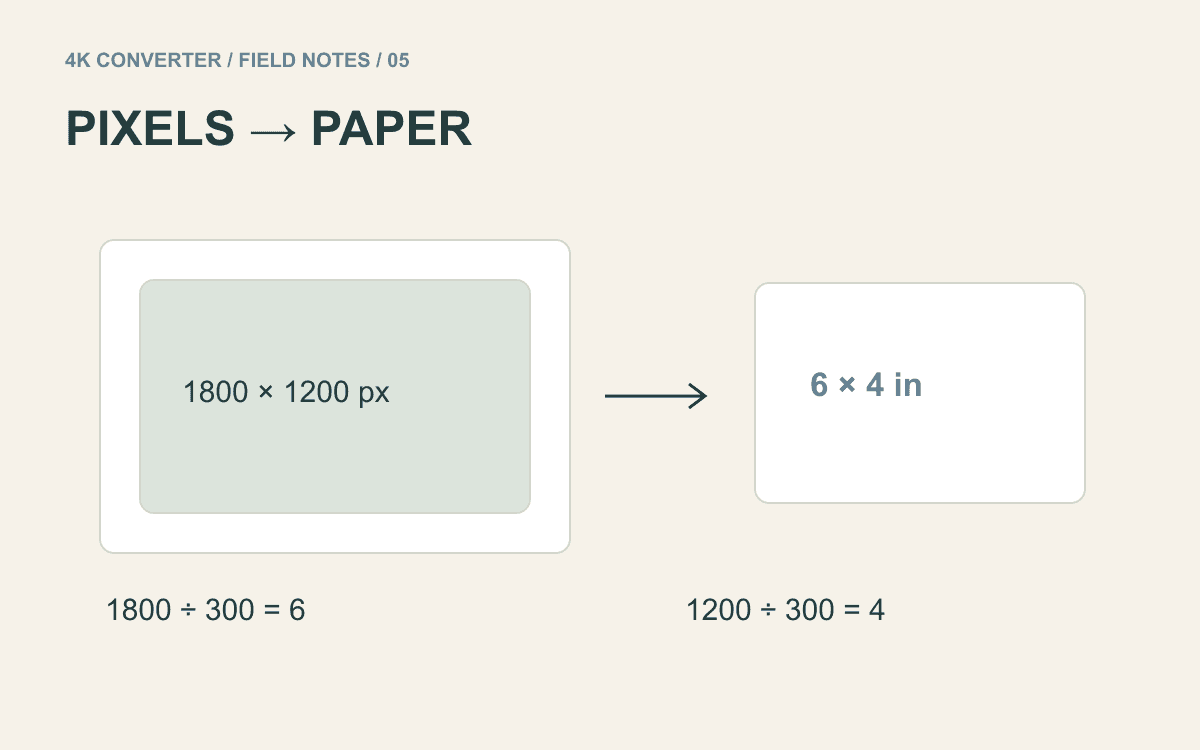
Keep the source, reviewed enlargement, and final delivery file distinct. If the image is headed for packaging or a printed catalog, use the print-size calculation guide before ordering a batch of physical copies.