4K Converter
Upscale Image to 4K: A Simple Online Workflow
Follow a clear process to choose a source, upscale it to 4K, and check the finished image at the right size.

If an image is too small for a wide page, presentation, large monitor, or photo display, you can upscale image to 4K and create a bigger copy. The process keeps the original picture shape and does not require manual width and height calculations.
Use the online image to 4K tool to upload a source, select the target, read the planned dimensions and price, and review the private result.
The quick answer
To upscale image to 4K, start with the largest clean original, not a thumbnail or repeated screenshot. Choose the 4K target, process one image, and compare the result at the size where people will see it. Keep the source file because the new version is an additional copy, not a replacement for the original.
Before you start
A good source makes the biggest difference. Look for the camera original, the designer’s export, or the largest file from the person who sent the picture. Social-media platforms often reduce dimensions, and messaging apps may add compression.
Before you upscale image to 4K, zoom in and check the main subject. Useful edges should still be visible. A portrait should show the shape of the eyes and hair. A product should have clean boundaries. A landscape should retain some texture in trees, rocks, or buildings.
Make sure the crop is correct. Upscaling preserves the aspect ratio and does not extend the scene. If a person is cut off or the horizon is crooked, fix that in an editor first. Also confirm that you have permission to use the image.
Step-by-step workflow
Follow these steps to upscale image to 4K:
- Open the image upscaling page.
- Choose a JPG, PNG, or WebP from your device, or add a direct image URL.
- Select the 4K target. The preview keeps the source proportions.
- Check the output dimensions and exact credit quote.
- Start the private task and wait for completion.
- Compare the source and enlarged image.
- Download the result while it remains available.
You can prepare several local images, but each result still deserves its own review. A sharp product photo and a compressed night photo may react very differently. Testing one example first saves time and makes the cost clear.
Get a better result
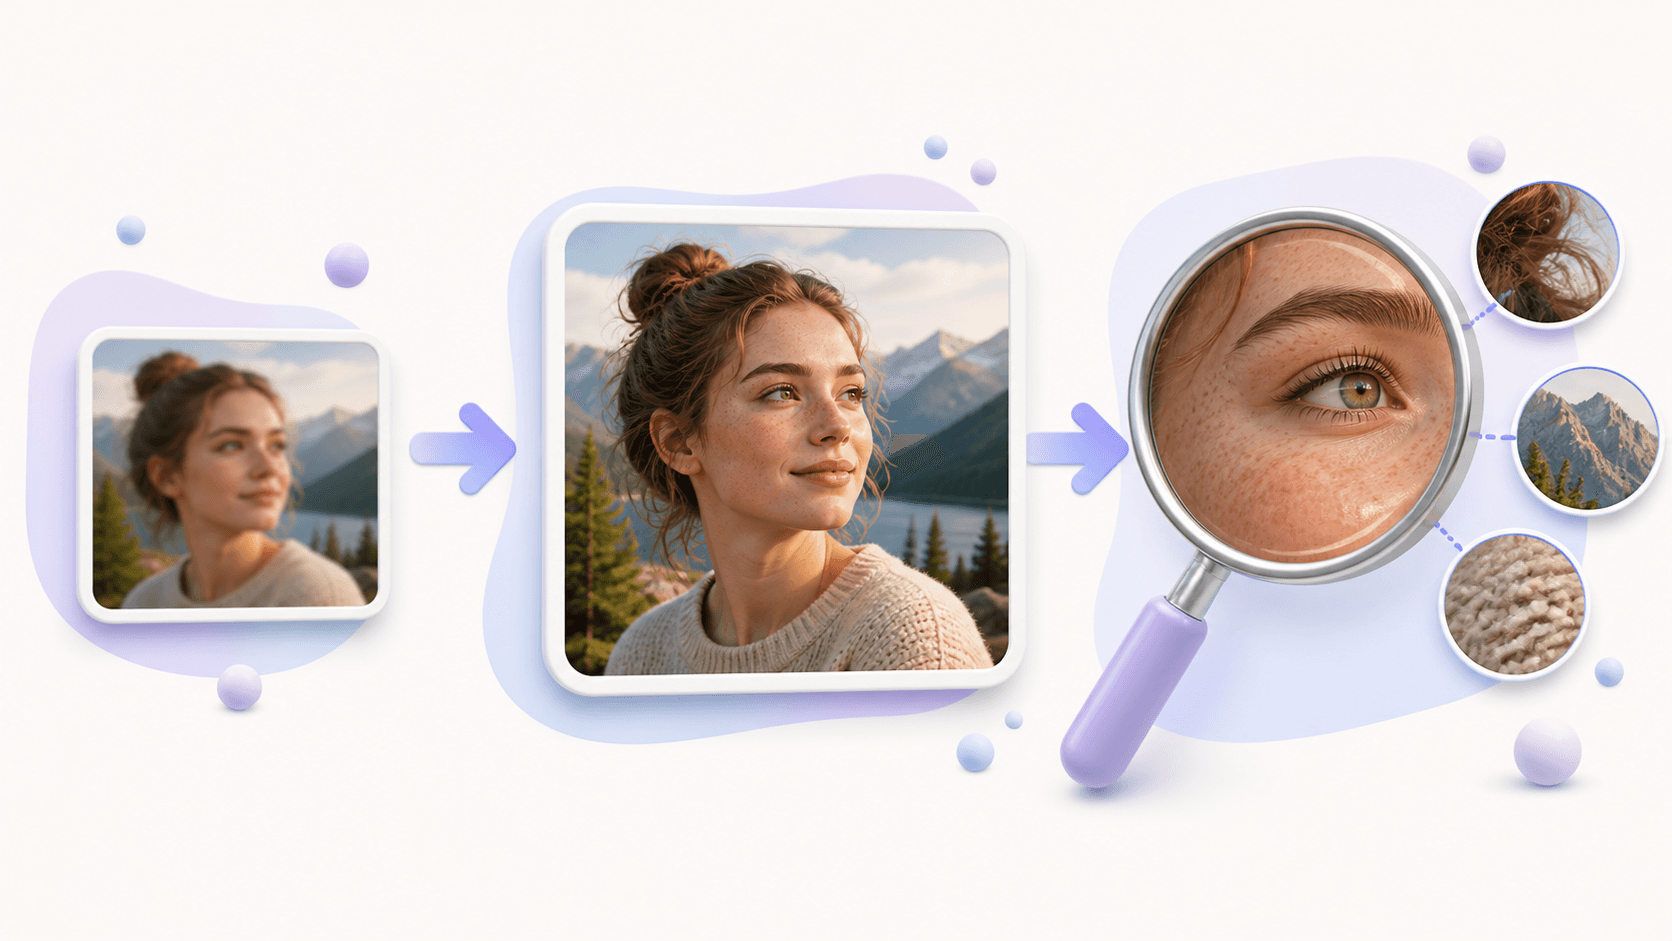
When you upscale image to 4K, judge the output at a realistic size. Extreme zoom can make any image look unusual. Start with the size of the intended screen or layout, then inspect a few important details more closely.
For people, check eyes, teeth, hair, and glasses. For products, inspect logos you are allowed to use, labels, edges, and fine material. For artwork, check lines and color boundaries. For scenery, review branches, distant structures, water, and clouds.
If a result looks overly smooth or creates strange texture, try a better source. Repeating the same process on the same weak thumbnail is unlikely to recover the missing information. A different original can matter more than another run.
Use the result wisely
A 4K master is useful for large displays and flexible design work, but not every placement needs the full file. A small blog card or mobile thumbnail can use a smaller delivery copy to load faster. Keep the 4K version as the master, then export sizes that match each destination.
Do not confuse resolution with format. If you only want to change JPG to PNG or WebP, use the image converter. Choose to upscale image to 4K when the actual pixel dimensions are the problem.
Give the new file a clear name and store it beside the original. That makes future comparison easier and prevents the enhanced copy from being mistaken for the source.
Common questions
Can I upscale image to 4K without cropping?
Yes. The original aspect ratio is preserved, so a portrait remains a portrait and a wide image stays wide.
Does it work with every small picture?
The tool can process supported files, but results depend on the source. Very small, heavily compressed, or badly blurred images provide less useful detail.
Is 4K always the best size for a website?
Not for every placement. Use a large master for important wide areas, then serve smaller copies for cards and thumbnails.
What is the easiest next step?
Choose one clean source and upscale image to 4K. Check faces, words, and edges before preparing the rest of your images.