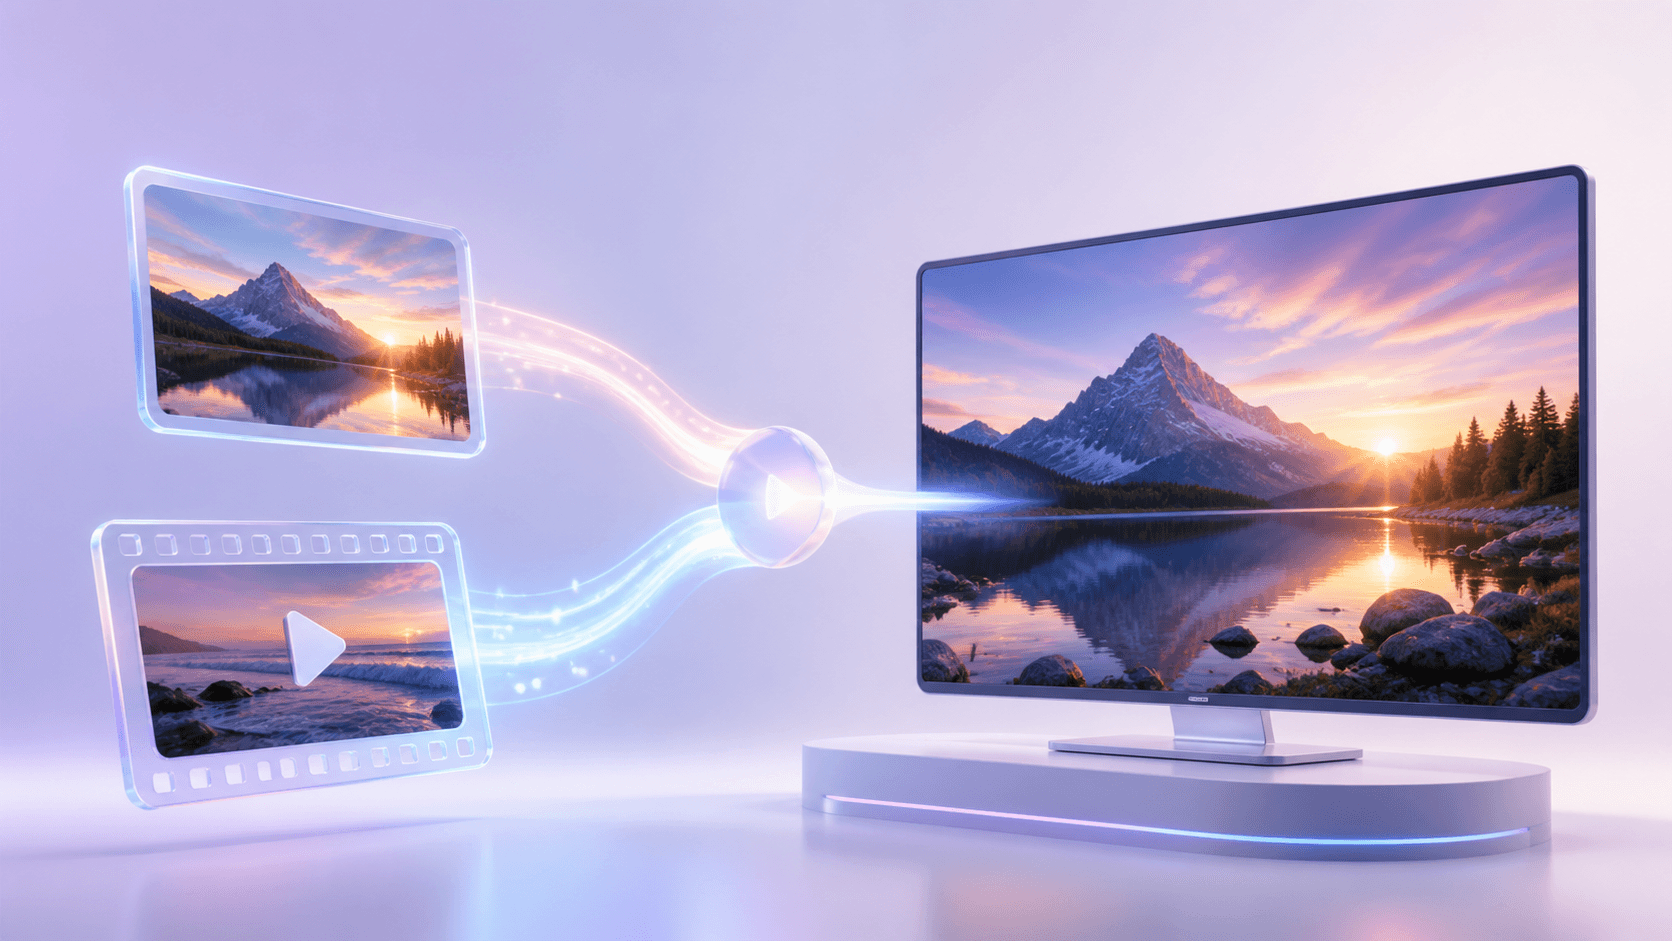
4K Converter
Resolution Image Converter: Resolution vs. File Format
Understand what a resolution image converter changes, choose a sensible output size, and know when format conversion is enough.
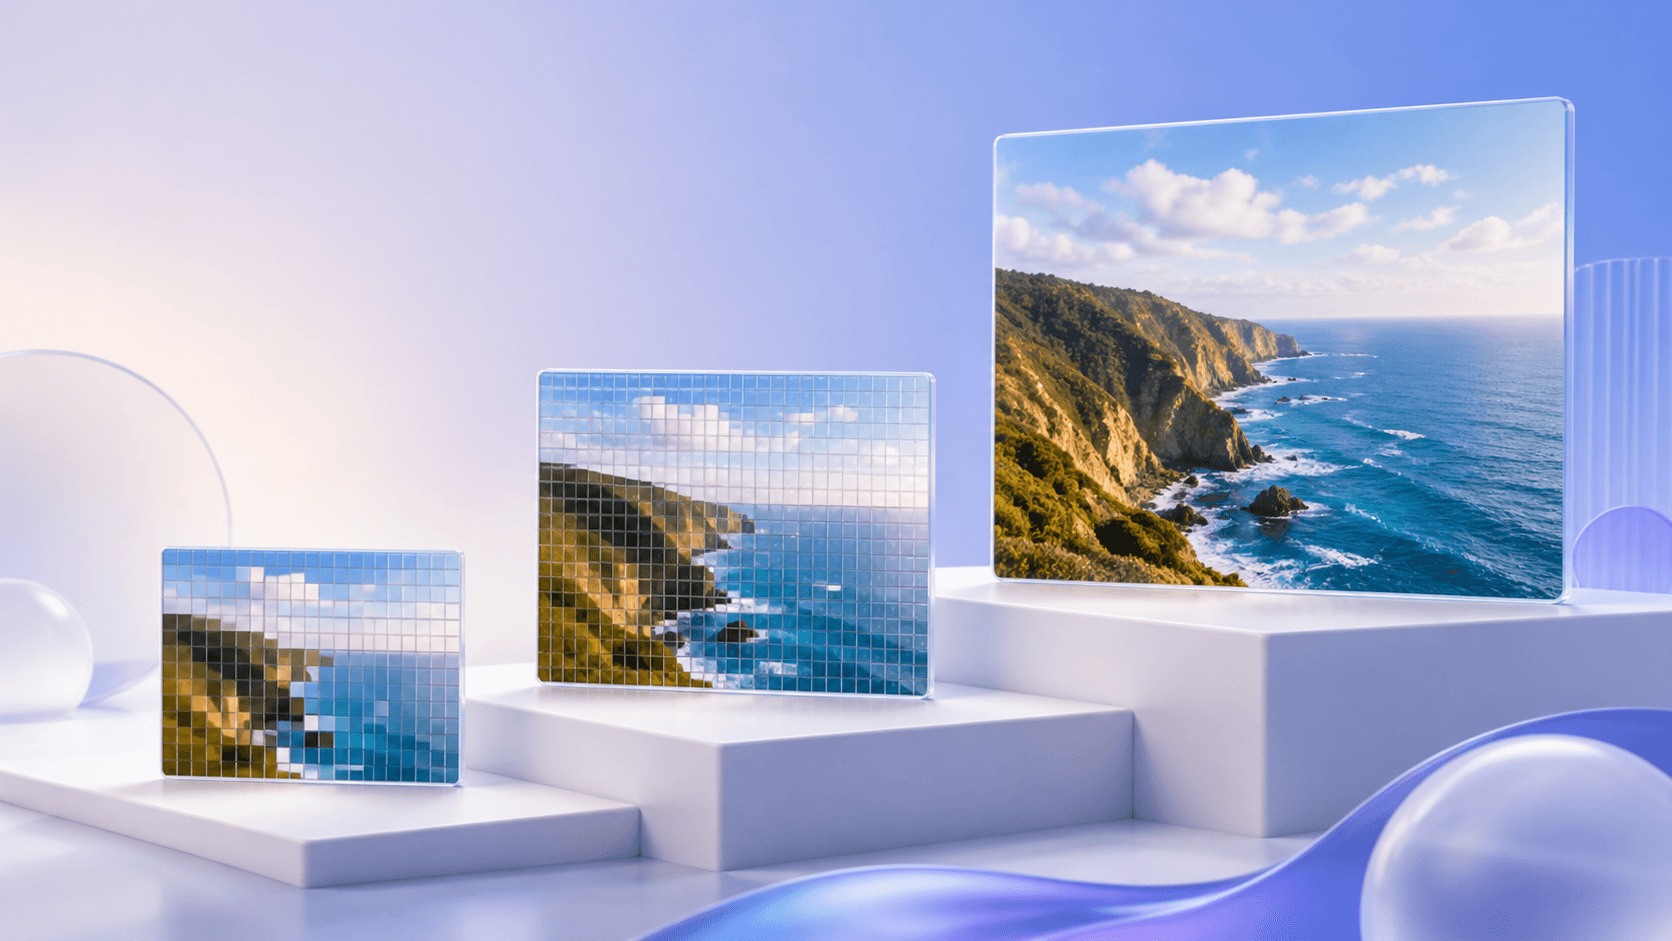
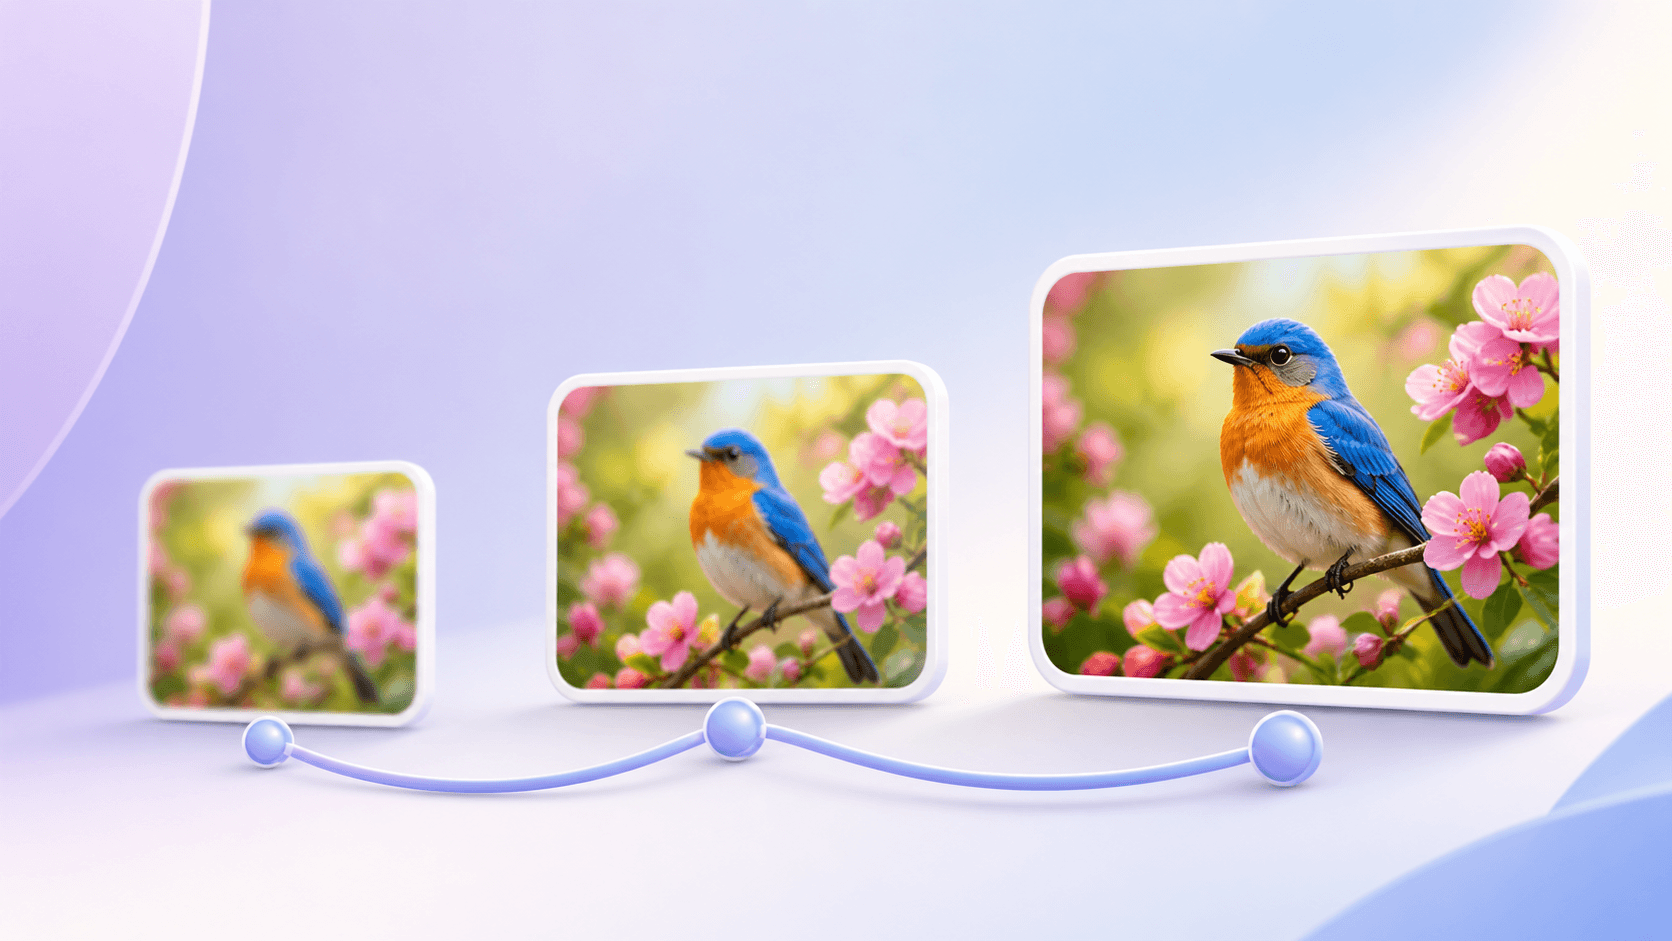
A resolution image converter helps when an image needs more pixels for a larger use. It can prepare a small photo for an HD screen, a 2K layout, or a 4K display while keeping the original shape. You do not need to understand complicated image terms to choose a sensible result.
The Image to 4K tool offers 720p, 1080p, 2K, and 4K targets. It shows the planned dimensions and exact quote before processing.
Resolution in plain language
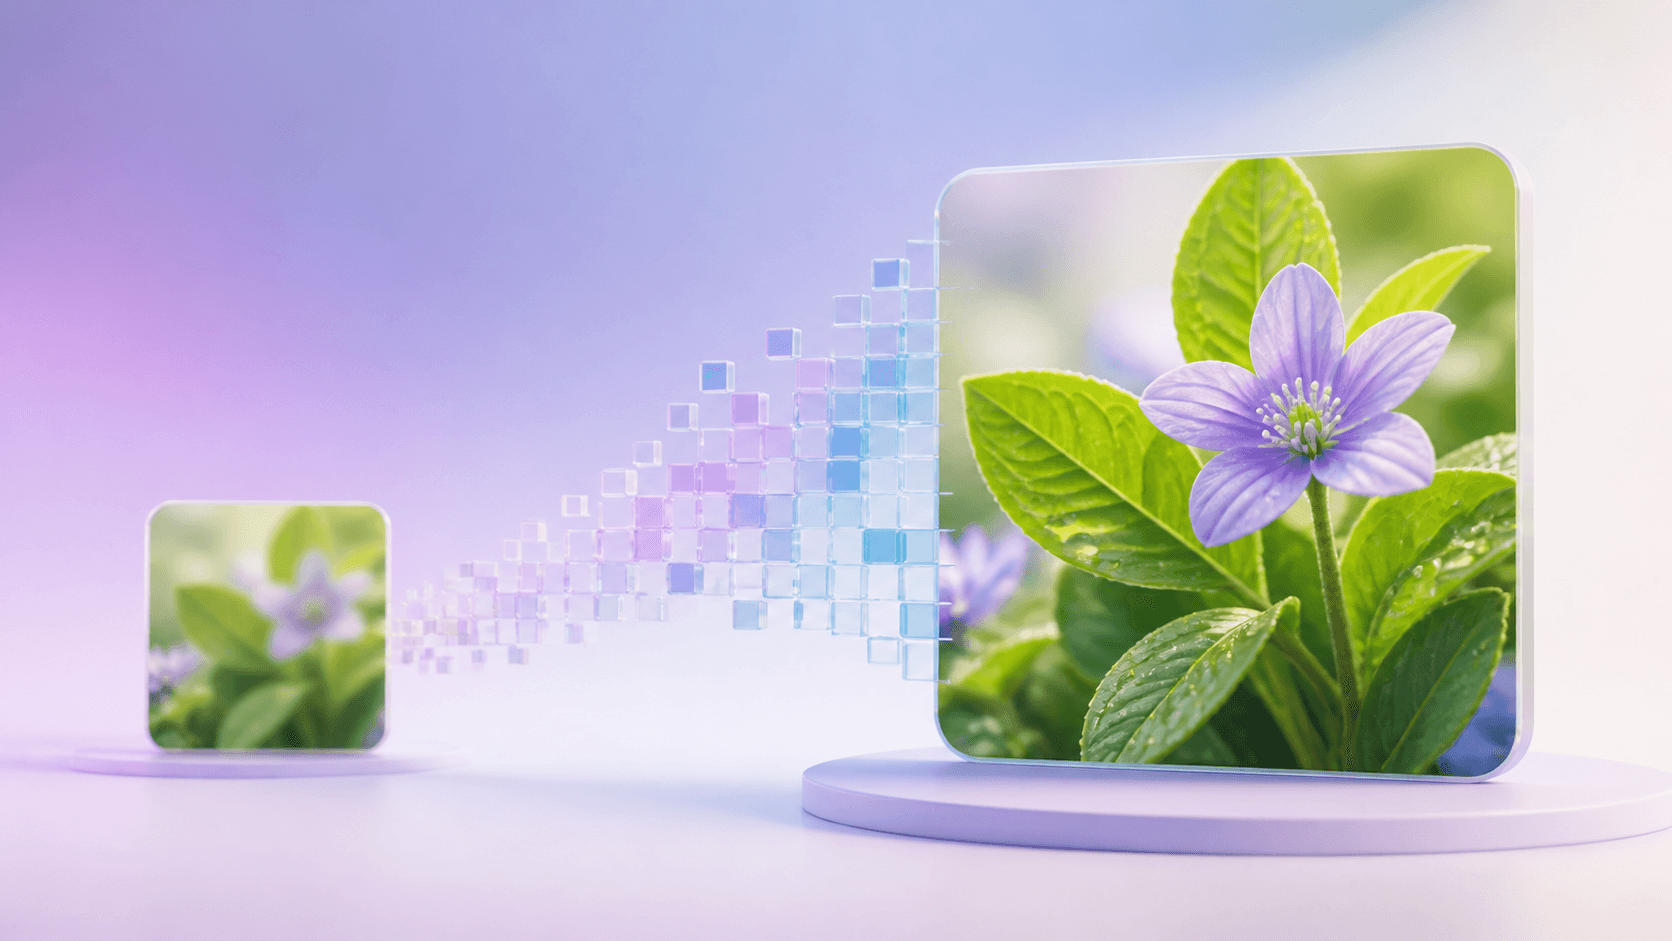
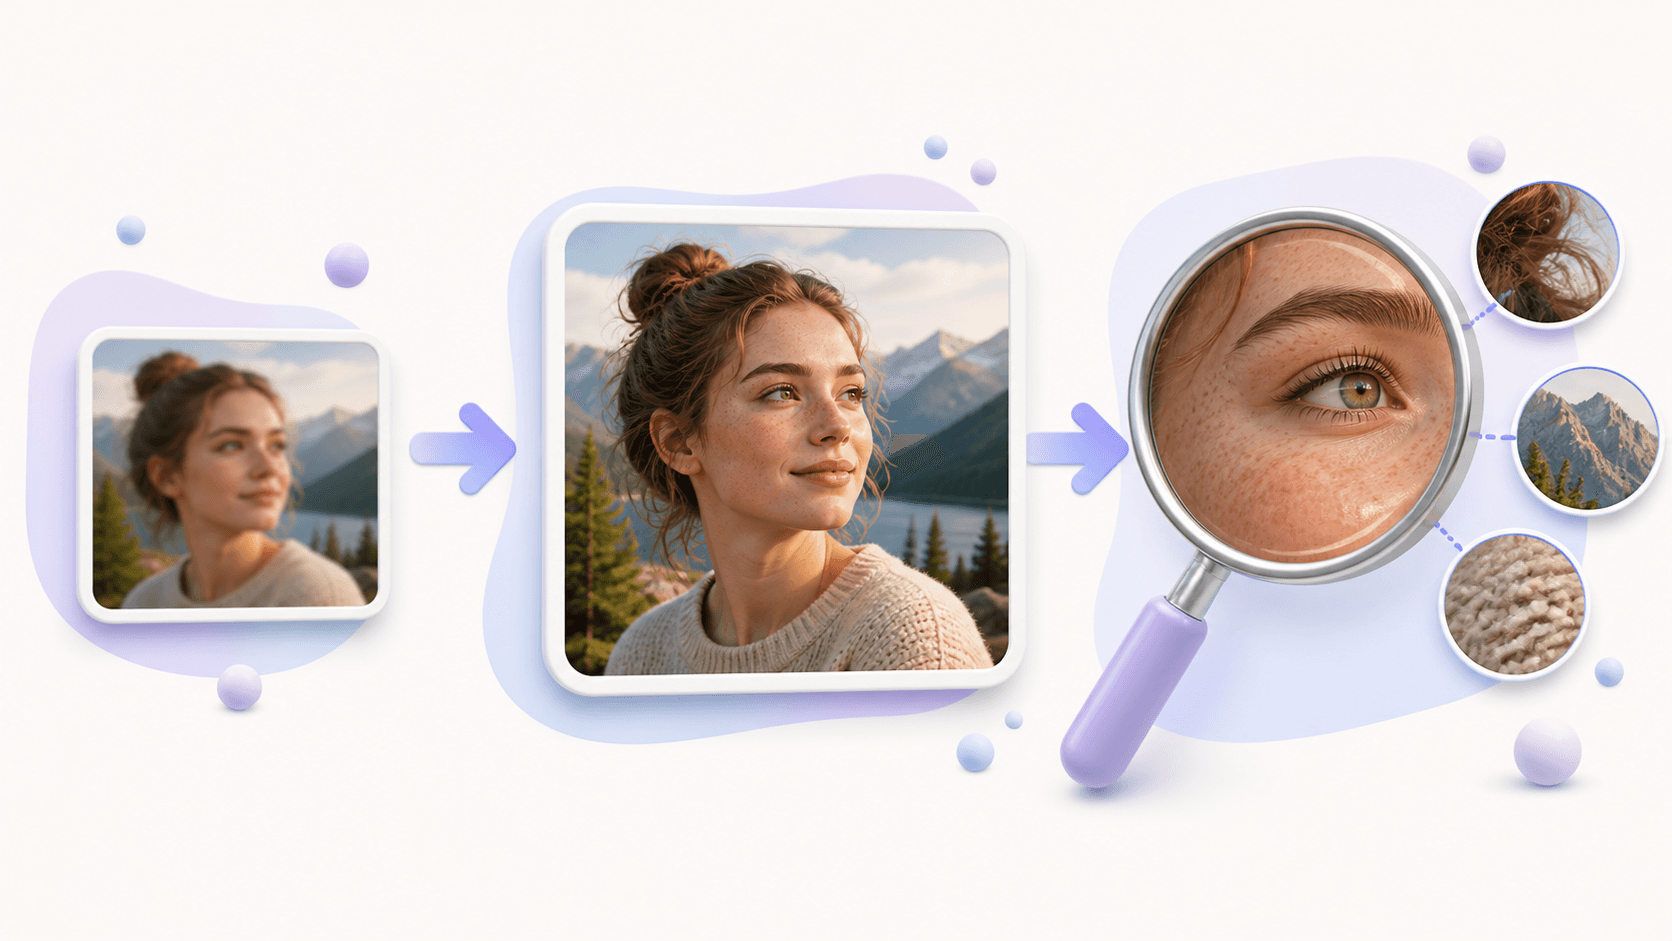
Resolution describes how many pixels make up an image. A picture with more pixels has more room to show edges, texture, and small shapes at a larger viewing size. A resolution image converter creates a new image at a selected target instead of only stretching the preview.
Pixel count is not the same as quality. A large but badly blurred image can still look poor. A smaller, clean source may produce a more convincing result because it contains better visible information.
When you need a converter
Use a resolution image converter when the source looks too small in a large layout, when a presentation stretches a picture, when a product image needs a larger view, or when a portfolio photo must fit a high-resolution screen.
You may not need it when the current dimensions already exceed the final display size. You also do not need resolution enhancement only because a website requests WebP or an editor requests PNG. Those are format needs.
Check the source first. Find the largest clean copy, confirm the subject is in focus, and look at details that matter. Faces, text, product edges, and thin lines are useful checkpoints.
Choose an output size
A resolution image converter can offer several targets, so match the choice to the job:
- 720p is suitable for smaller display areas.
- 1080p is a common HD target.
- 2K provides more room for larger layouts or light cropping.
- 4K is useful for large displays and high-resolution master images.
The target applies to the short edge on this site. That means a wide landscape and a vertical portrait reach different final dimensions, but both keep their aspect ratio. The picture is not stretched into a fixed frame.
Use the tool step by step
Here is a simple resolution image converter workflow:
- Open Image to 4K.
- Choose a JPG, PNG, or WebP source, or import a direct image URL.
- Select 720p, 1080p, 2K, or 4K.
- Review the output dimensions and exact credit quote.
- Start the private enhancement task.
- Compare the result with the source.
- Inspect important areas and download the file.
For local files, you can prepare a queue of up to ten images. Each source can respond differently, so review every result rather than assuming one setting is perfect for the whole group.
Resolution versus format
Resolution tells you the number and arrangement of pixels. Format tells software how the image is saved. A resolution image converter focuses on size and visible detail. A format converter focuses on JPG, PNG, or WebP compatibility.
If the current image is already large enough and you only need another file type, open the image format converter. It preserves pixel dimensions. If the image is too small, use resolution enhancement first and review the new result.
Do not rename a file extension and expect conversion. Do not stretch a small picture by hand and expect new detail. Use the tool that matches the real problem.
Common questions
Does a resolution image converter change the aspect ratio?
No. The enhancement tool preserves the source proportions.
Is 4K always the best target?
No. Select the size required by the destination. 1080p may be enough for an ordinary HD layout.
Can it restore missing text?
It may make visible text larger, but it cannot guarantee words that are unreadable in the source.
How can I begin?
Choose one clean source and try the resolution image converter. Check the final viewing size before applying the same target to more images.