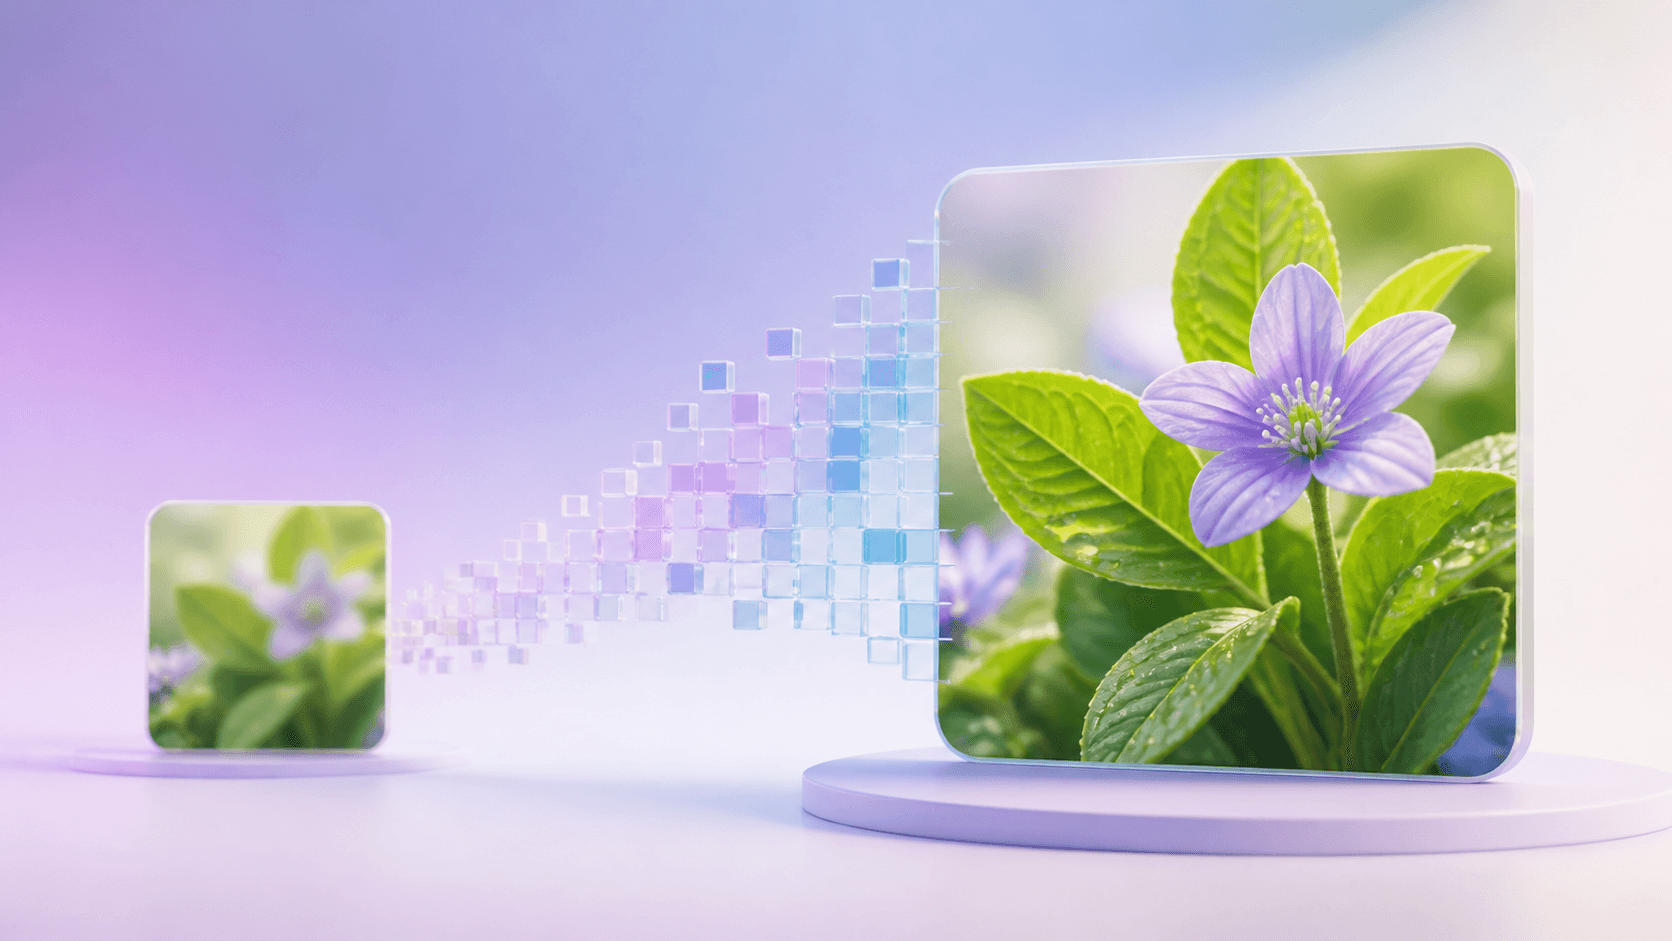
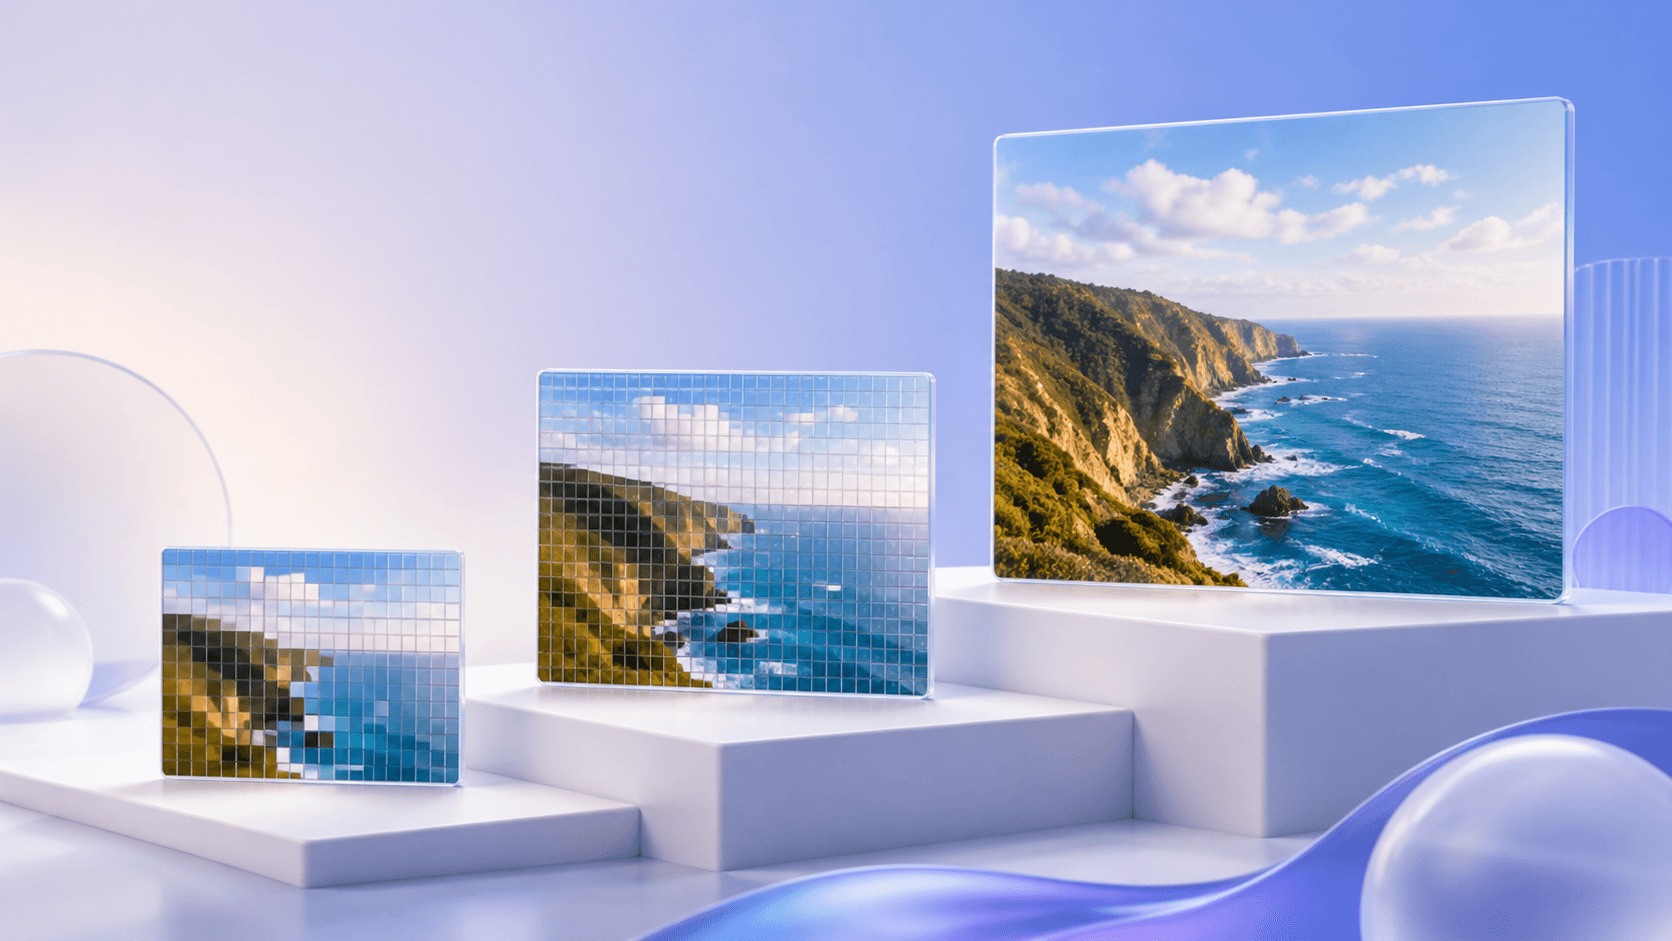
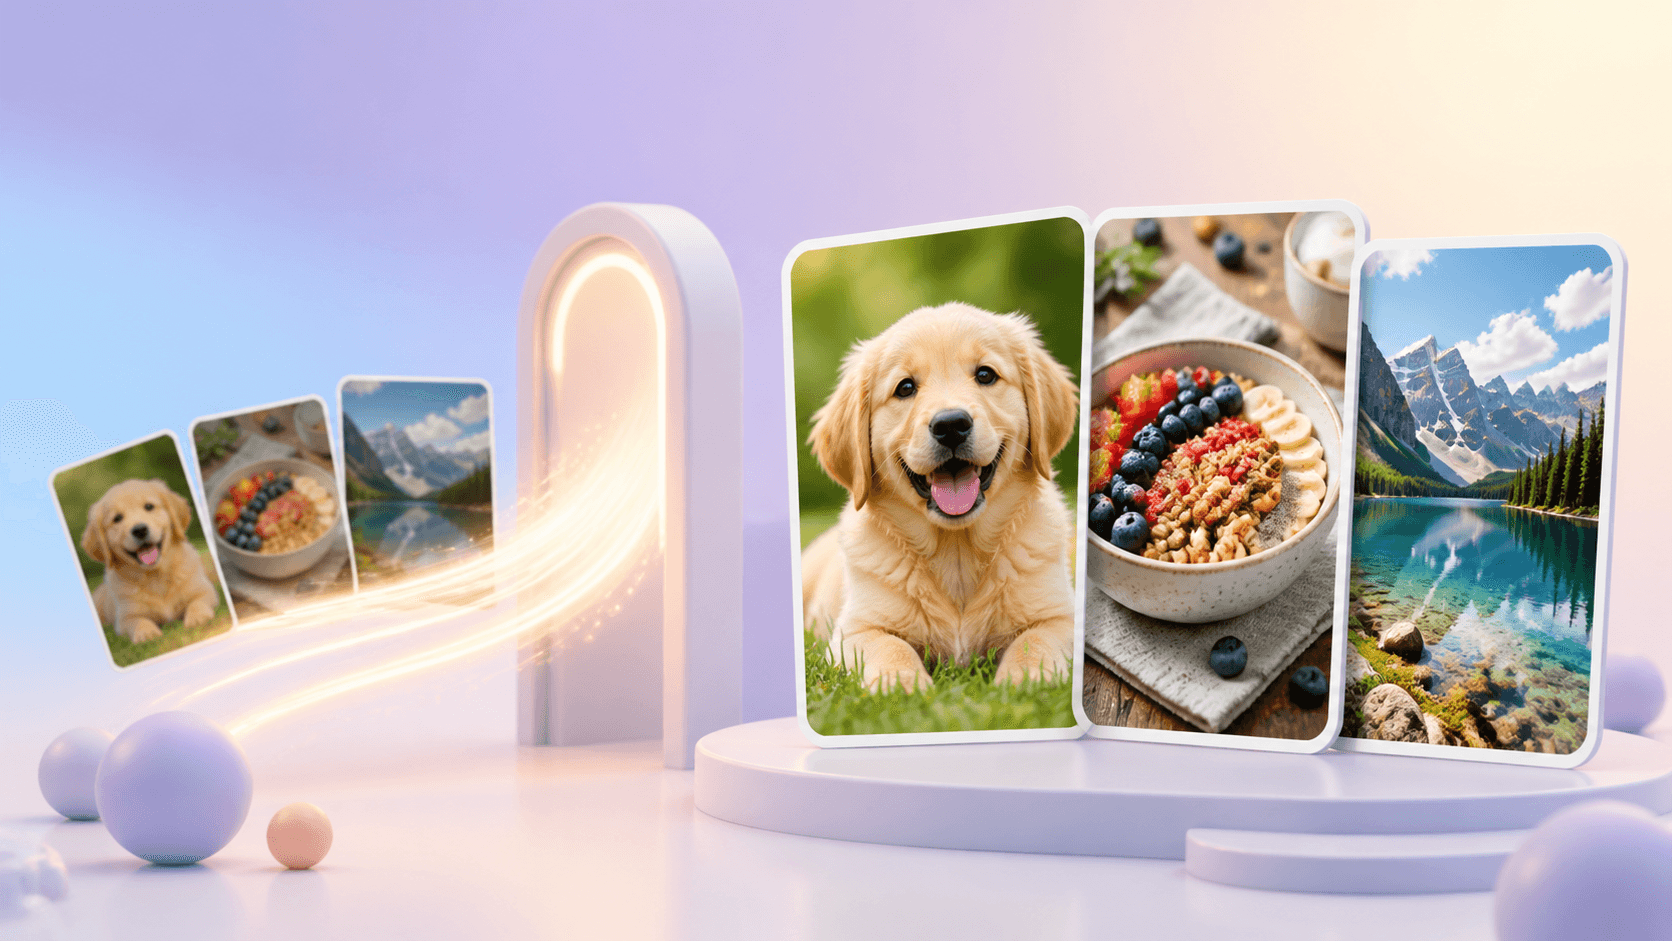
4K Converter
Convert Image HD: A Simple Step-by-Step Guide
A direct, beginner-friendly guide for anyone searching convert image HD and wanting a larger, clearer picture.
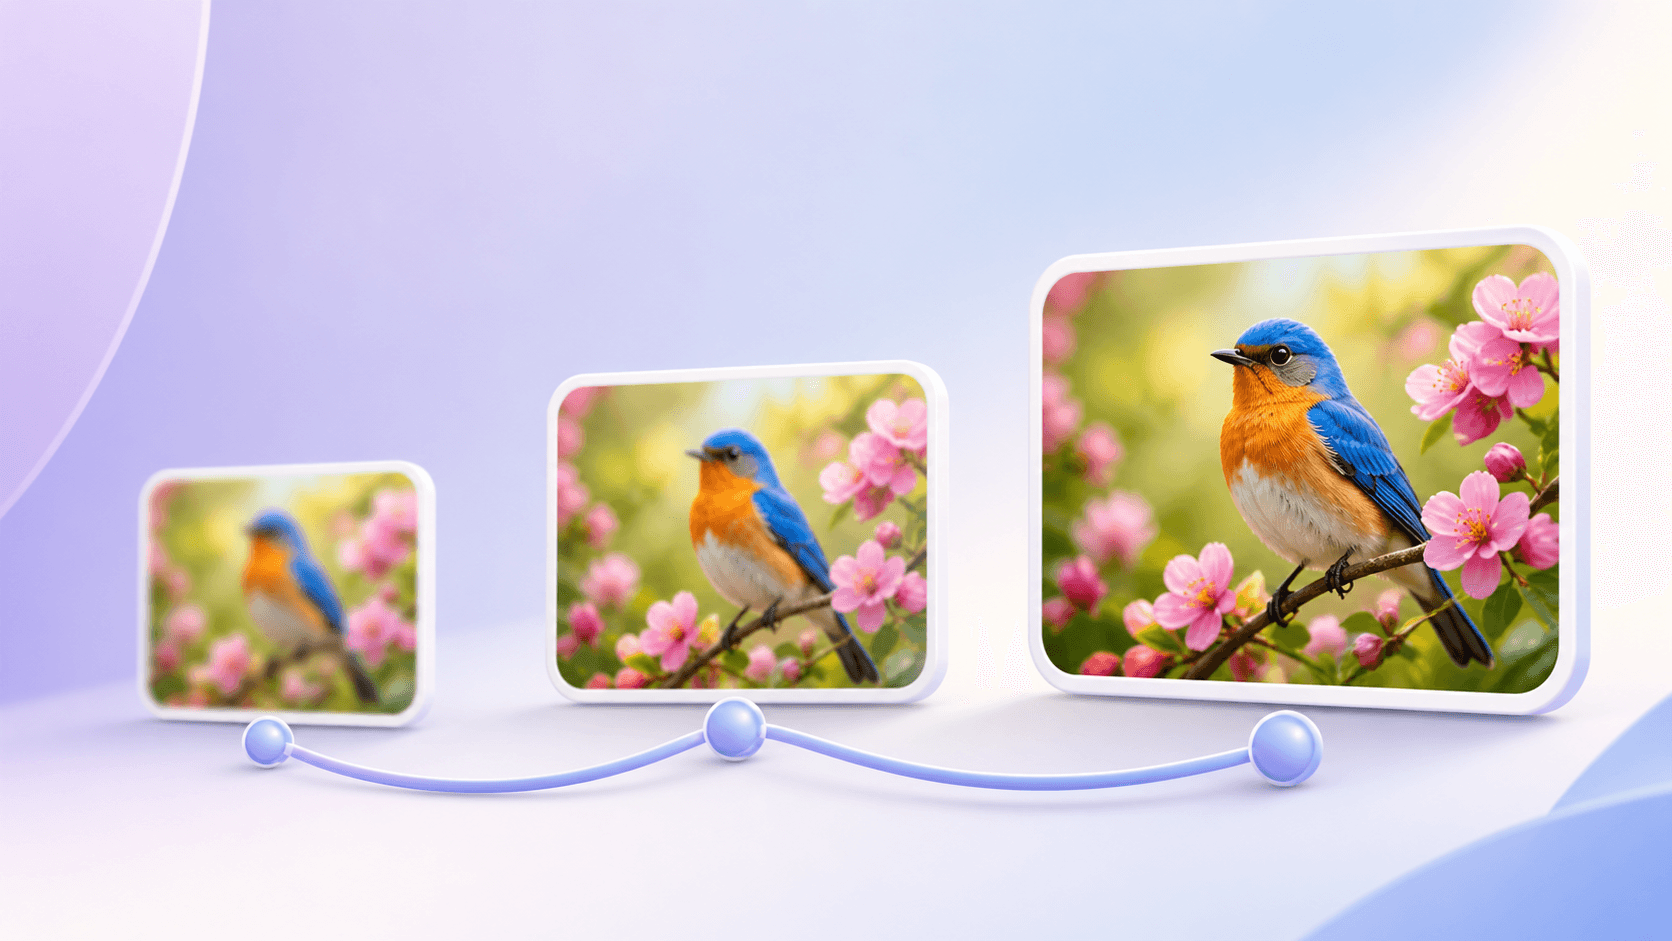
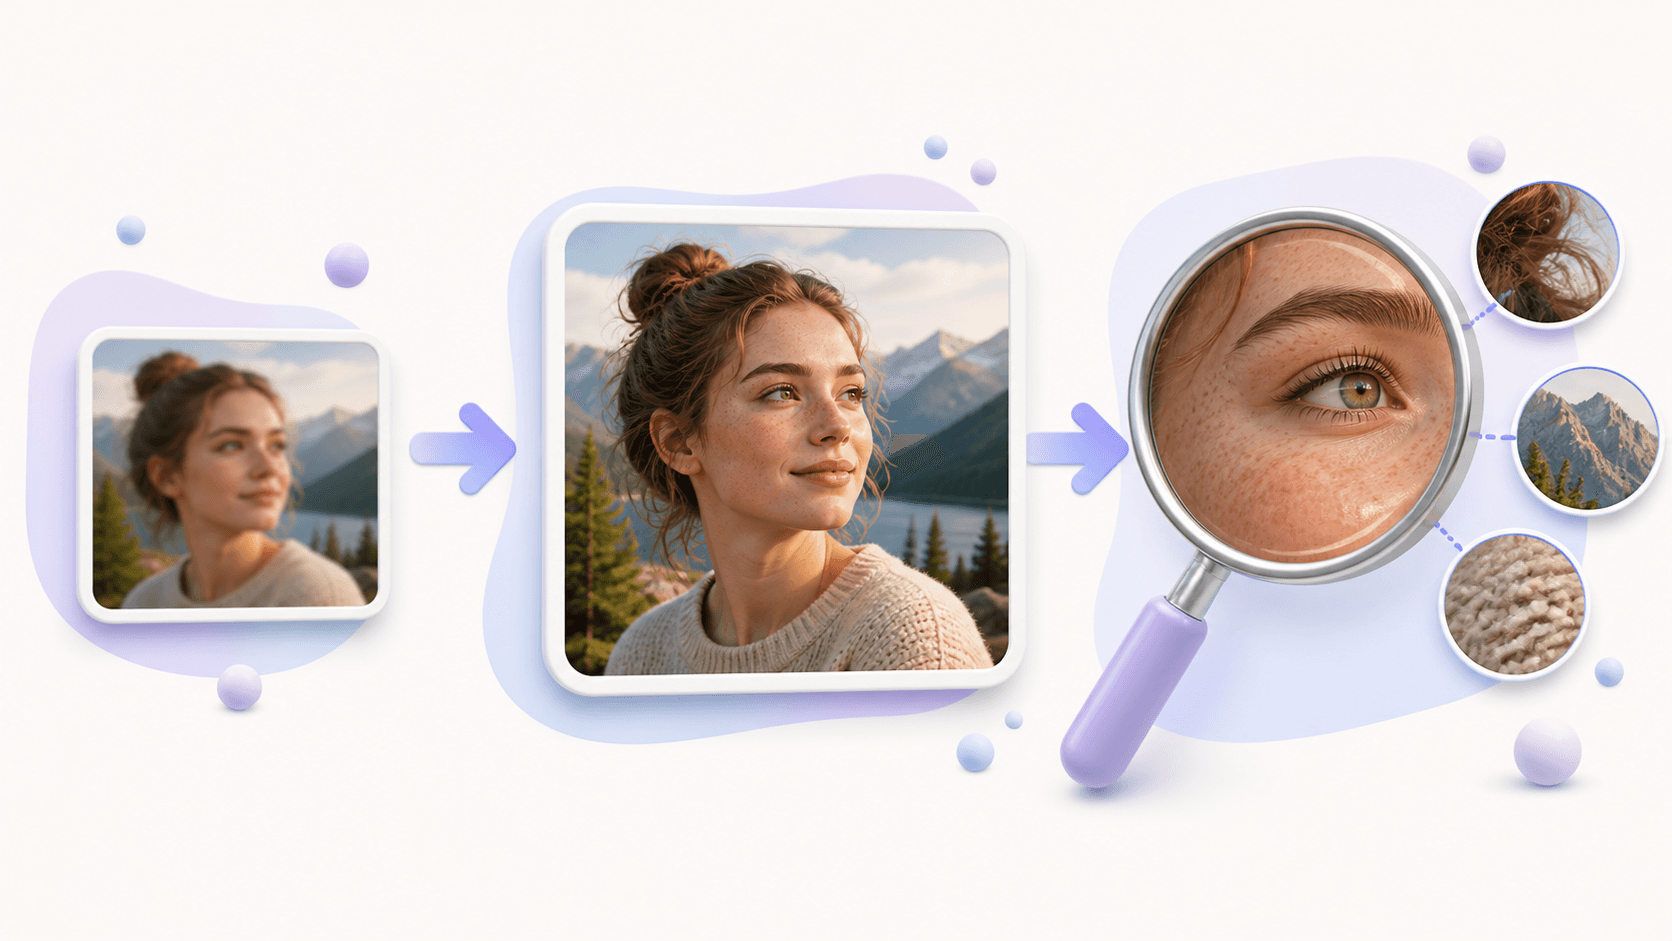
People often type convert image HD when they want a small picture to look better on a larger screen. The wording is short, but the goal is clear: create a higher-resolution copy without changing the subject or stretching the picture into the wrong shape.
The easiest route is the Image to 4K tool. It offers 1080p, 2K, and 4K targets, keeps the aspect ratio, and lets you compare the result before download.
The quick method
To convert image HD, start with the cleanest original file, choose a 1080p or larger target, review the quote, run the enhancement once, and inspect the finished image. That is the whole workflow.
Before you start
Look for the original photo or the largest clean export. A screenshot of a thumbnail contains less useful information. If the picture came from a messaging app, check whether the sender can provide the original.
Before you convert image HD, zoom in and check the important area. The subject should be recognizable. Faces should still have visible eyes and outlines. Product photos should have clean edges. Artwork should have lines that are not already broken. Strong blur and unreadable text may remain difficult after processing.
Supported source types are JPG, PNG, and WebP. Each local file can be up to 25 MB, and you can prepare a local queue of up to ten images.
Convert image HD step by step
Follow these steps when you want to convert image HD:
- Open Image to 4K.
- Choose a local image or import a direct HTTPS image URL.
- Select 1080p for HD, or select 2K or 4K for a larger destination.
- Review the planned output dimensions.
- Check the exact credit quote and start the task.
- Compare the source and enhanced result.
- Download the result during its private availability period.
The source aspect ratio stays the same. A square image remains square, and a portrait remains vertical. This prevents accidental stretching.
Choose the right output size
If your destination is an ordinary HD screen or a standard presentation, 1080p may be enough. Choose 2K when you need more room for cropping or a larger layout. Choose 4K for large displays or when you want a high-resolution master copy.
The biggest output is not automatically the best. When you convert image HD, match the target to the real use. A small website card does not need the same file size as a full-screen exhibition image. A sensible target makes downloads and later editing easier.
The tool applies the chosen target to the short edge. Wide and vertical images therefore receive different final dimensions while keeping their shape.
Avoid common mistakes
First, do not stretch the image by dragging its corner in a document. That only changes display size. Second, do not rename the file extension and expect new detail. Third, do not repeatedly enhance an already enhanced result.
If you convert image HD and the output looks unnatural, return to the original. Check whether a larger source exists, or choose a smaller target. Inspect faces, text, fine patterns, and object edges at the intended viewing size.
When only the format is wrong, use the image format converter. It changes JPG, PNG, or WebP while keeping existing pixel dimensions.
Common questions
Can I convert image HD without cropping it?
Yes. The enhancement tool preserves the original aspect ratio.
Should I choose 1080p or 4K?
Choose 1080p for a common HD destination and 4K for a large screen or larger master. Base the choice on the real use and source quality.
Will a blurry image become perfectly sharp?
Not always. The tool can improve a useful source, but severe blur and missing information may remain.
Where can I convert image HD?
Open the online image enhancement tool, process one representative picture, and check the result before preparing the rest.