4K Converter
Convert Pics to HD: A Beginner-Friendly Guide
Convert portraits, pet photos, food shots, and landscapes to HD with a simple workflow and a careful review.
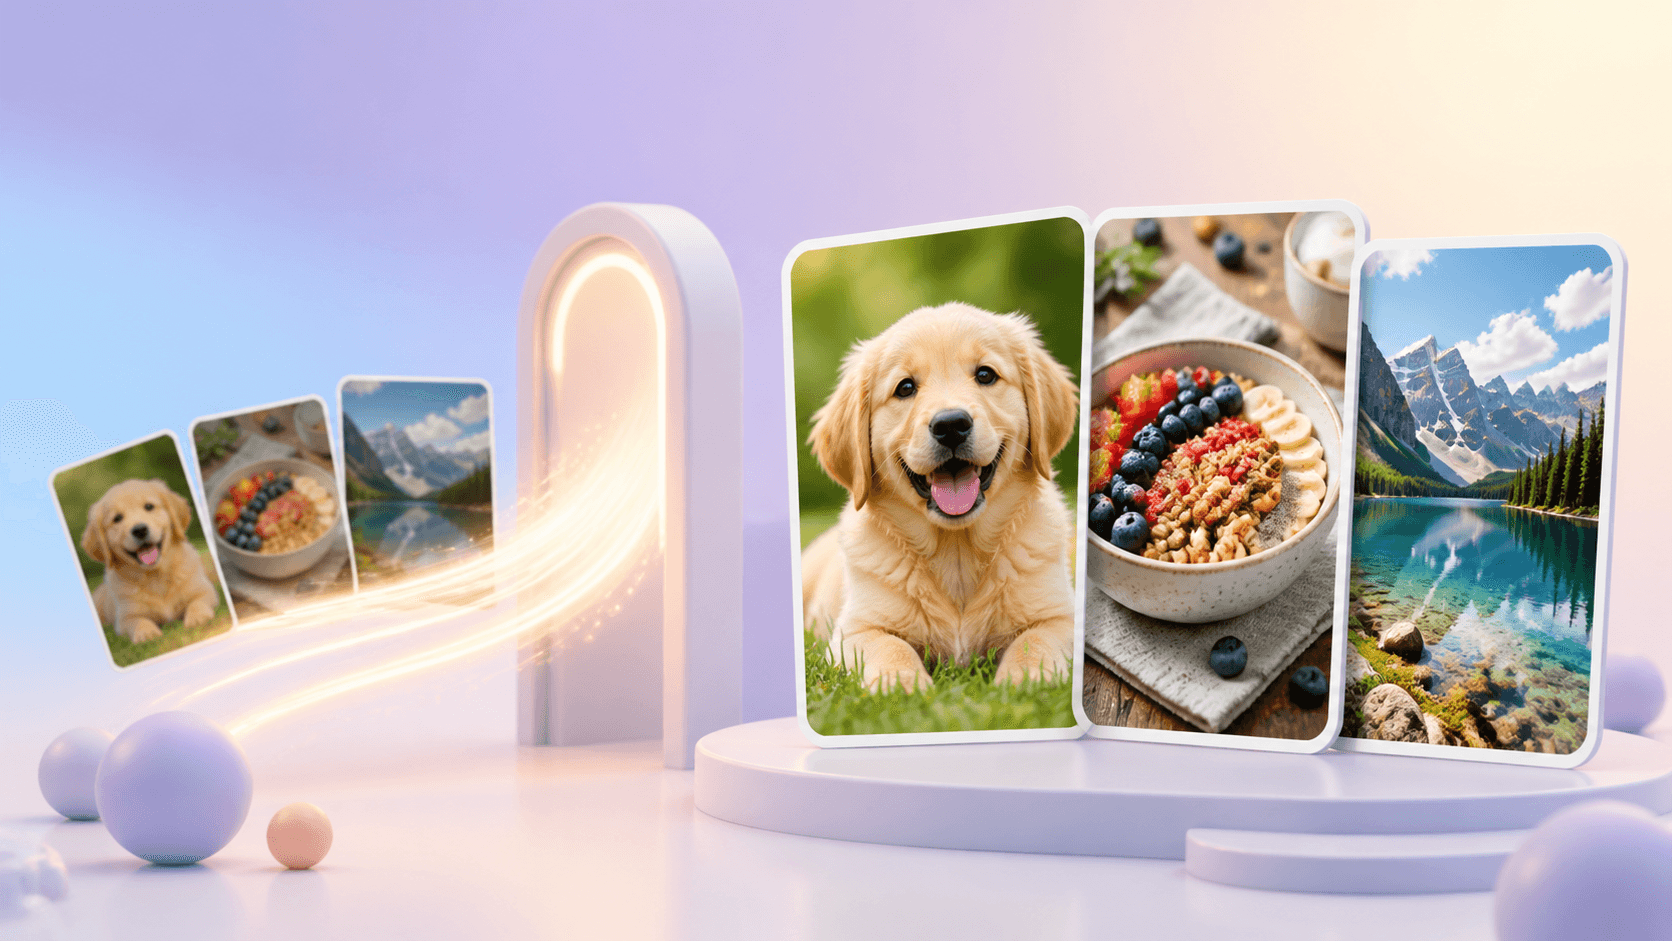
If you need to convert pics to HD, you probably have more than one everyday image in mind: a portrait, a pet photo, a food shot, a product picture, or a landscape. The same basic workflow can help all of them, but every finished image still needs its own review.
Use the Image to 4K tool to choose 1080p, 2K, or 4K, prepare a local queue, and compare each private result before downloading it.
Pick the right pictures
The first step to convert pics to HD is not uploading. It is choosing the best source copy. Look for original camera files, full-size downloads, or clean exports. Avoid thumbnails and screenshots when a larger version exists.
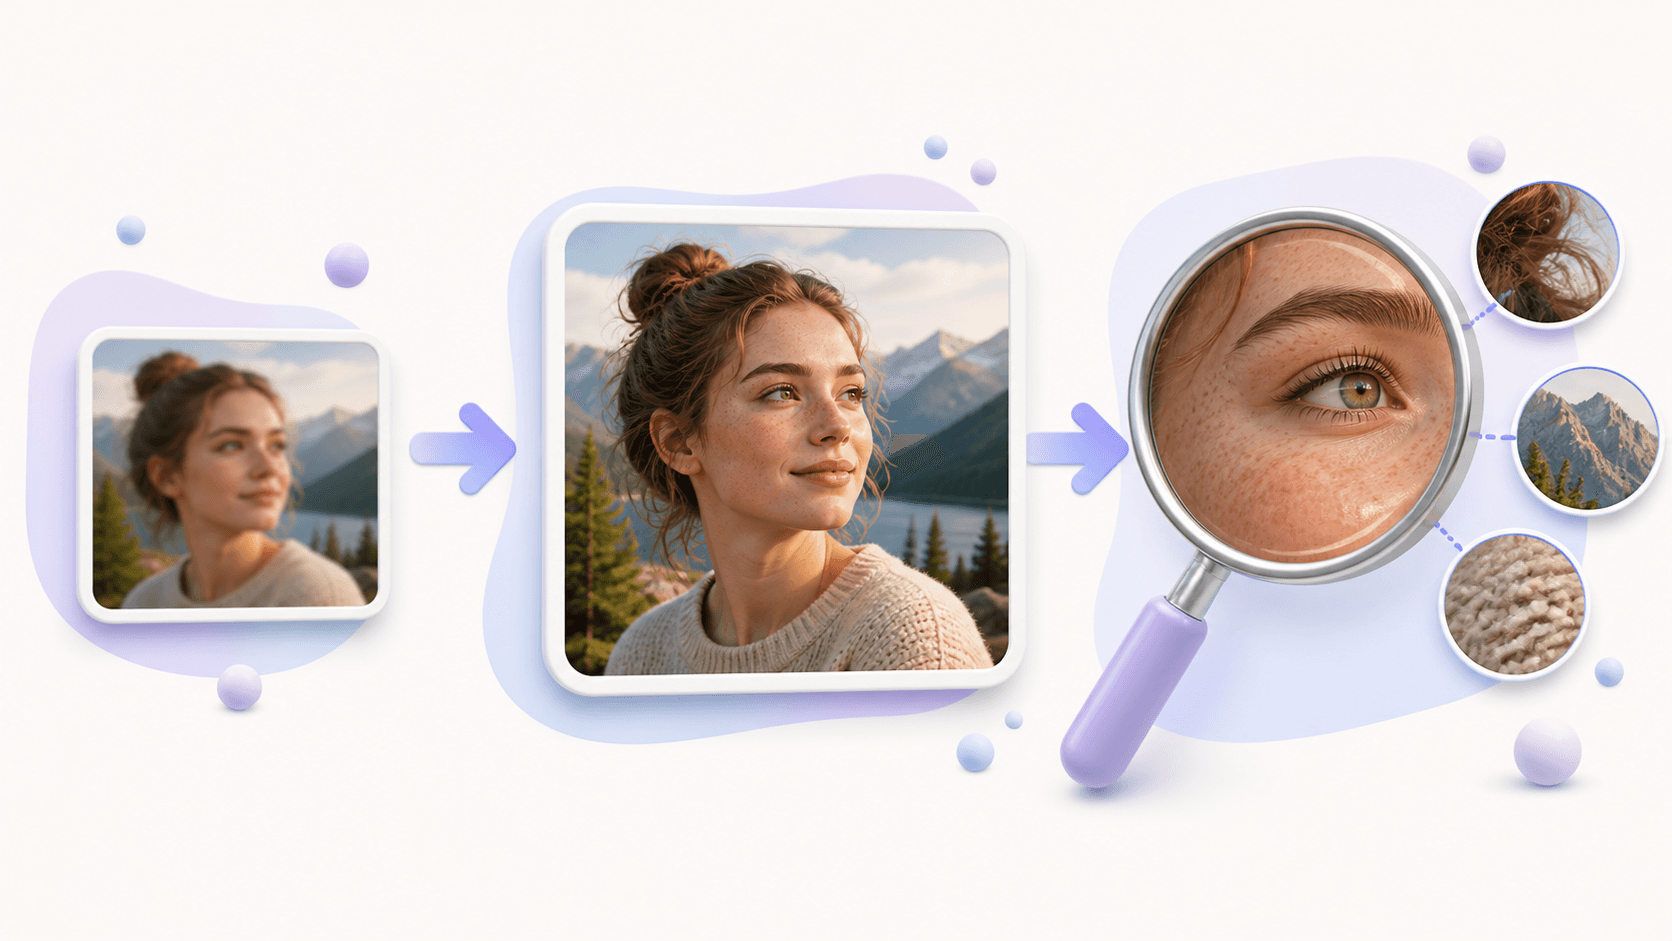
Open each picture and check the main subject. A face should still have visible eyes and outlines. A pet photo should show fur direction and facial shape. Food should have clear edges and surface texture. A landscape should keep recognizable trees, buildings, water, or clouds.
Easy HD steps
Follow this process to convert pics to HD:
- Open Image to 4K.
- Choose a JPG, PNG, or WebP source.
- Select 1080p for HD, or a larger target when the destination needs it.
- Review the output dimensions and exact credit quote.
- Start the private enhancement task.
- Compare the source and result.
- Download the approved image.
The tool keeps each picture's aspect ratio. A portrait stays vertical, a square photo remains square, and a landscape stays wide. The source file is not overwritten.
Check different picture types
When you convert pics to HD, change your checklist for the subject:
- Portraits: check eyes, teeth, hair, glasses, and facial edges.
- Pets: check eyes, whiskers, fur, and the boundary around ears.
- Food: check texture, plate edges, ingredients, and natural color.
- Products: check labels, straight lines, packaging, and repeated patterns.
- Landscapes: check leaves, water, distant buildings, and skies.
- Artwork: check thin lines, color boundaries, and canvas shape.
View the result at the final use size. Extreme zoom may reveal small imperfections that no viewer will notice, while a face or label that looks wrong at normal size is a real reason to try another source.
Work with several images
You can prepare a local queue of up to ten supported images. This makes it easier to convert pics to HD in one work session, but the images are still separate tasks with separate results.
Start with two or three representative pictures before preparing a large group. Use one portrait, one detailed product or food image, and one landscape. Their results will show whether the chosen target fits the collection.
Do not repeatedly enhance a completed output. If one result is weak, return to that picture's original and look for a cleaner copy. A better source usually matters more than an extra processing pass.
Save and use the results
Download approved files during the private availability period. Give them clear names that include the purpose or size, and keep them in a separate folder from the originals.
If you convert pics to HD for a website, check loading needs before uploading very large files. A full 4K master may be useful for storage, while the published page may need a smaller copy. If you only need JPG, PNG, or WebP compatibility, use the image format converter instead of adding resolution.
The best final set is not simply the biggest set. It is a group of pictures that look natural, fit their destination, and remain easy to identify and reuse.
Common questions
Can I convert pics to HD together?
You can prepare a local queue of up to ten images, then review each result separately.
Should every picture use 4K?
No. Choose 1080p, 2K, or 4K according to the final destination and source quality.
Will the tool crop vertical pictures?
No. It preserves each image's aspect ratio.
What is the best first step?
Choose a few different source pictures and convert pics to HD. Review faces, labels, texture, and landscapes before processing the full collection.