4K Converter
Enhance Photo 4K: A Clear Guide for Better Large Photos
Learn what the search phrase enhance photo 4K means, which photos work well, and how to review a larger result.

People often type enhance photo 4K when they have a small picture that looks acceptable on a phone but not on a large display. The goal is simple: create a larger version, keep the composition, and make visible detail easier to see. You can do this without learning complicated editing controls.
Start with the online photo enhancement tool. Choose one clear photo, select the 4K target, review the dimensions and price, and compare the result before downloading.
What “enhance photo 4K” means
The phrase enhance photo 4K usually means increasing photo resolution for a bigger screen, page, or print. It does not mean changing the subject, replacing the background, or applying a beauty filter. The photo keeps its original shape and content while a larger copy is created.
A 4K target and a file format are also different. Resolution describes image size. JPG, PNG, and WebP describe how a file is stored. If your photo is already large and you only need another format, use the image format converter. If you need more pixels, follow the enhance photo 4K workflow.
Photos that work well
Good source photos have a recognizable subject, visible edges, and enough information to guide the enlargement. Portraits with clear eyes and hair, travel photos with defined buildings, product shots with clean outlines, and food photos with natural texture are sensible candidates.
Before you enhance photo 4K, find the original file from the camera or phone. A social-media download may be smaller and more compressed. A screenshot can include unwanted interface elements. If you have several copies, compare their dimensions and choose the largest clean one.
Some sources need realistic expectations. Strong motion blur, a face that occupies only a few pixels, or unreadable tiny text will remain difficult. Enhancement can create a more pleasant viewing result, but it should not be used as proof of what a missing detail originally looked like.
A simple enhancement workflow
Use these steps when you want to enhance photo 4K:
- Open the photo to 4K tool.
- Upload a JPG, PNG, or WebP file, or import a direct image link.
- Choose the 4K target and confirm that the preview keeps the correct proportions.
- Review the exact output size and credit quote.
- Start the private enhancement task.
- Compare the source and result at a useful viewing size.
- Download the result while it is available.
If you have many photos, begin with one that represents the group. For example, test a close portrait before processing an entire portrait session. The enhance photo 4K result from one image can tell you whether the same approach is suitable for the others.
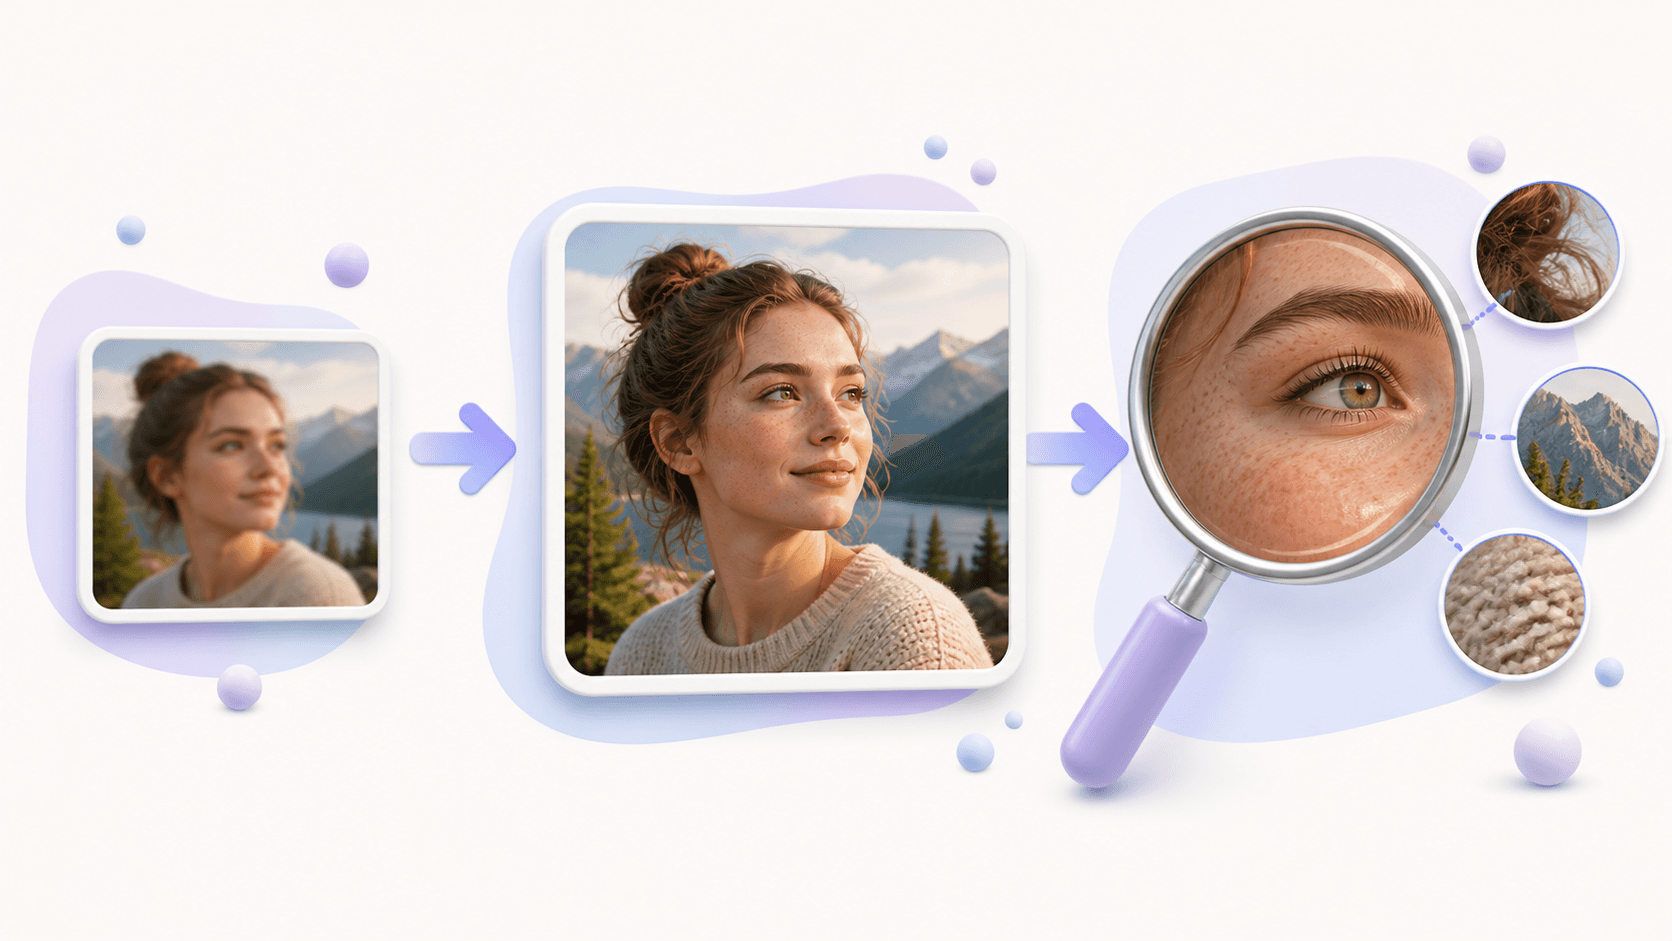
Check portraits and details
Portraits deserve careful review because people quickly notice unusual eyes, teeth, skin edges, and hair. Look at the photo at normal display size first. Then zoom in enough to check important areas, but do not judge only at an extreme magnification that nobody will use.
For travel photos, inspect roof lines, windows, trees, water, and the horizon. For products, check printed labels, straight edges, stitching, and repeated patterns. For food, look for believable texture rather than excessive sharpness. A successful enhance photo 4K result should feel natural in its final setting.
Keep the source beside the enhanced copy. Moving back and forth between them makes it easier to notice changed text or invented texture. It also keeps the original safe if you later want to try another target.
Avoid common mistakes
Do not repeatedly save and re-upload the same compressed copy. Each extra compression step can remove information. Do not assume that a larger file always contains more real detail. Do not delete the original after the first good-looking result.
Also avoid using the biggest possible file everywhere. A large 4K photo is useful for a hero image or big display, but a small web card may load faster with a smaller version. Create the large master, then prepare delivery sizes that match where the image will appear.
The enhance photo 4K process is most useful when it is part of a short routine: select, enhance, compare, and use. Keeping that routine simple reduces mistakes and makes the result easier to trust.
Common questions
Does enhance photo 4K remove all blur?
No. Light softness may improve, but severe focus or motion blur can remain. Always begin with the clearest source available.
Will the photo be cropped?
No. The original aspect ratio is preserved, so portrait, square, and landscape photos keep their shapes.
Is enhance photo 4K useful for old photos?
It can create a larger viewing copy when the scan still contains facial and edge detail. Scan the original at the best practical quality first.
What should I do now?
Choose one representative picture and enhance photo 4K online. Check the result in its real destination before you process more files.